✍️ Let’s Bring Cursive Back: A Complete Guide to Teaching Handwriting from Letters to Paragraphs
If you grew up writing in cursive, you probably remember the feeling — pens gliding across paper in graceful, looping strokes. Today, that same magic can (and should!) still be shared with our students. Whether you're teaching cursive for the first time or refreshing your class’s handwriting skills, this guide is packed with practical steps, simple tips, and fun ideas to make cursive not just another subject — but a skill kids will actually enjoy.
🧠 Why Cursive Still Matters
In a fast-paced, digital world, cursive may seem outdated… but it’s far from it. Here’s why teaching cursive still holds incredible value:
- Boosts cognitive development by strengthening neural connections and improving fine motor control.
- Supports reading and spelling thanks to pattern recognition and letter connections.
- Builds writing fluency — especially when students learn to write faster and more smoothly.
- Preserves history — cursive unlocks handwritten documents and personal letters.
- Fosters identity and creativity — a handwritten signature is personal, lasting, and unique.
With all that in mind, let’s start with the most important step…
1. Start with the Basics: Mastering the Cursive Alphabet
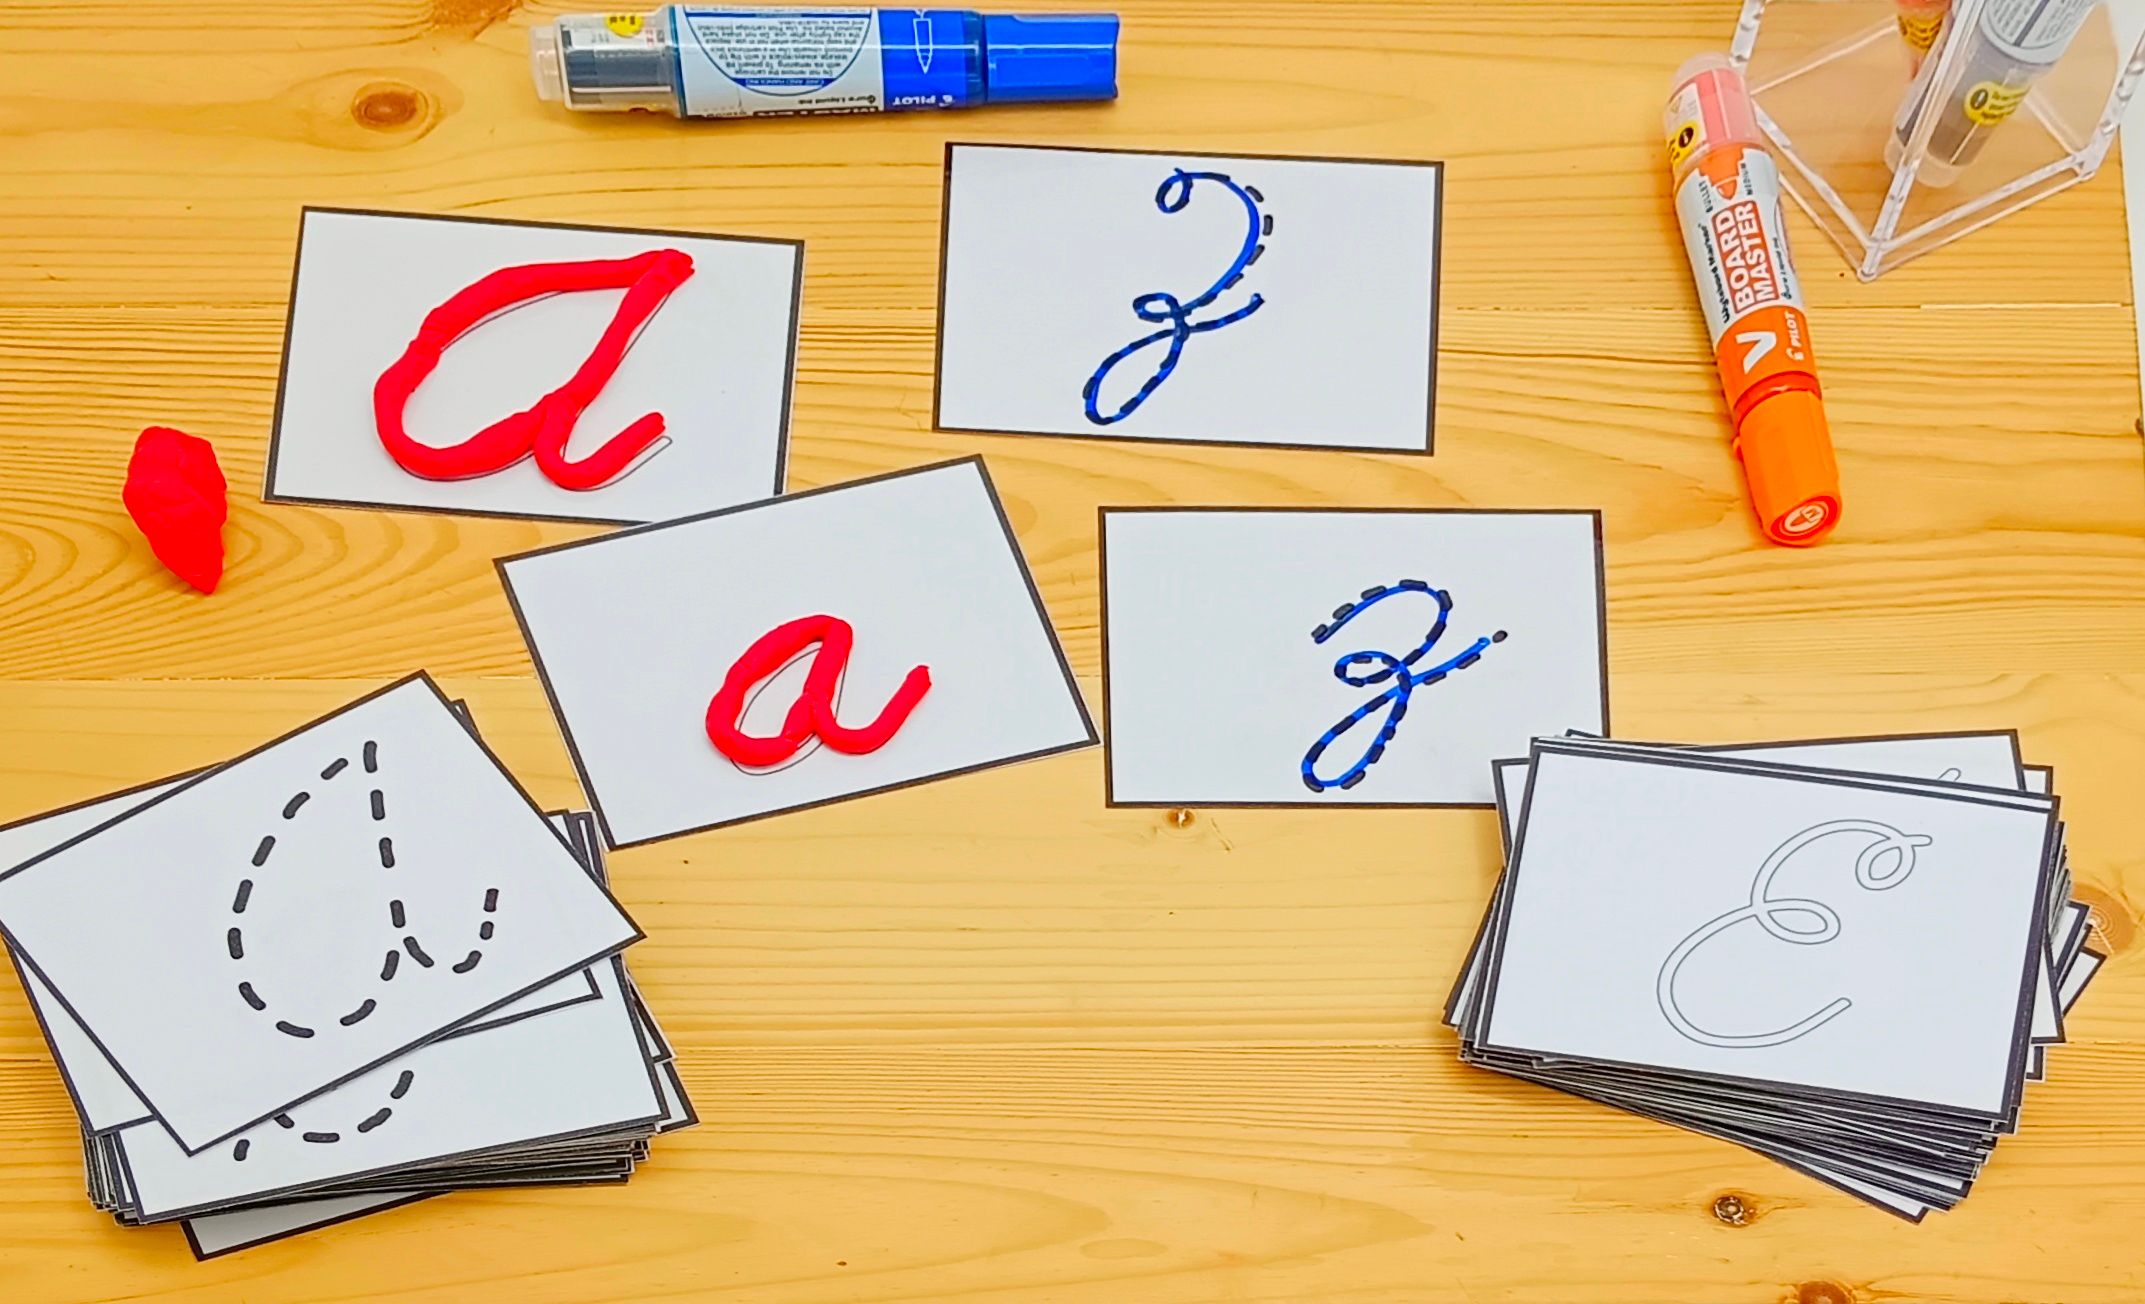
Before students can write flowing sentences or friendly letters, they need a strong foundation in letter formation. Start with lowercase letters — they’re easier to form and used most frequently in daily writing—and progress through groups of similar strokes.
Grouping Letters by Stroke (Lowercase)
Group letters by movement to build muscle memory:
✏️ Group 1: “Magic c” letters
c, a, d, g, o, q
✏️ Group 2: “I Family” or “U Family”
i, u, w, t, j, p, r, s
✏️ Group 3: “Loop Strokes”
e, l, f, h, k, b
✏️ Group 4: “Mountain or Zig-Zag Strokes”
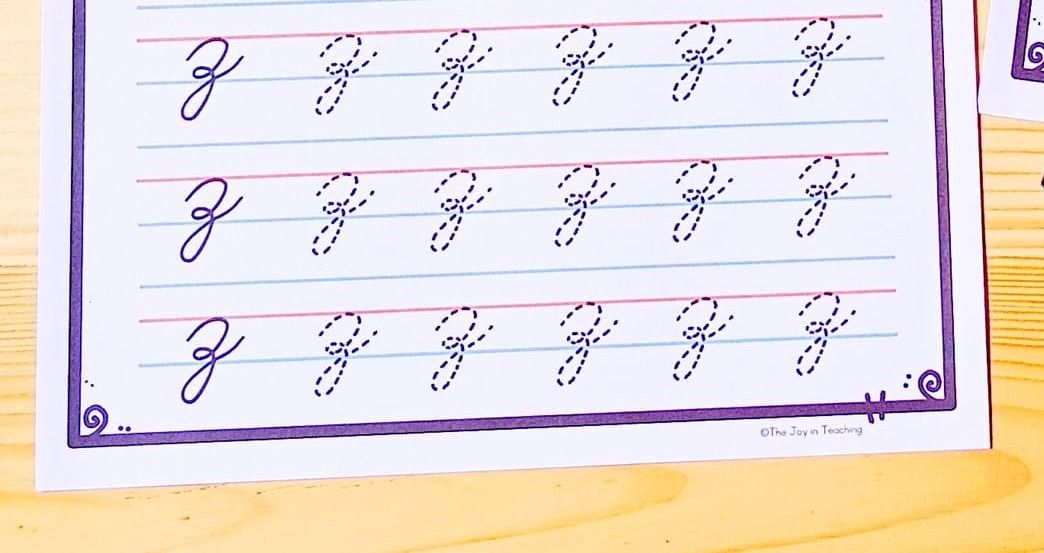
m, n, v, y, x, z
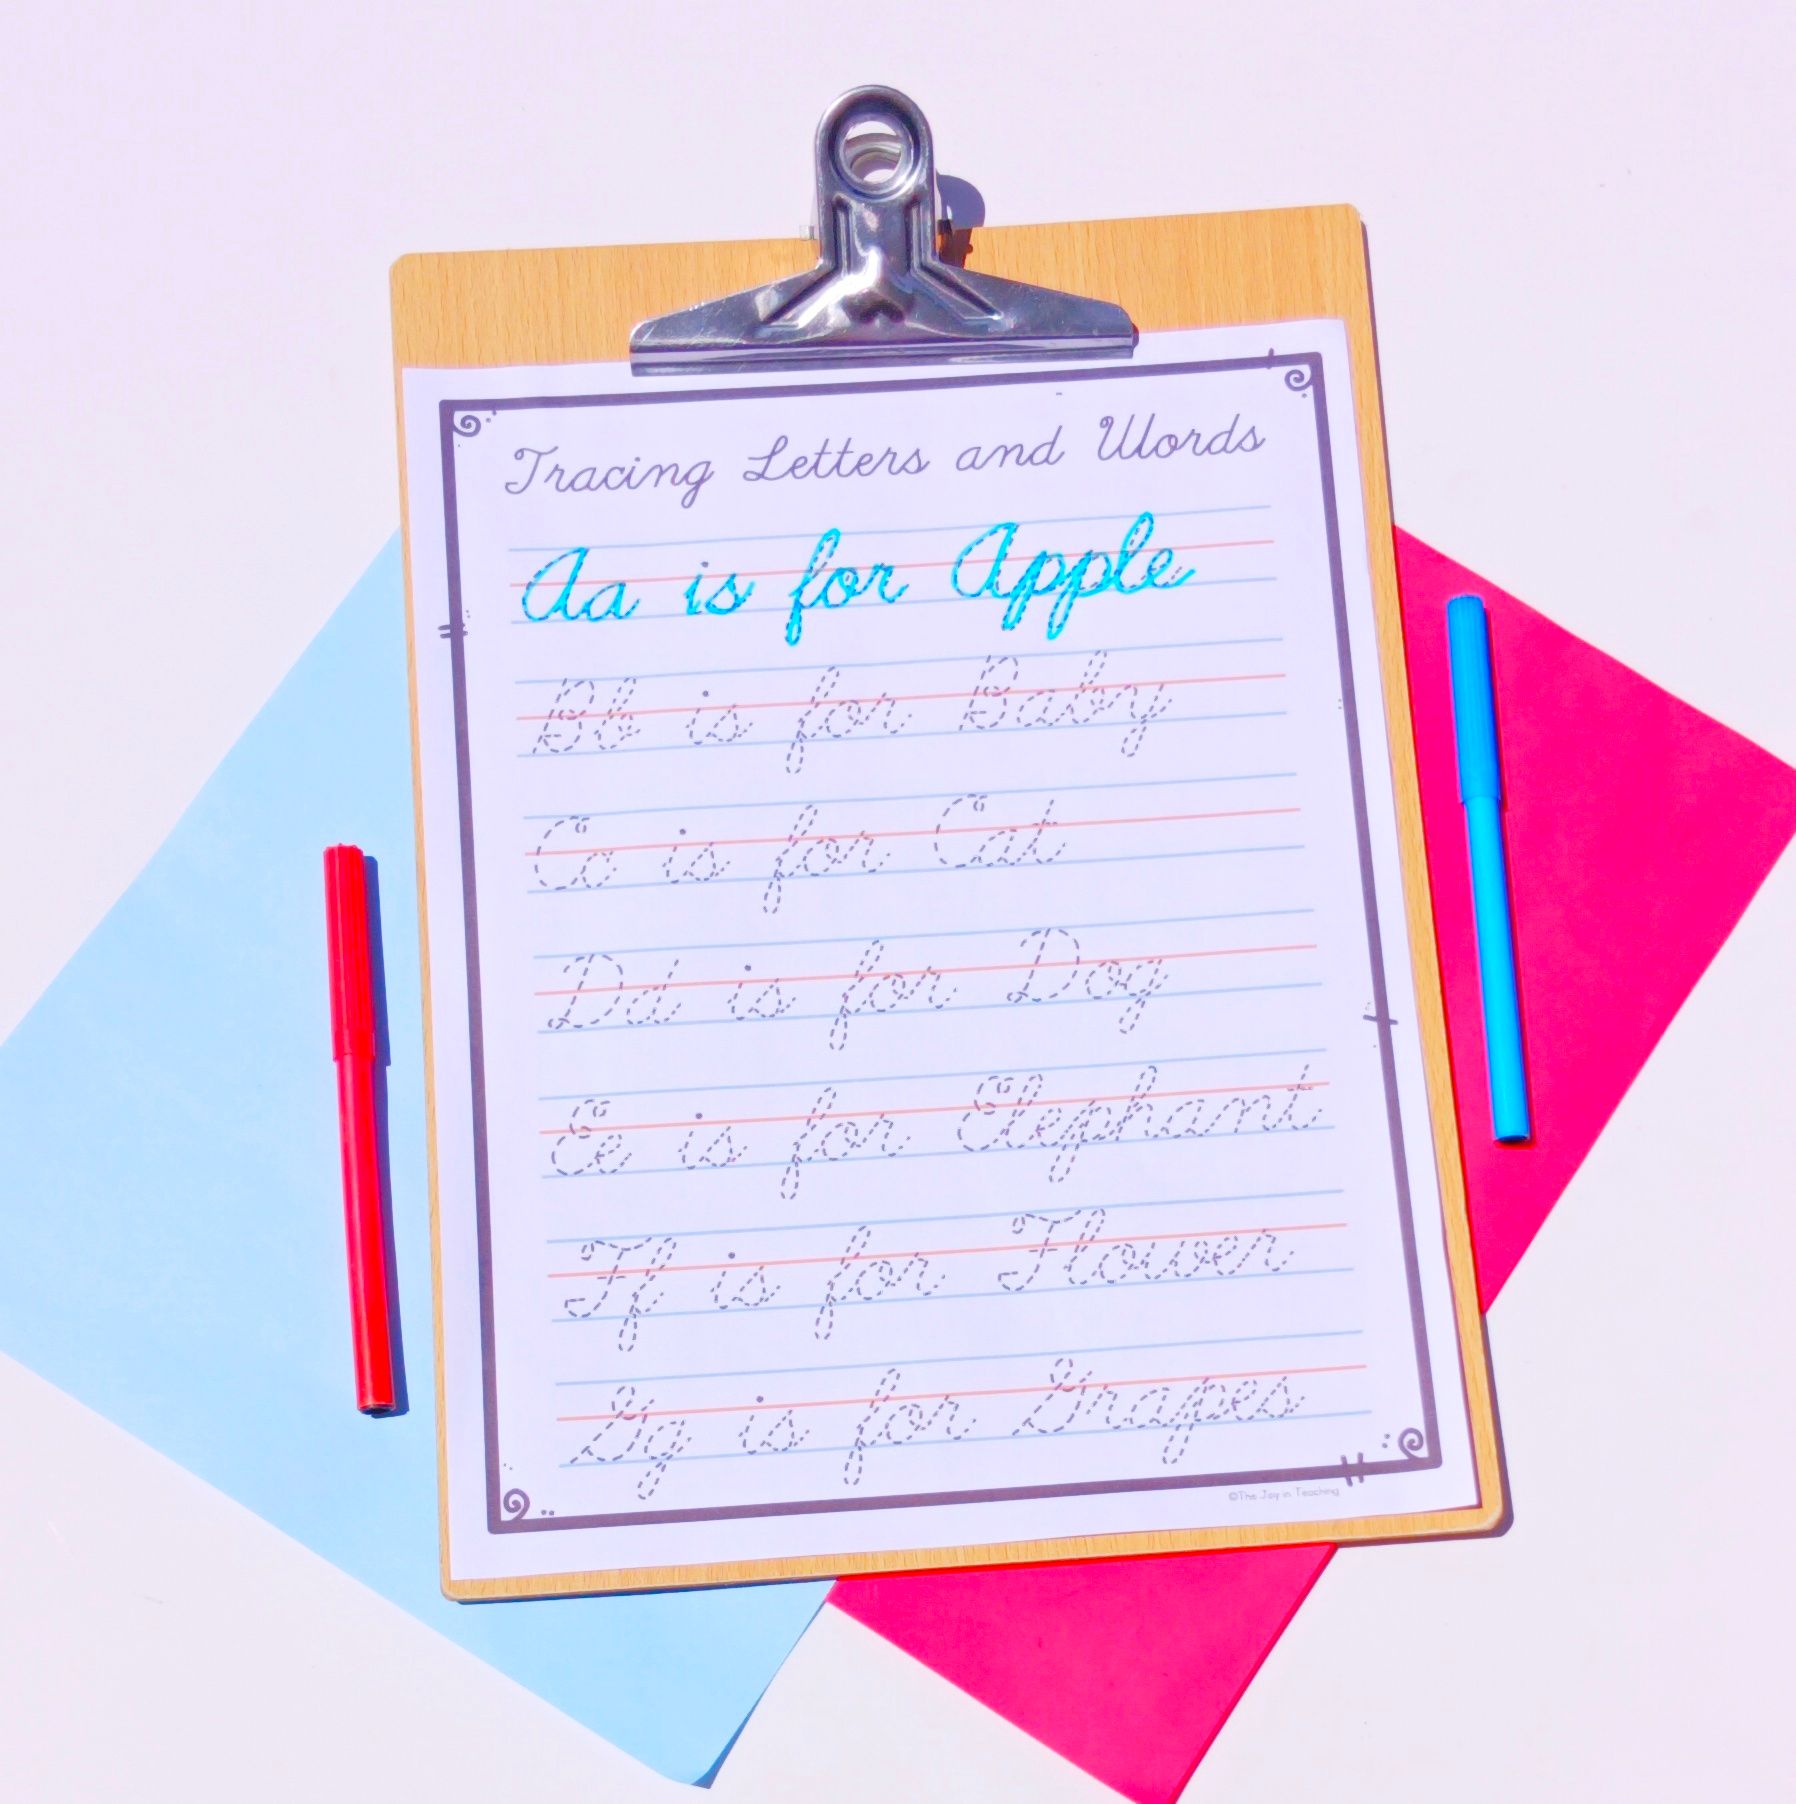
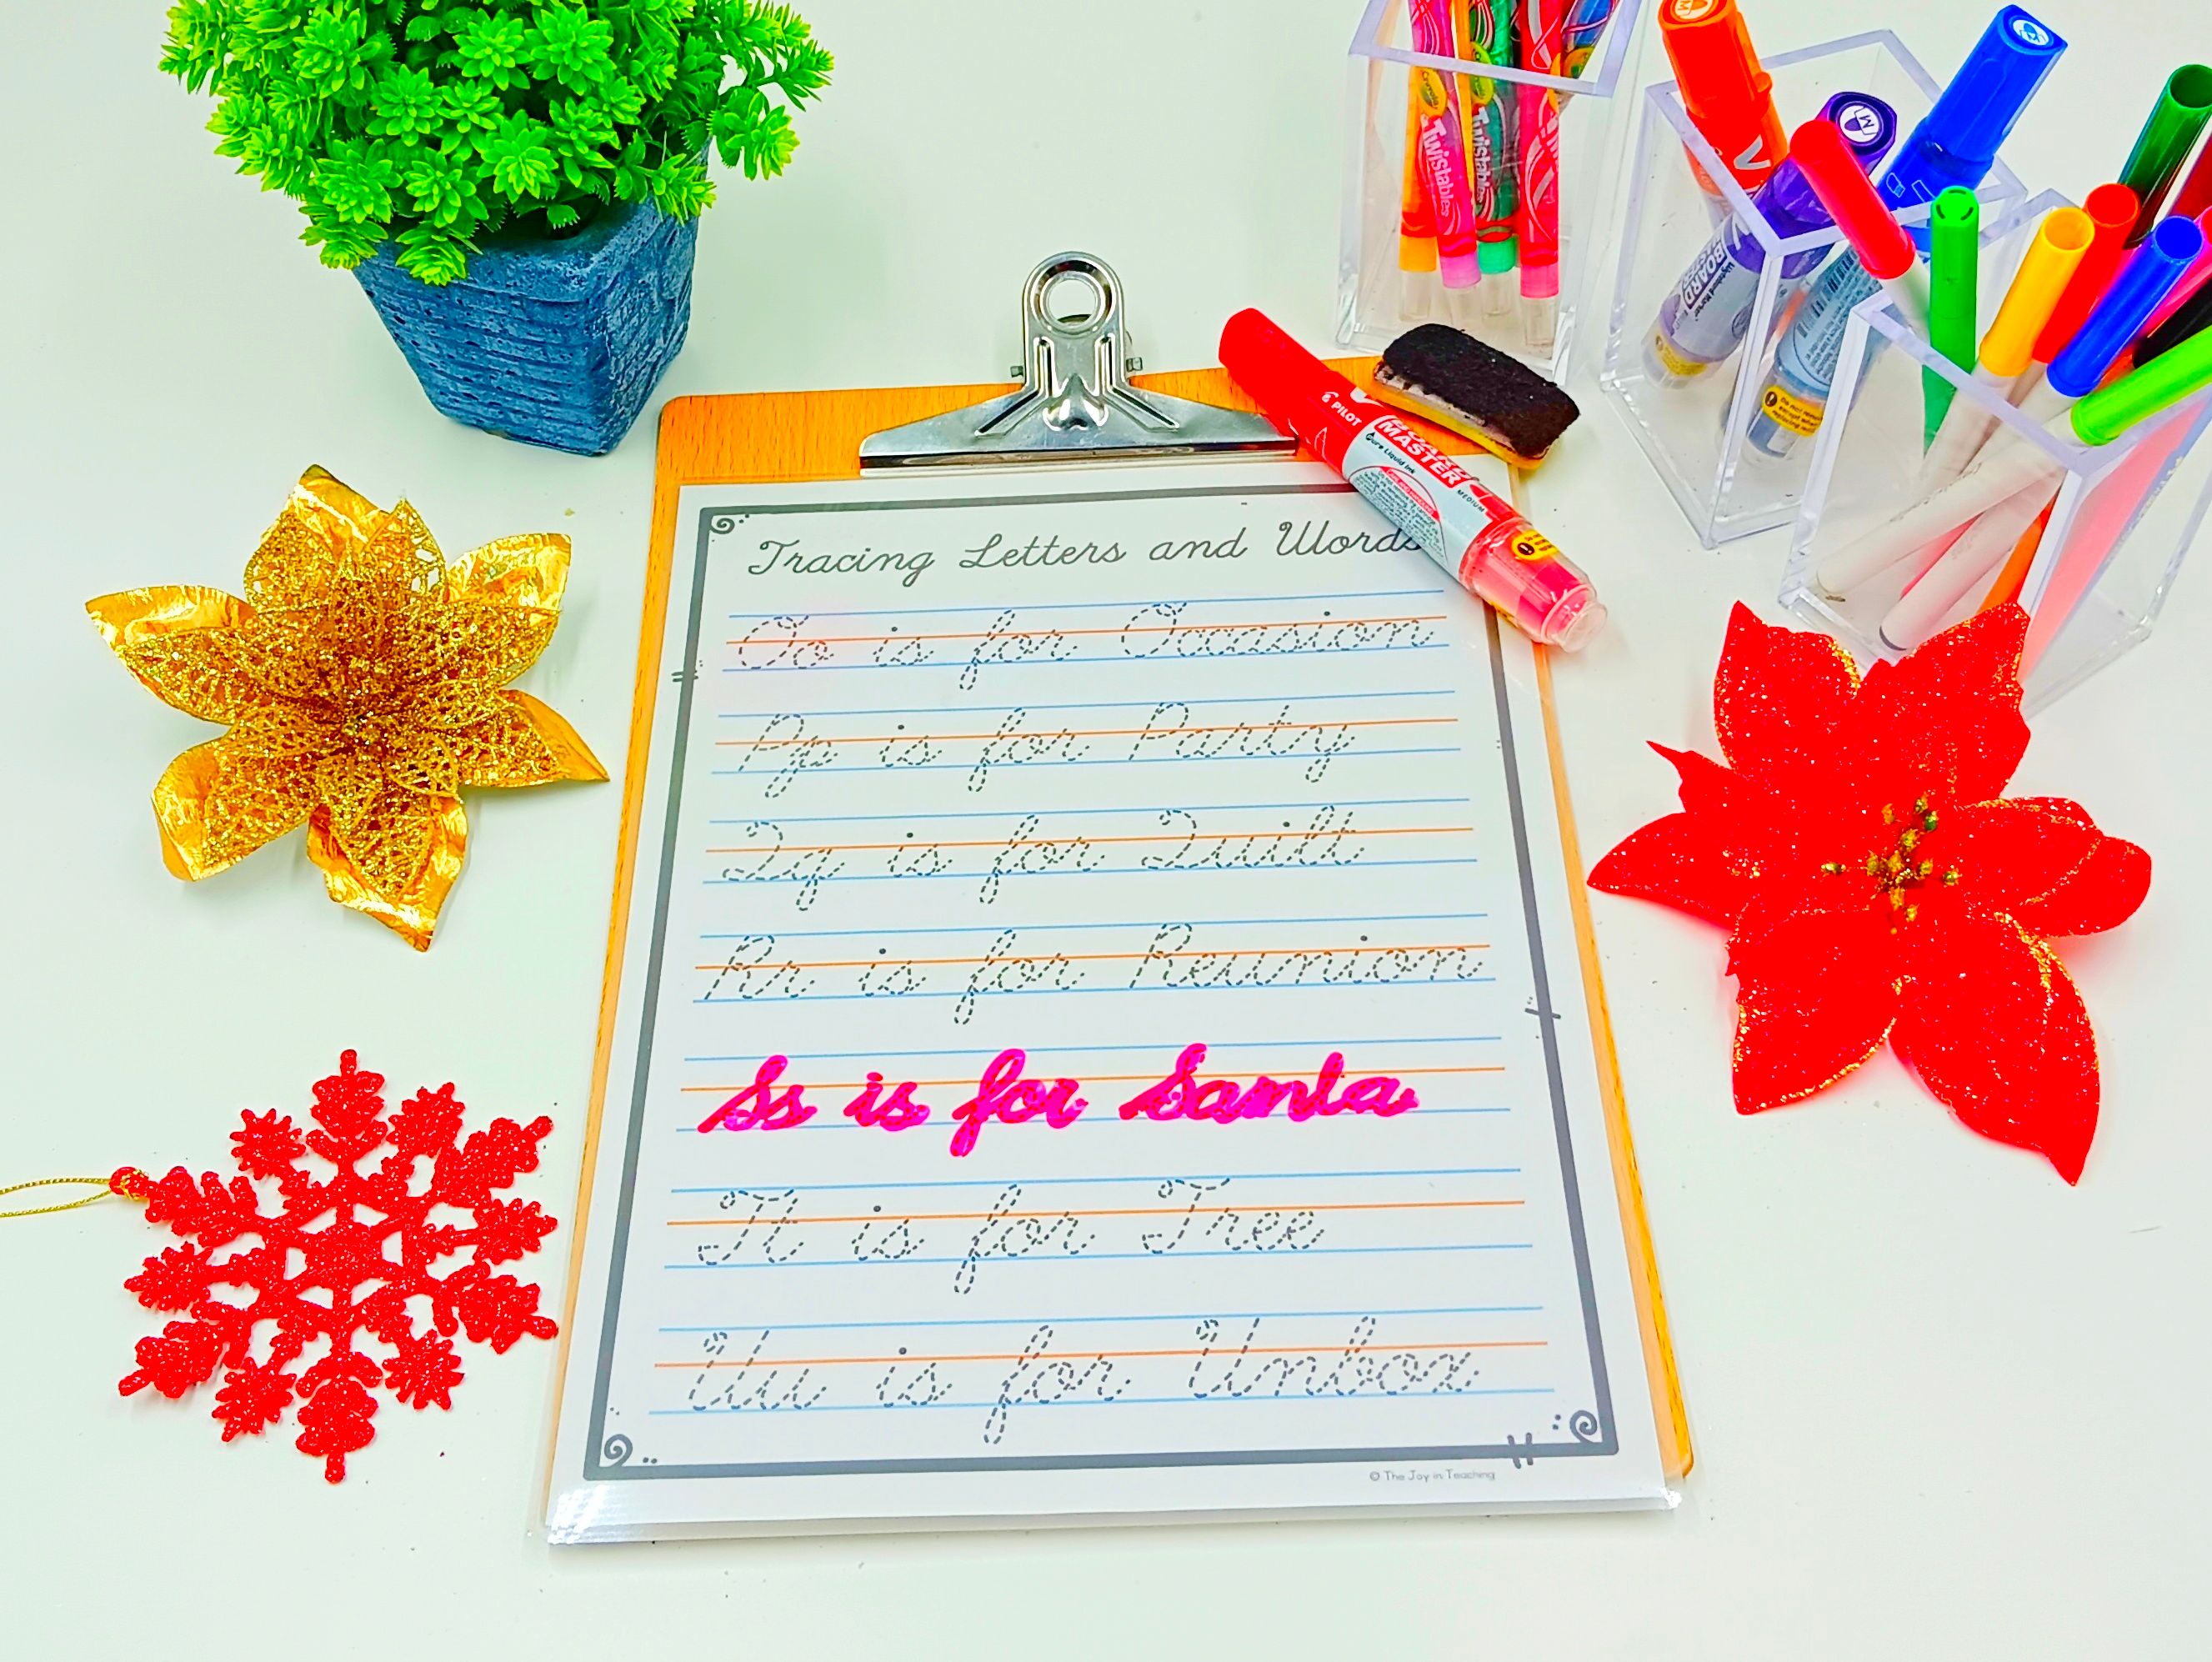
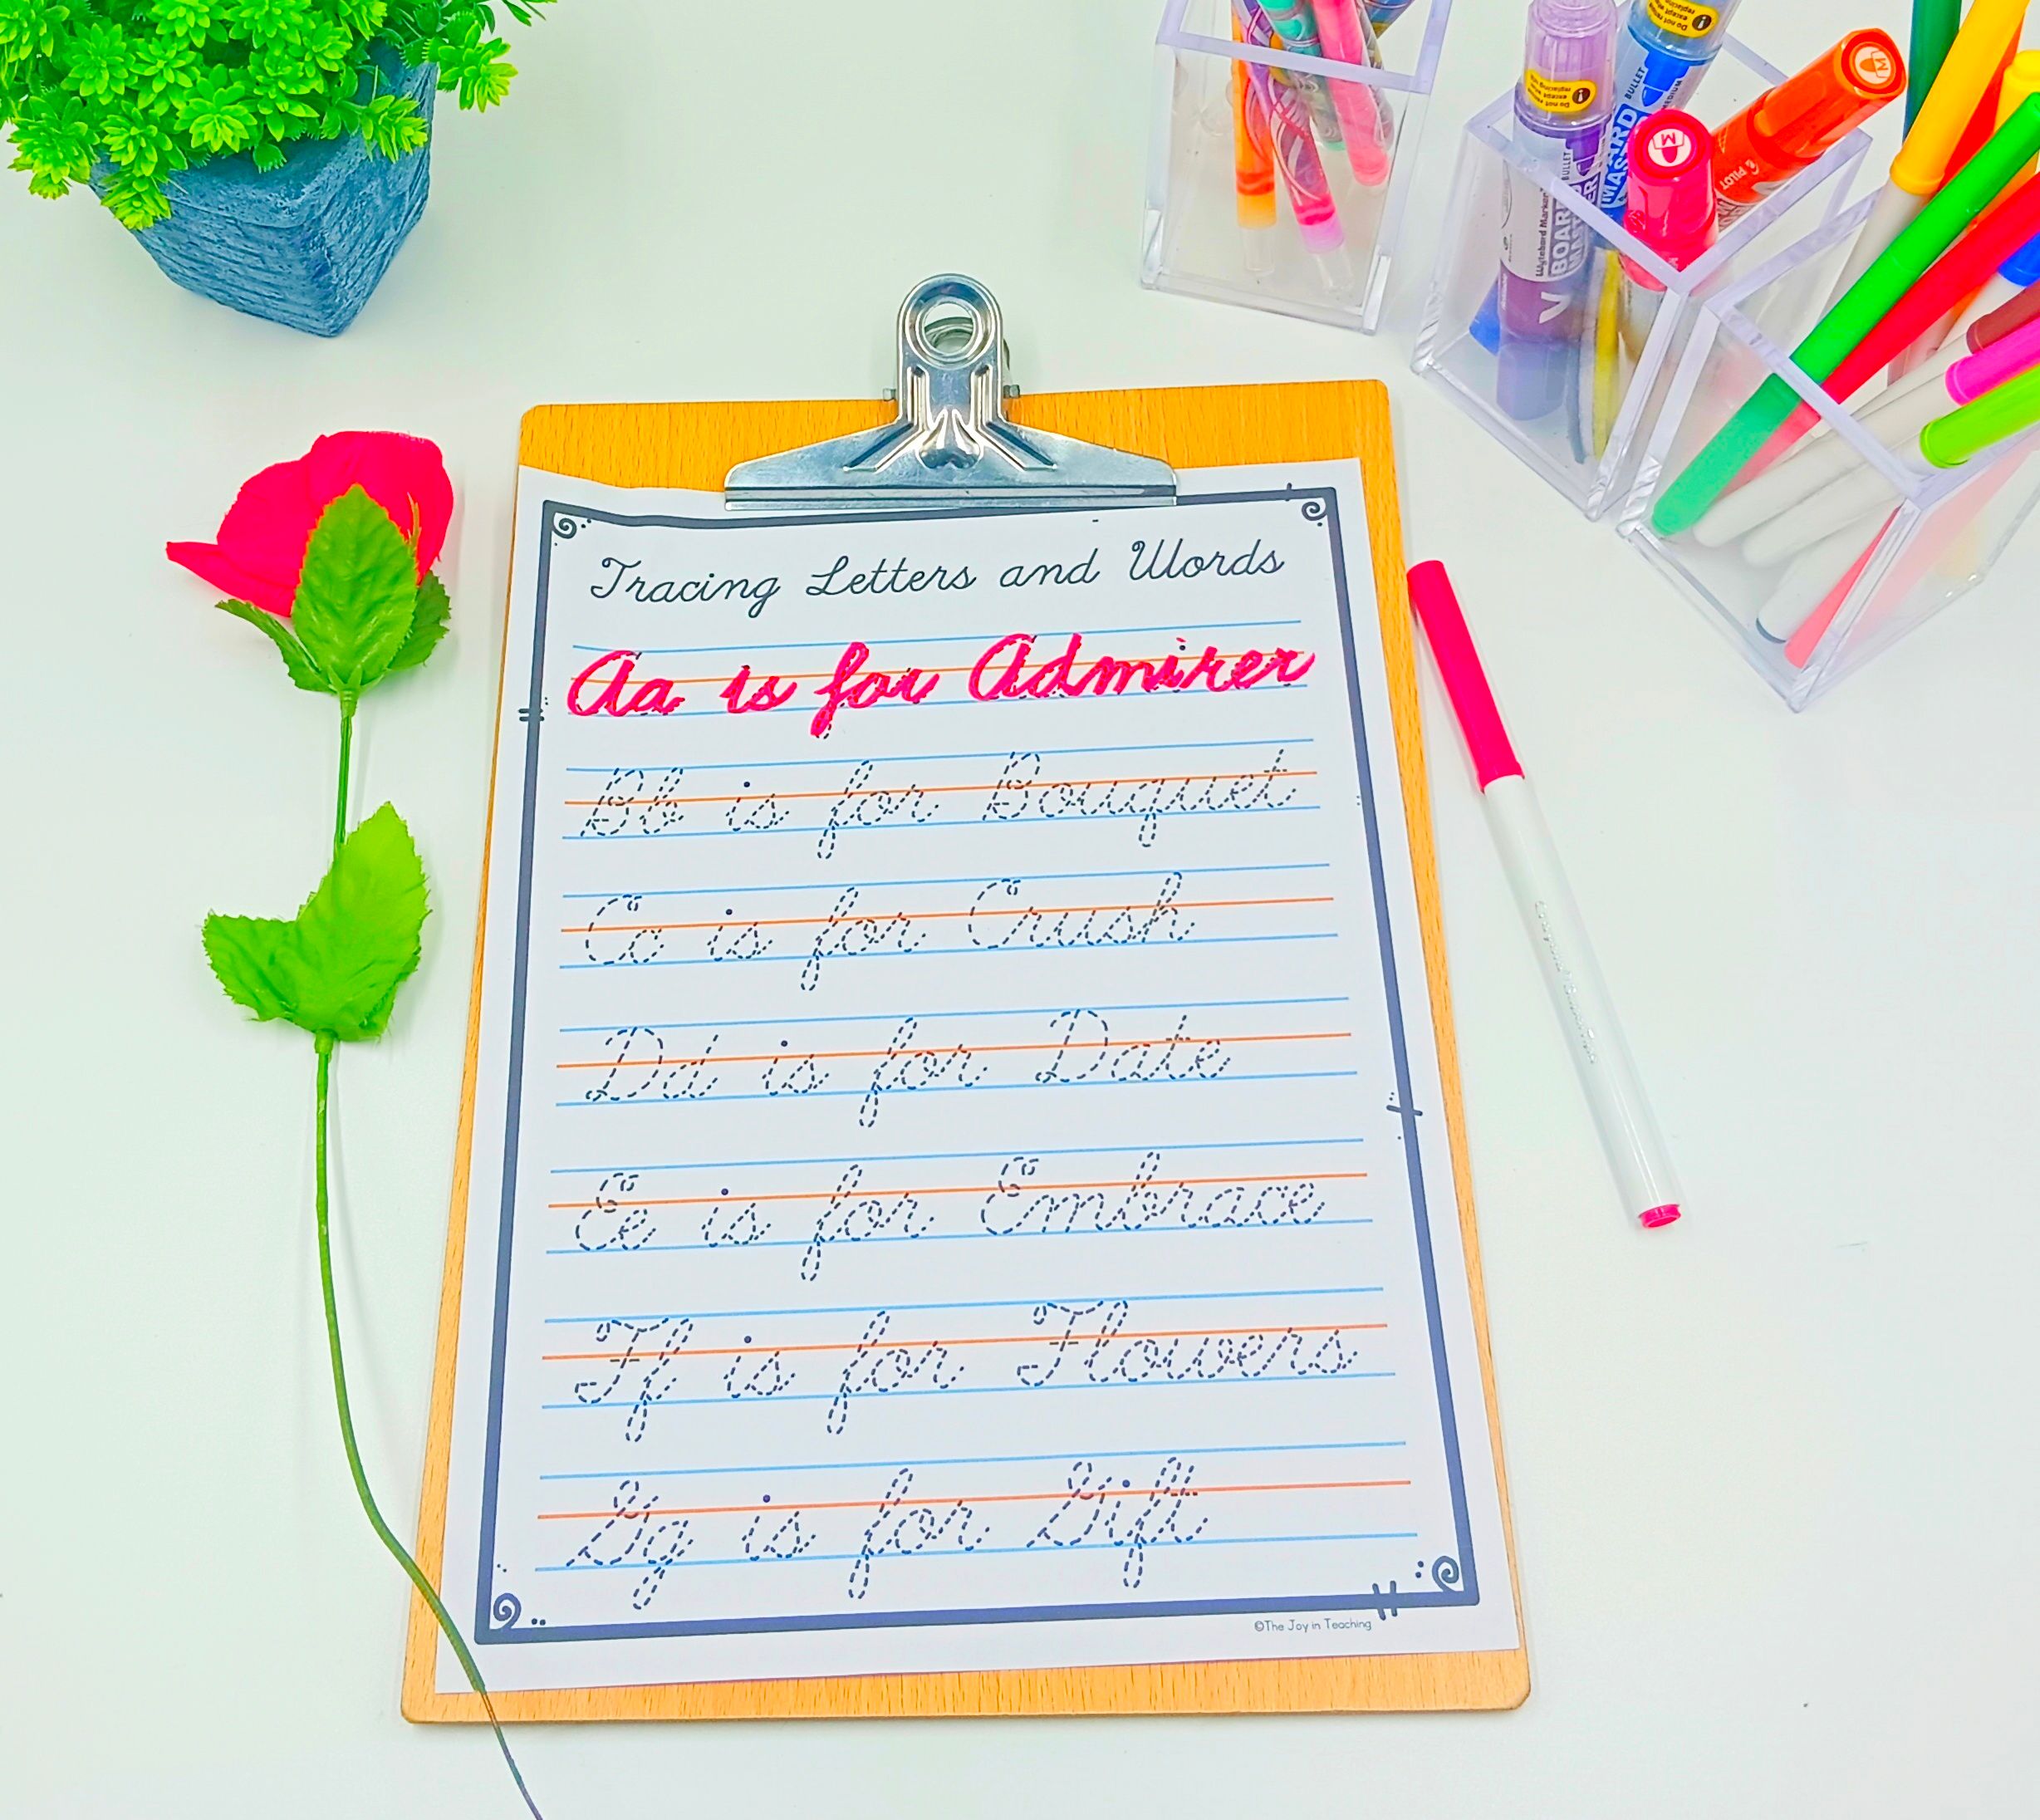
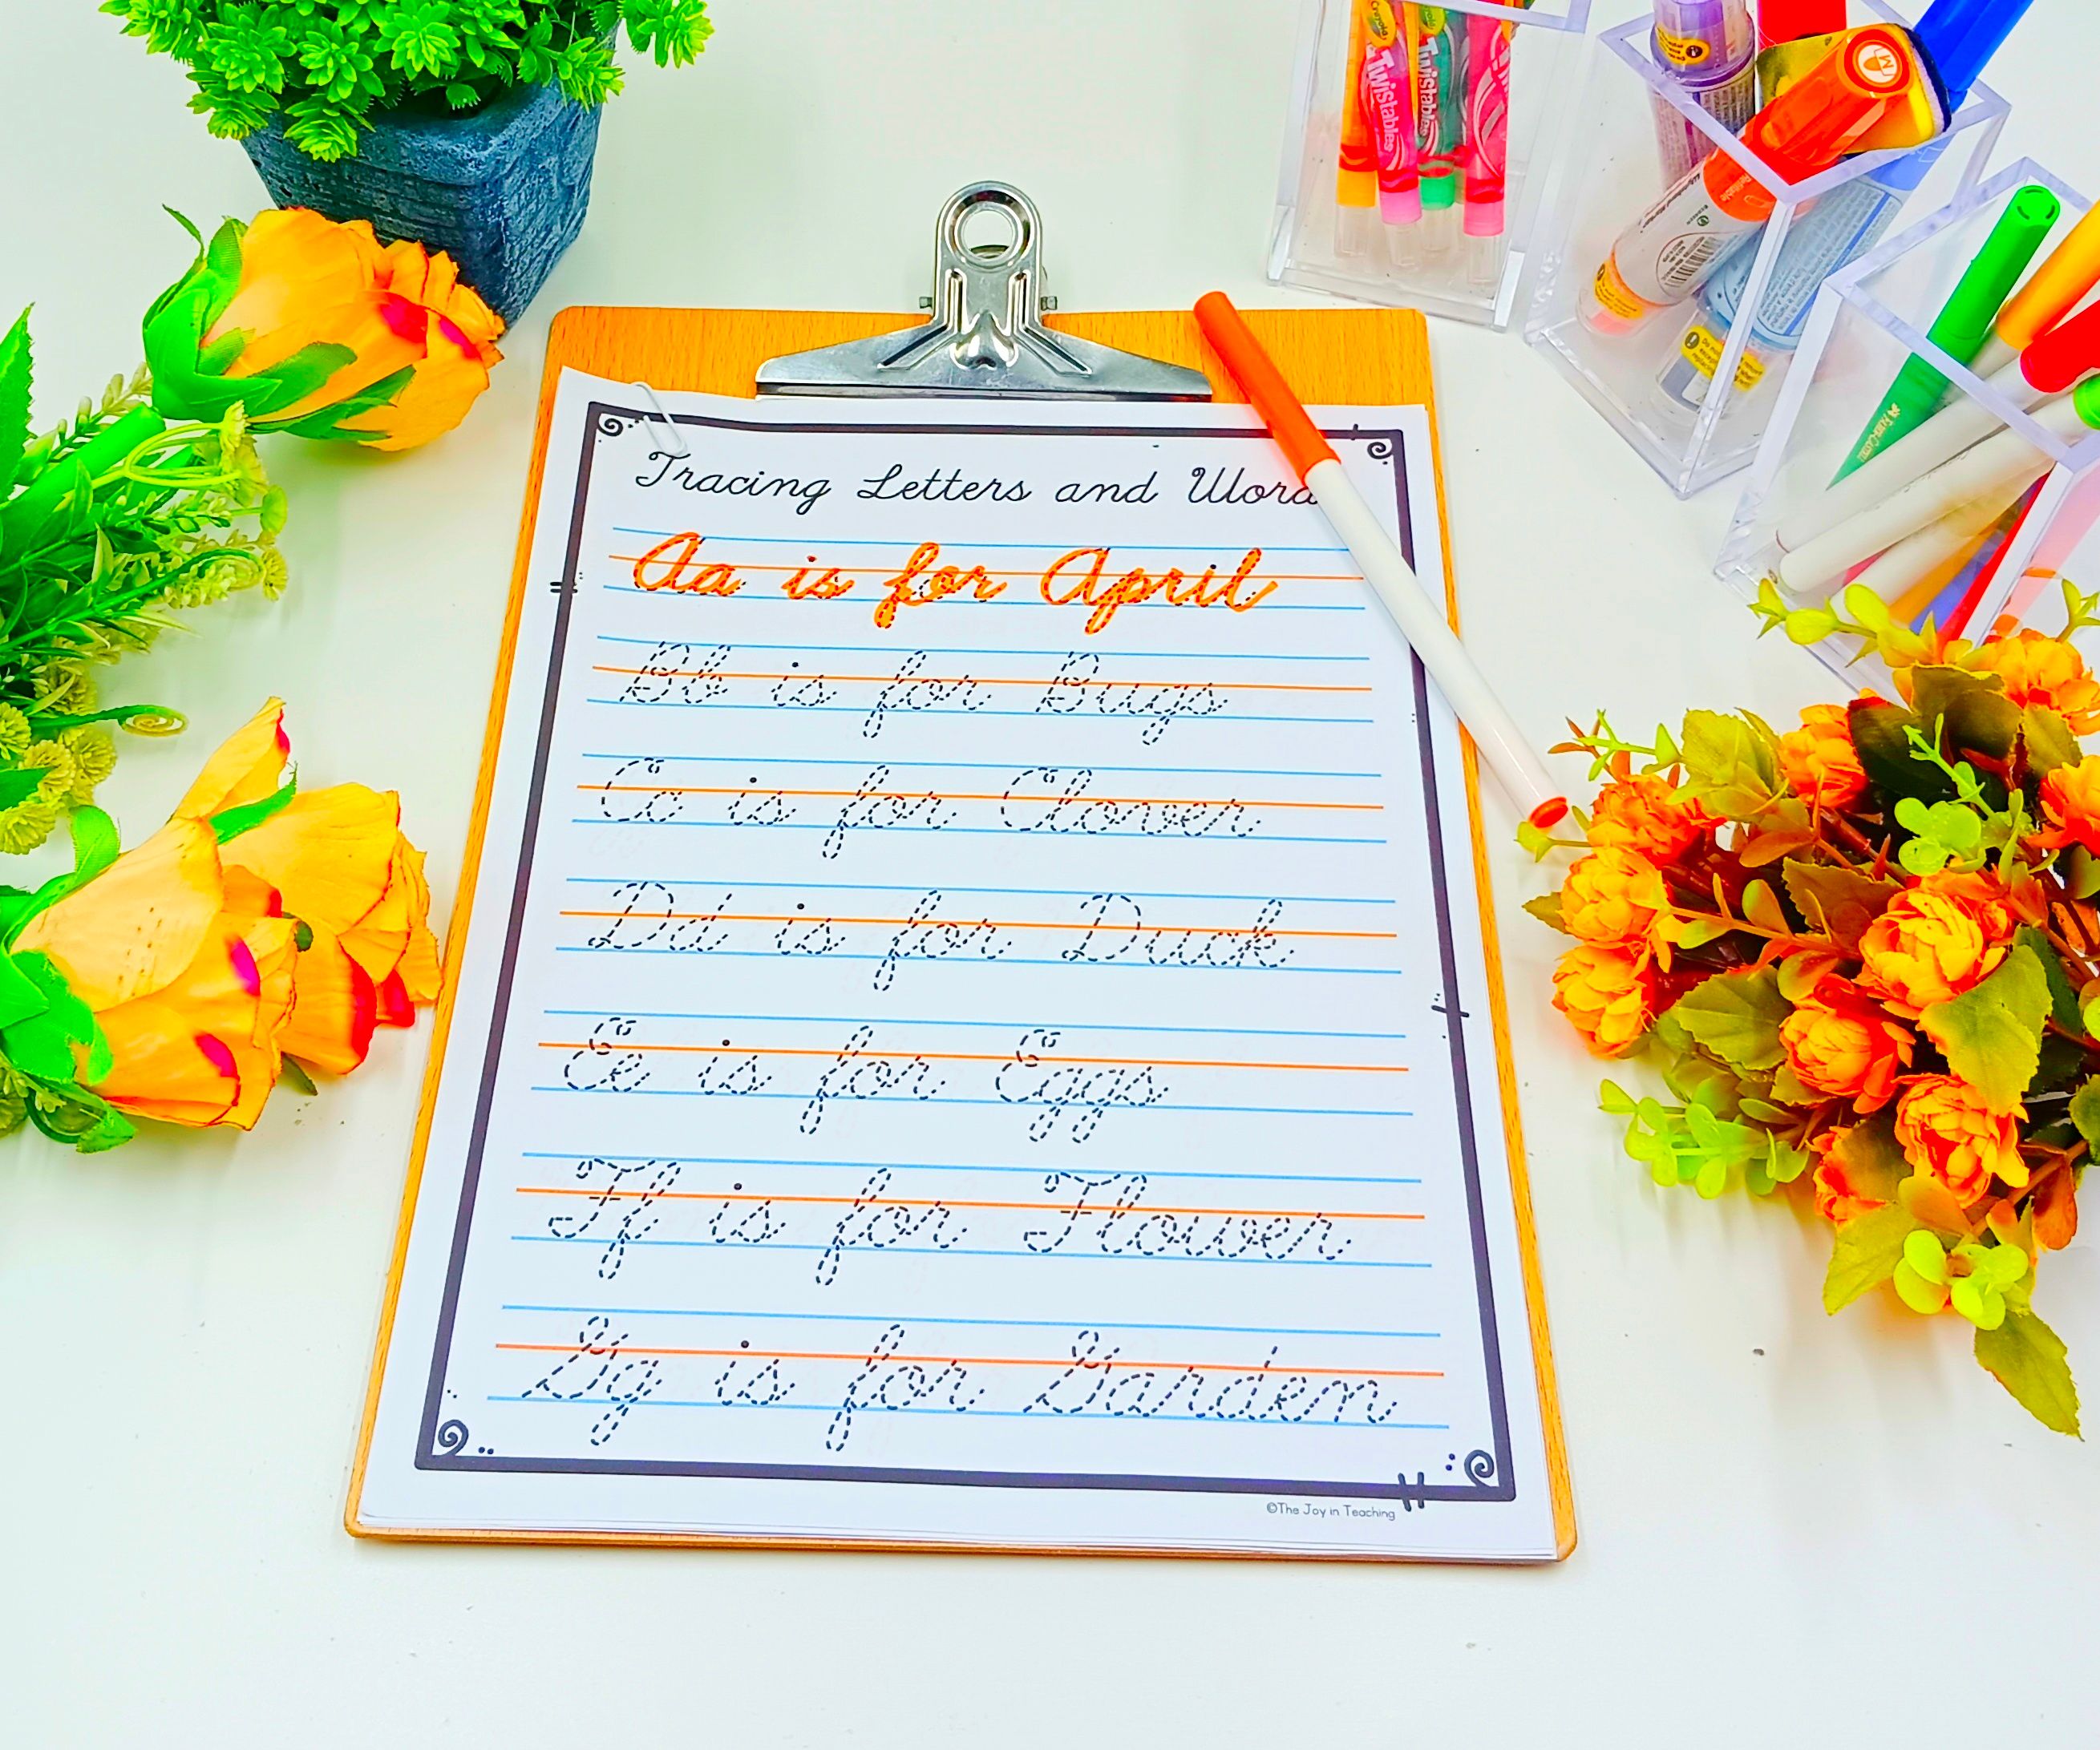
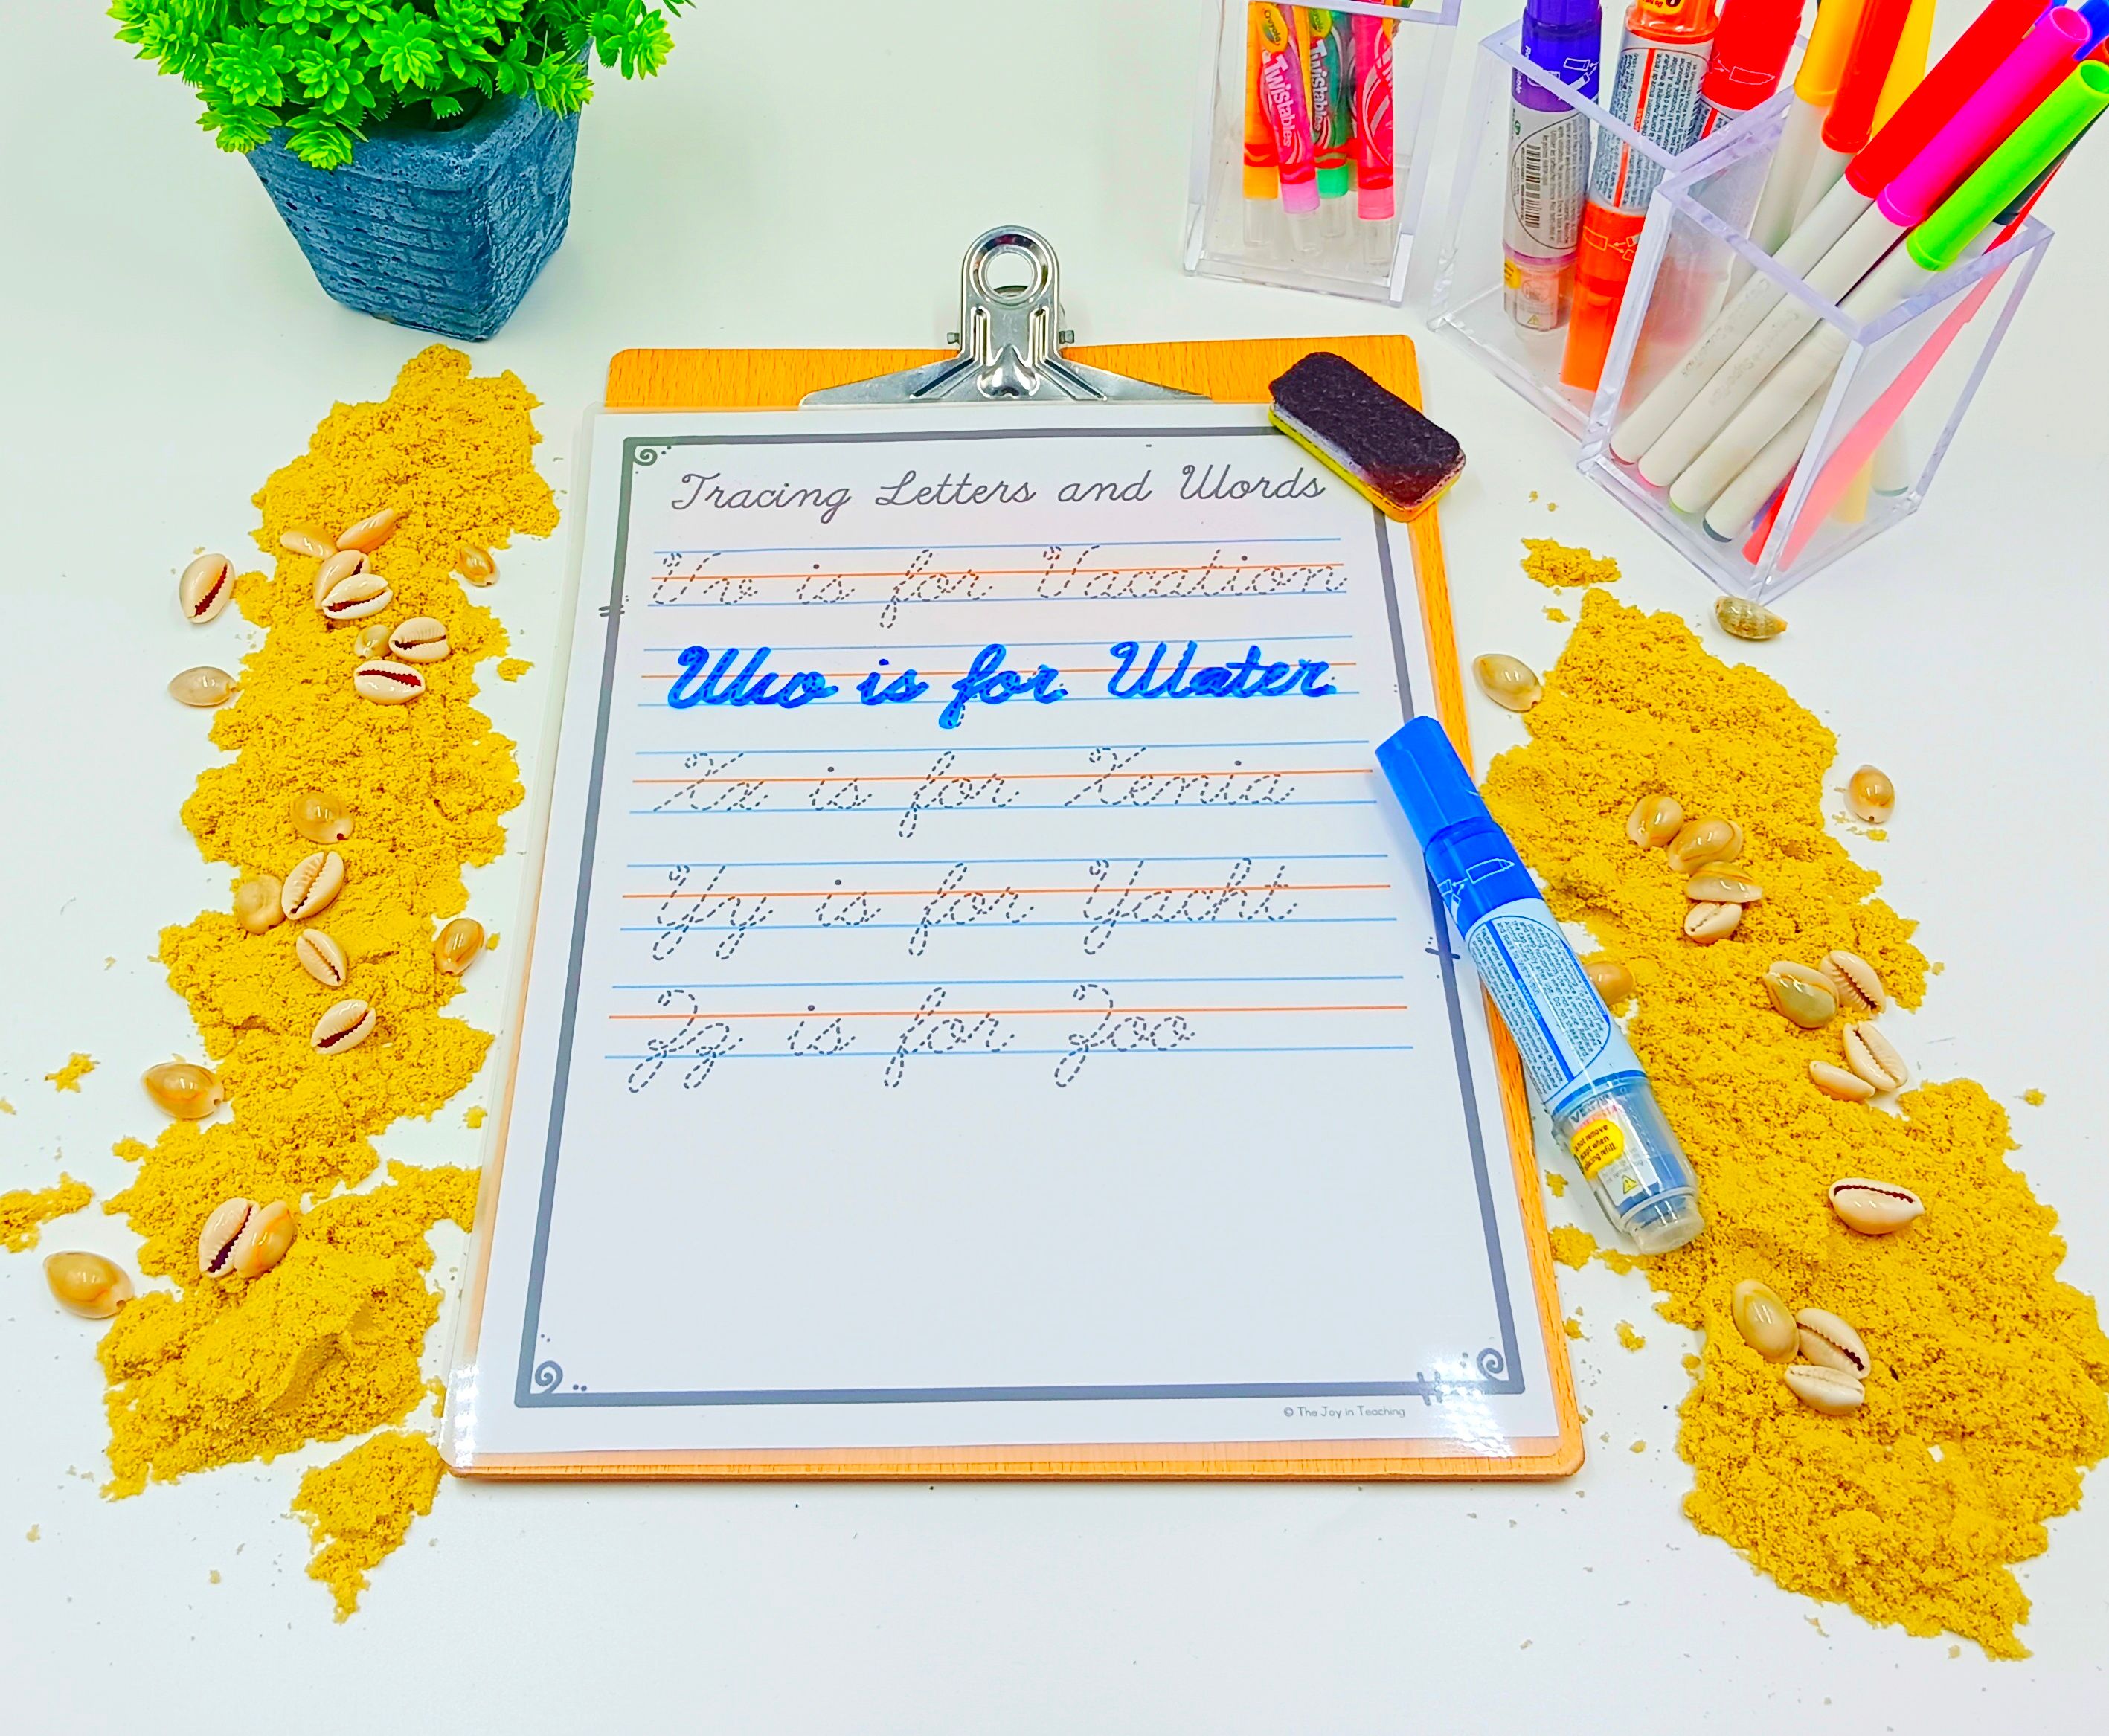
Each group has its own movement emphasis and rhythm, and resources that focus on Aa is for Apple through Zz is for Zebra work amazingly well to reinforce these patterns in a scaffolded, engaging way.
2. Introduce Uppercase Letters
Once students master lowercase letters and understand the mechanics of cursive writing, introduce uppercase letters. These letters often differ slightly in shape and flow, so spend time modeling their structure and showing how to connect them to lowercase letters (like "B" to "e" in Be).Use name practice to make this step personal — students love writing their own names (and their friends’!) in cursive.
3. Connecting Letters: The Bridge to Fluency
Cursive is about connections — it’s one long flow of thought. Once students learn each letter, help them bridge letters to form 2-letter joins, 3-letter words, and then full words and sentences. Start small:
- “op,” “in,” “ar,” “to” (common joins)
- Move to simple words: cat, loop, train, sky
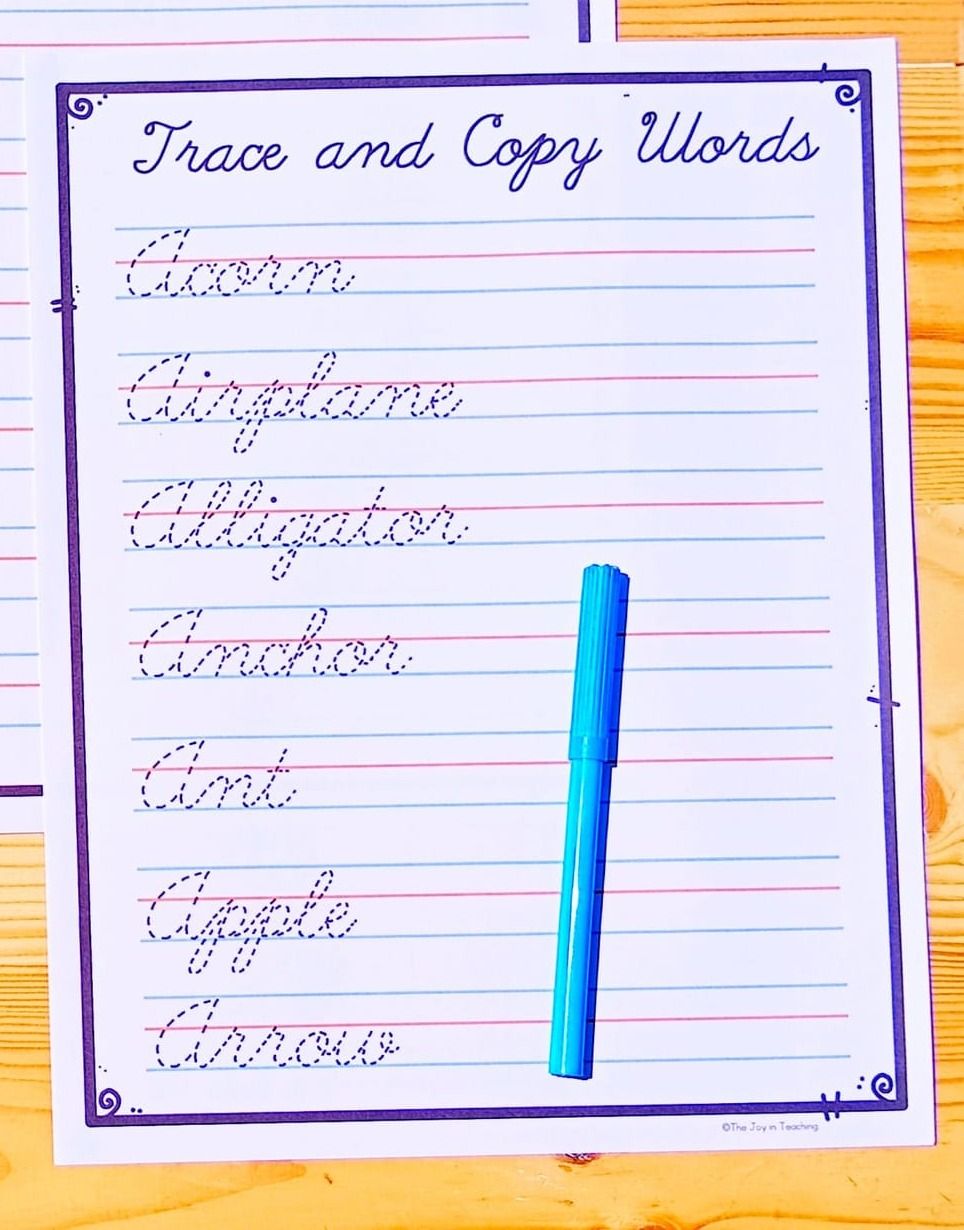
Have students trace then write independently. A step-by-step worksheet that progresses from modeling to independent practice is incredibly helpful here.
4. From Words to Sentences: Make Writing Meaningful
This is where students begin to see the purpose of cursive. Move from tracing to copying short, meaningful sentences. Make sure they’re decodable and familiar — this keeps the focus on handwriting instead of comprehension. Example sentences:
- The sun is up.
- Sam ran fast.
- I like pizza.
Encourage students to write in cursive during journal time or as part of other subjects. The more they use it, the better they’ll get.
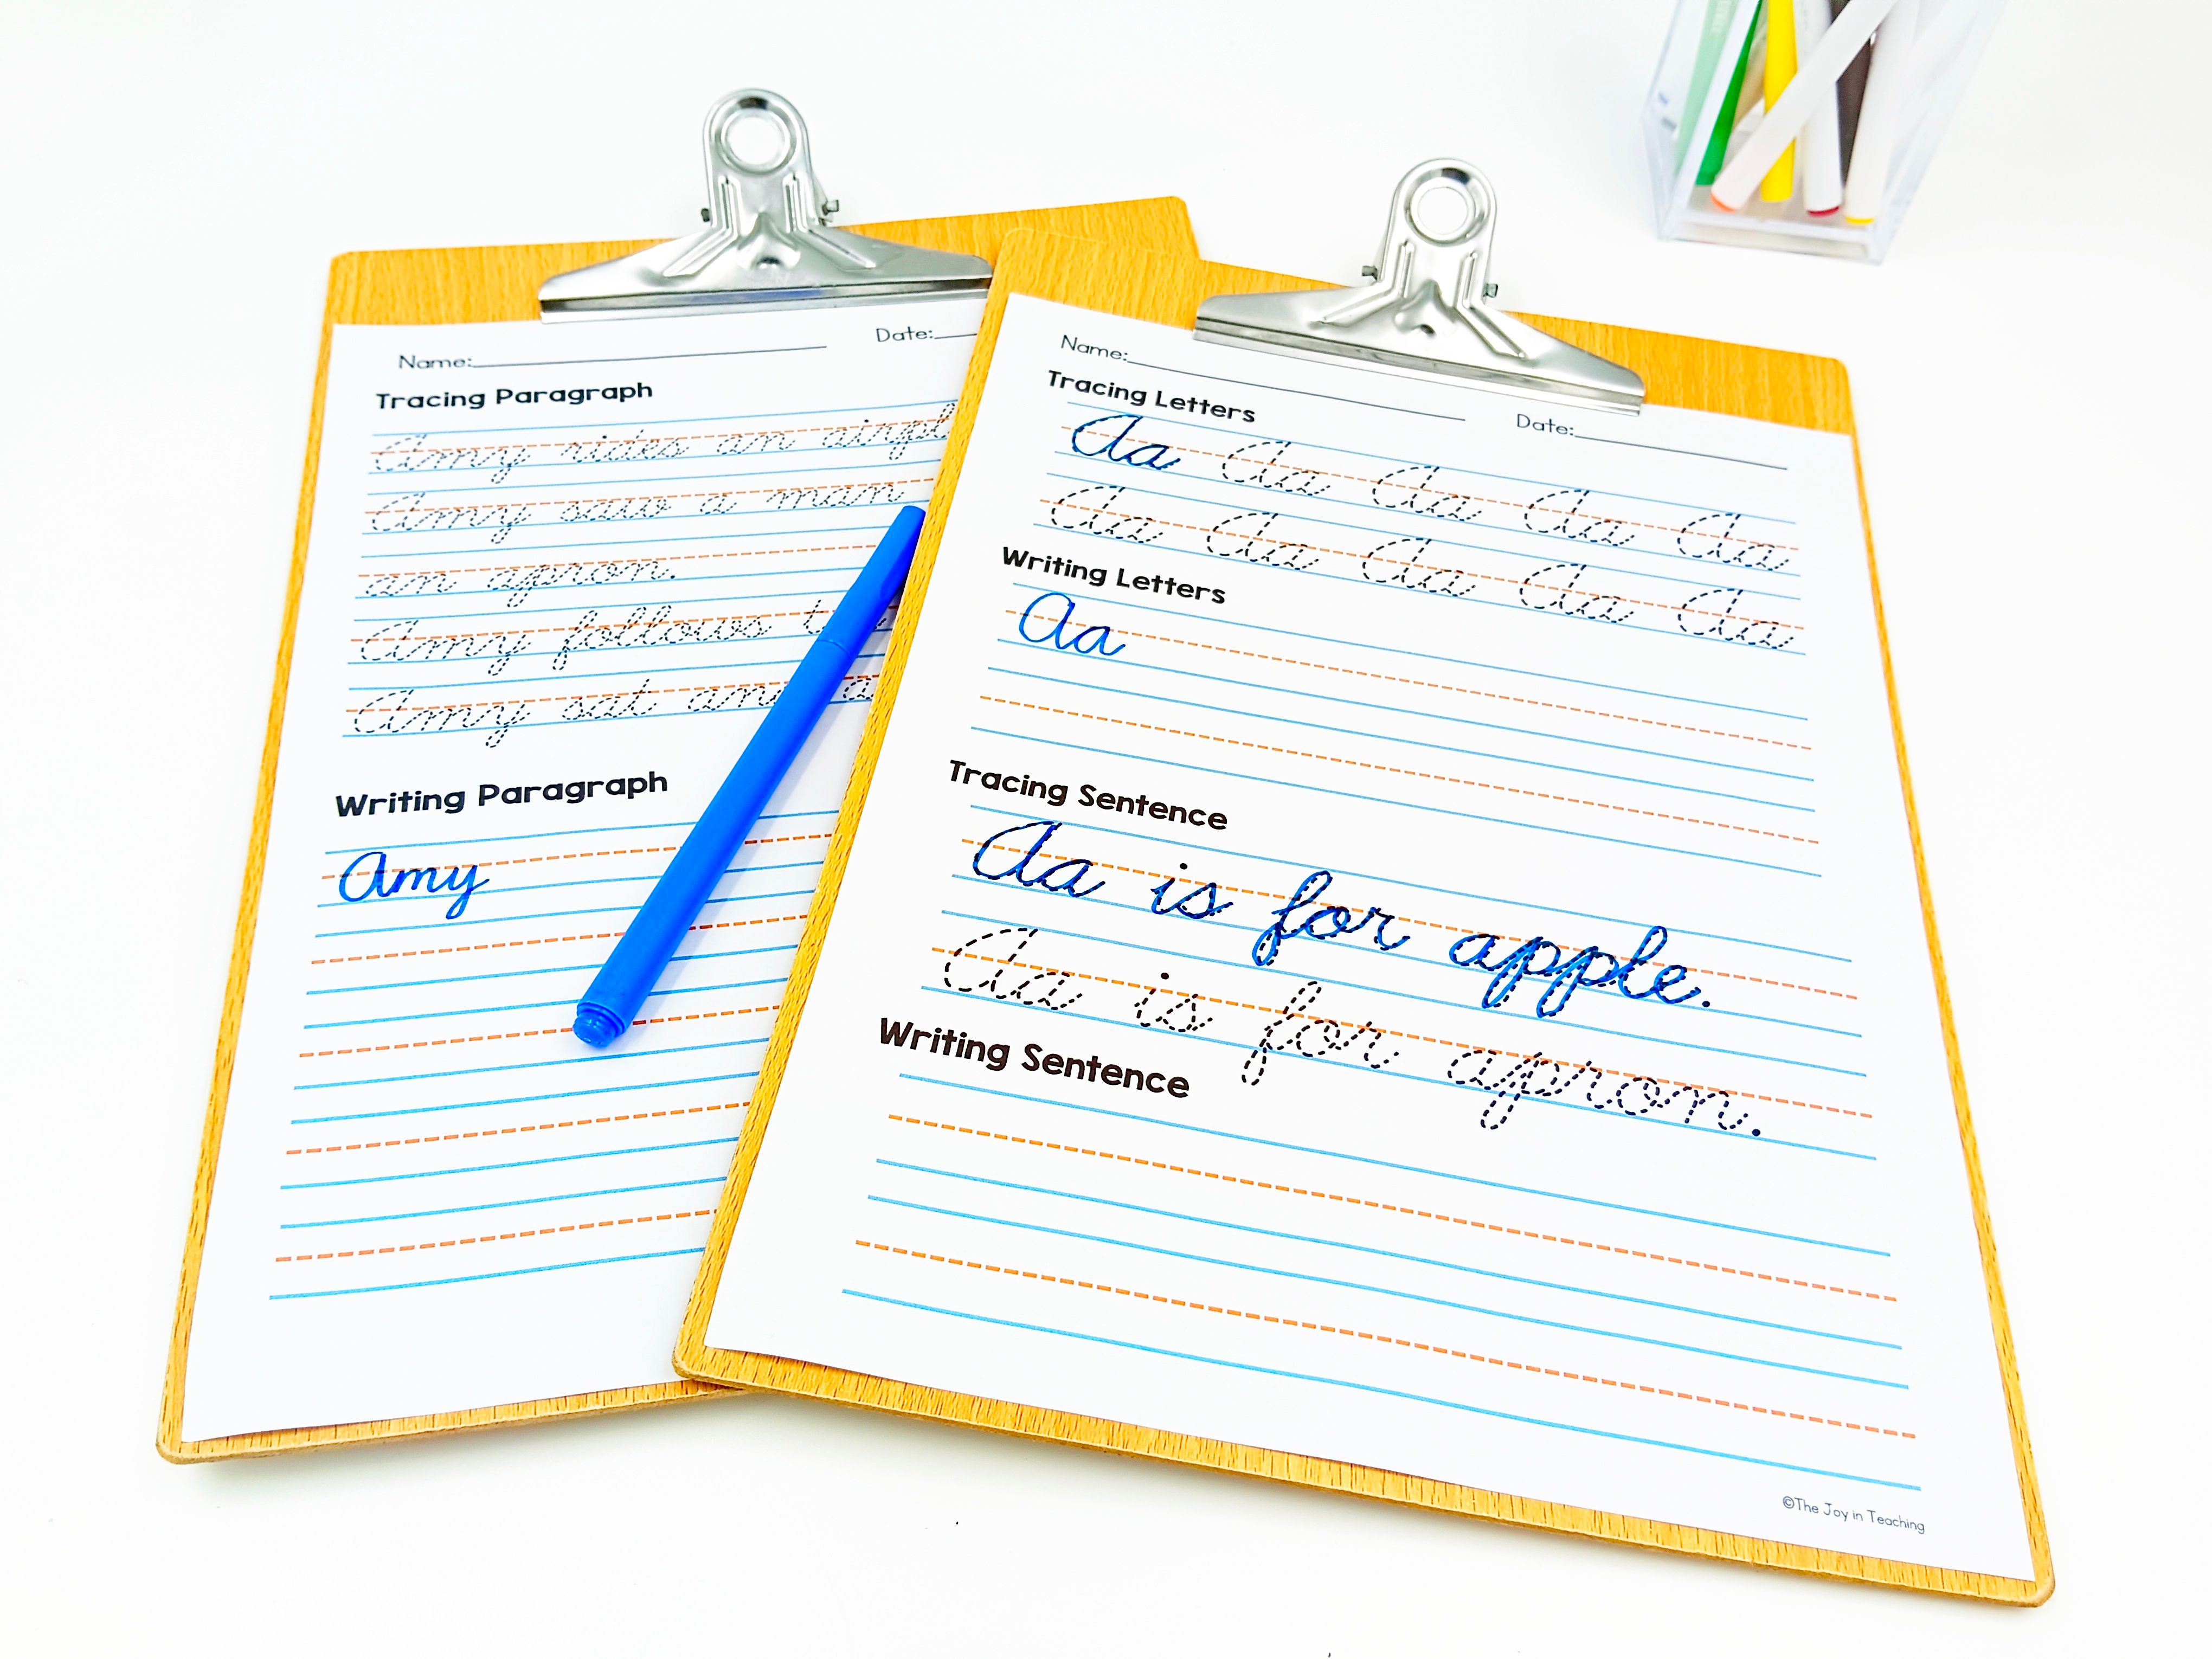
5. Leveling Up: Paragraph Writing in Cursive
Once students are comfortable writing in complete sentences, introduce short paragraph writing. This skill builds handwriting fluency and writing organization at the same time. Here’s a simple way to scaffold paragraph writing in cursive:
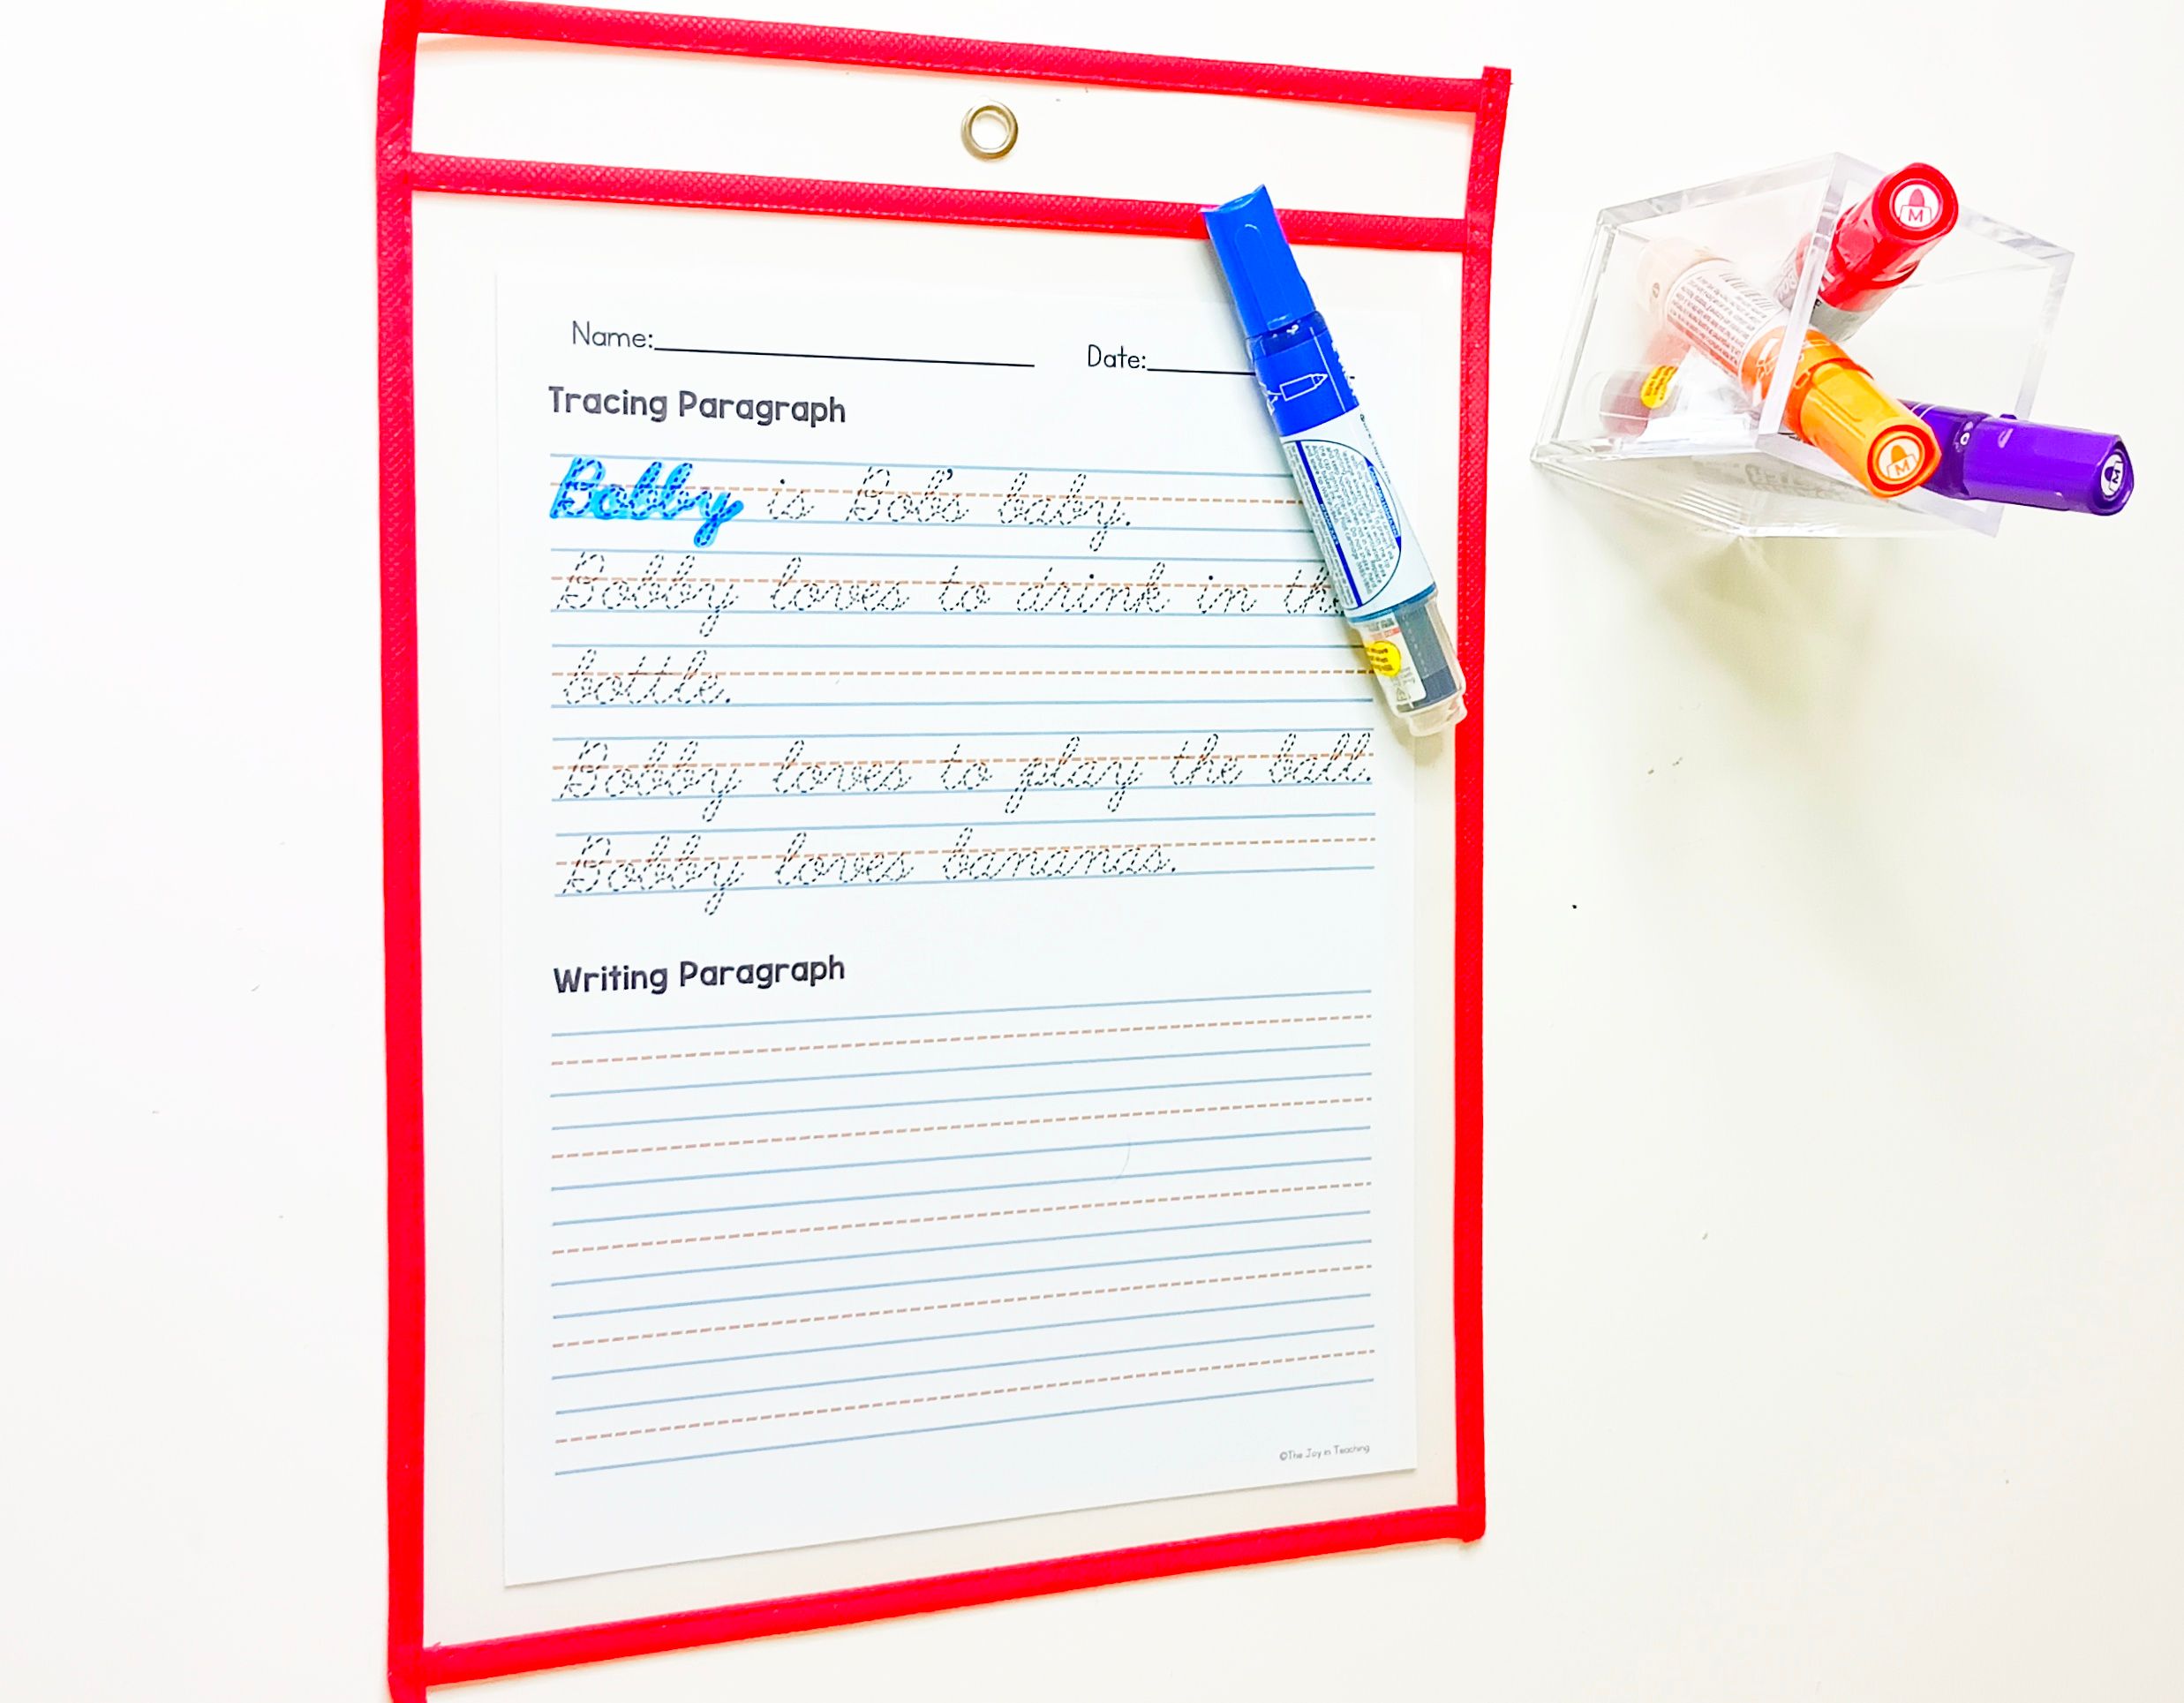
📝 Step-by-Step Cursive Paragraph Practice
- Start with a prompt: What’s your favorite holiday? What did you do this weekend?
- Outline ideas in bullets (e.g., 3–4 ideas).
- Write full sentences underneath the outline.
- Copy the paragraph in cursive as the final step.

Beginning with pencil planning and moving into cursive is key — it separates drafting from handwriting, easing pressure on struggling writers.
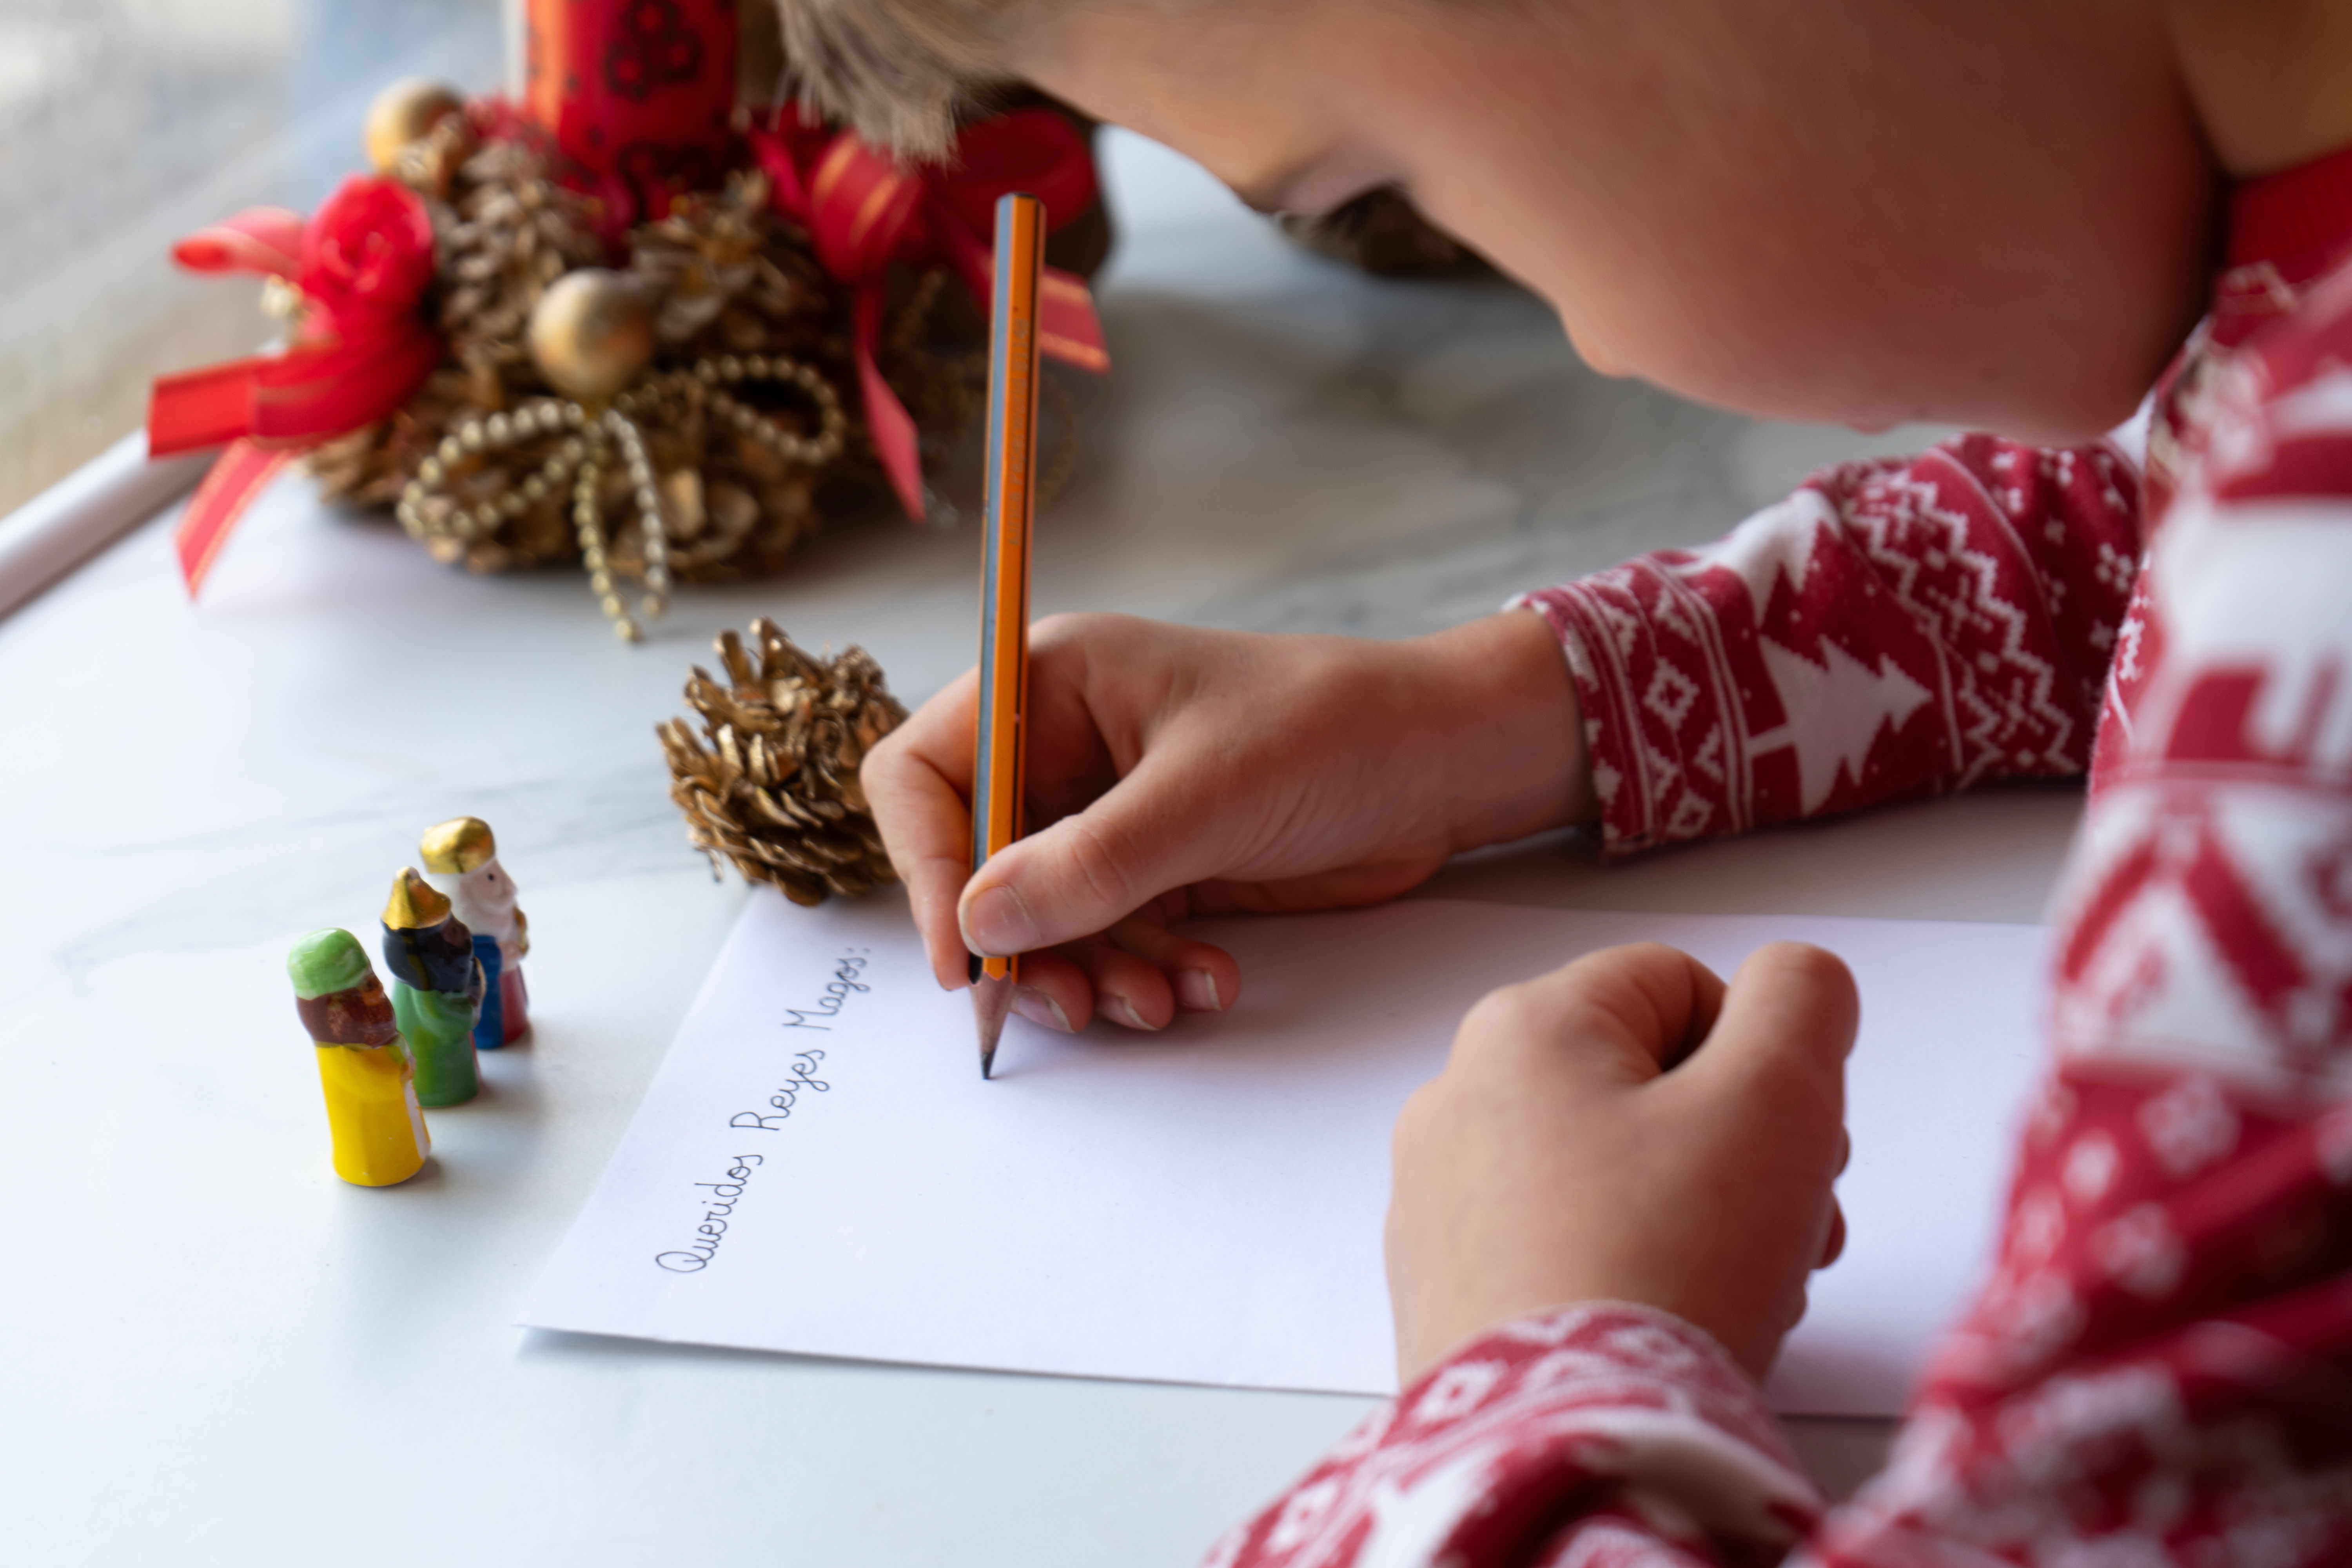
6. Cursive Letters: Let’s Write Something Real
Once your students can write paragraphs, why not try letter writing? It’s a classic skill that makes cursive both practical and fun.
✉️ How to Teach Letter Writing in Cursive
- Start with friendly letters — no need to be formal.
- Teach letter parts: greeting, body, closing, signature.
- Encourage students to write to someone in the class, a family member, or even a fictional character.
A letter writing template in cursive can guide students through the layout while helping them practice handwriting in a real-world format.
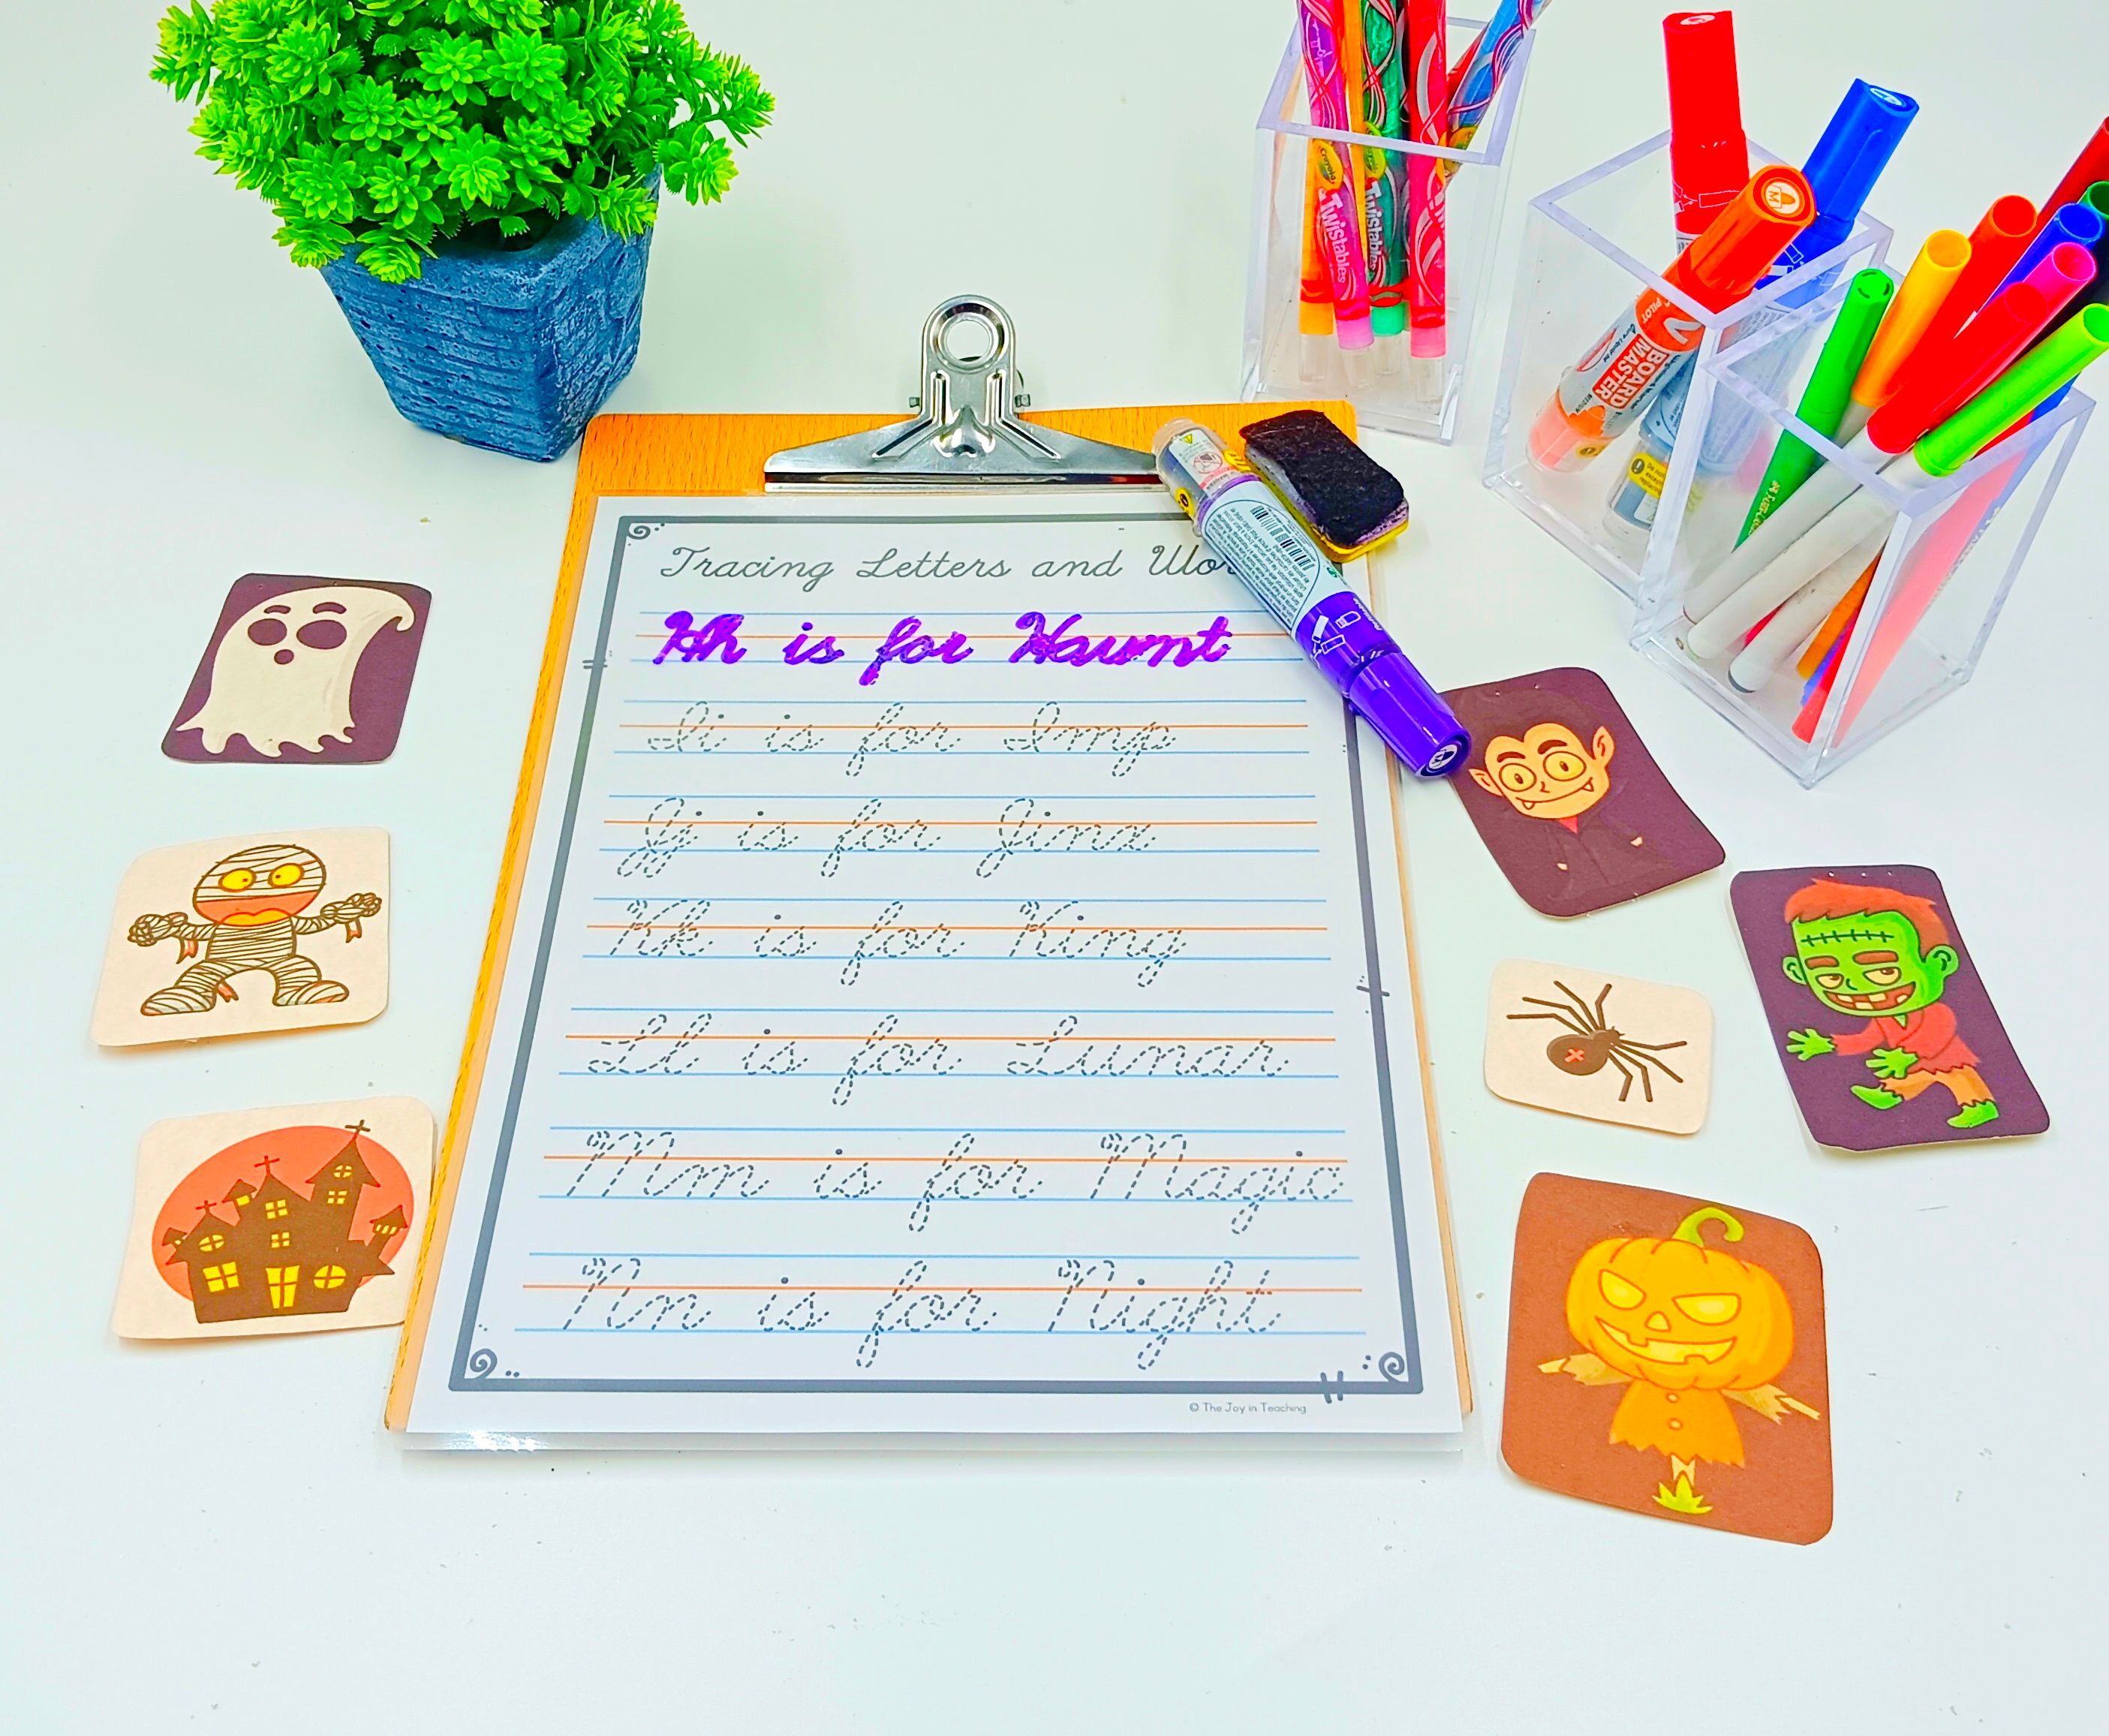
7. Make Cursive Fun: Seasonal Themes and Creative Projects
Once the basics have been introduced and solidified, sprinkle in fun to reinforce skills and fuel motivation. Holiday or seasonal cursive activities are perfect for this.
🎃 Holiday Cursive Ideas
- Halloween: Write spooky words like pumpkin, witch, or ghost in cursive. Design a “cursive costume” banner for display.

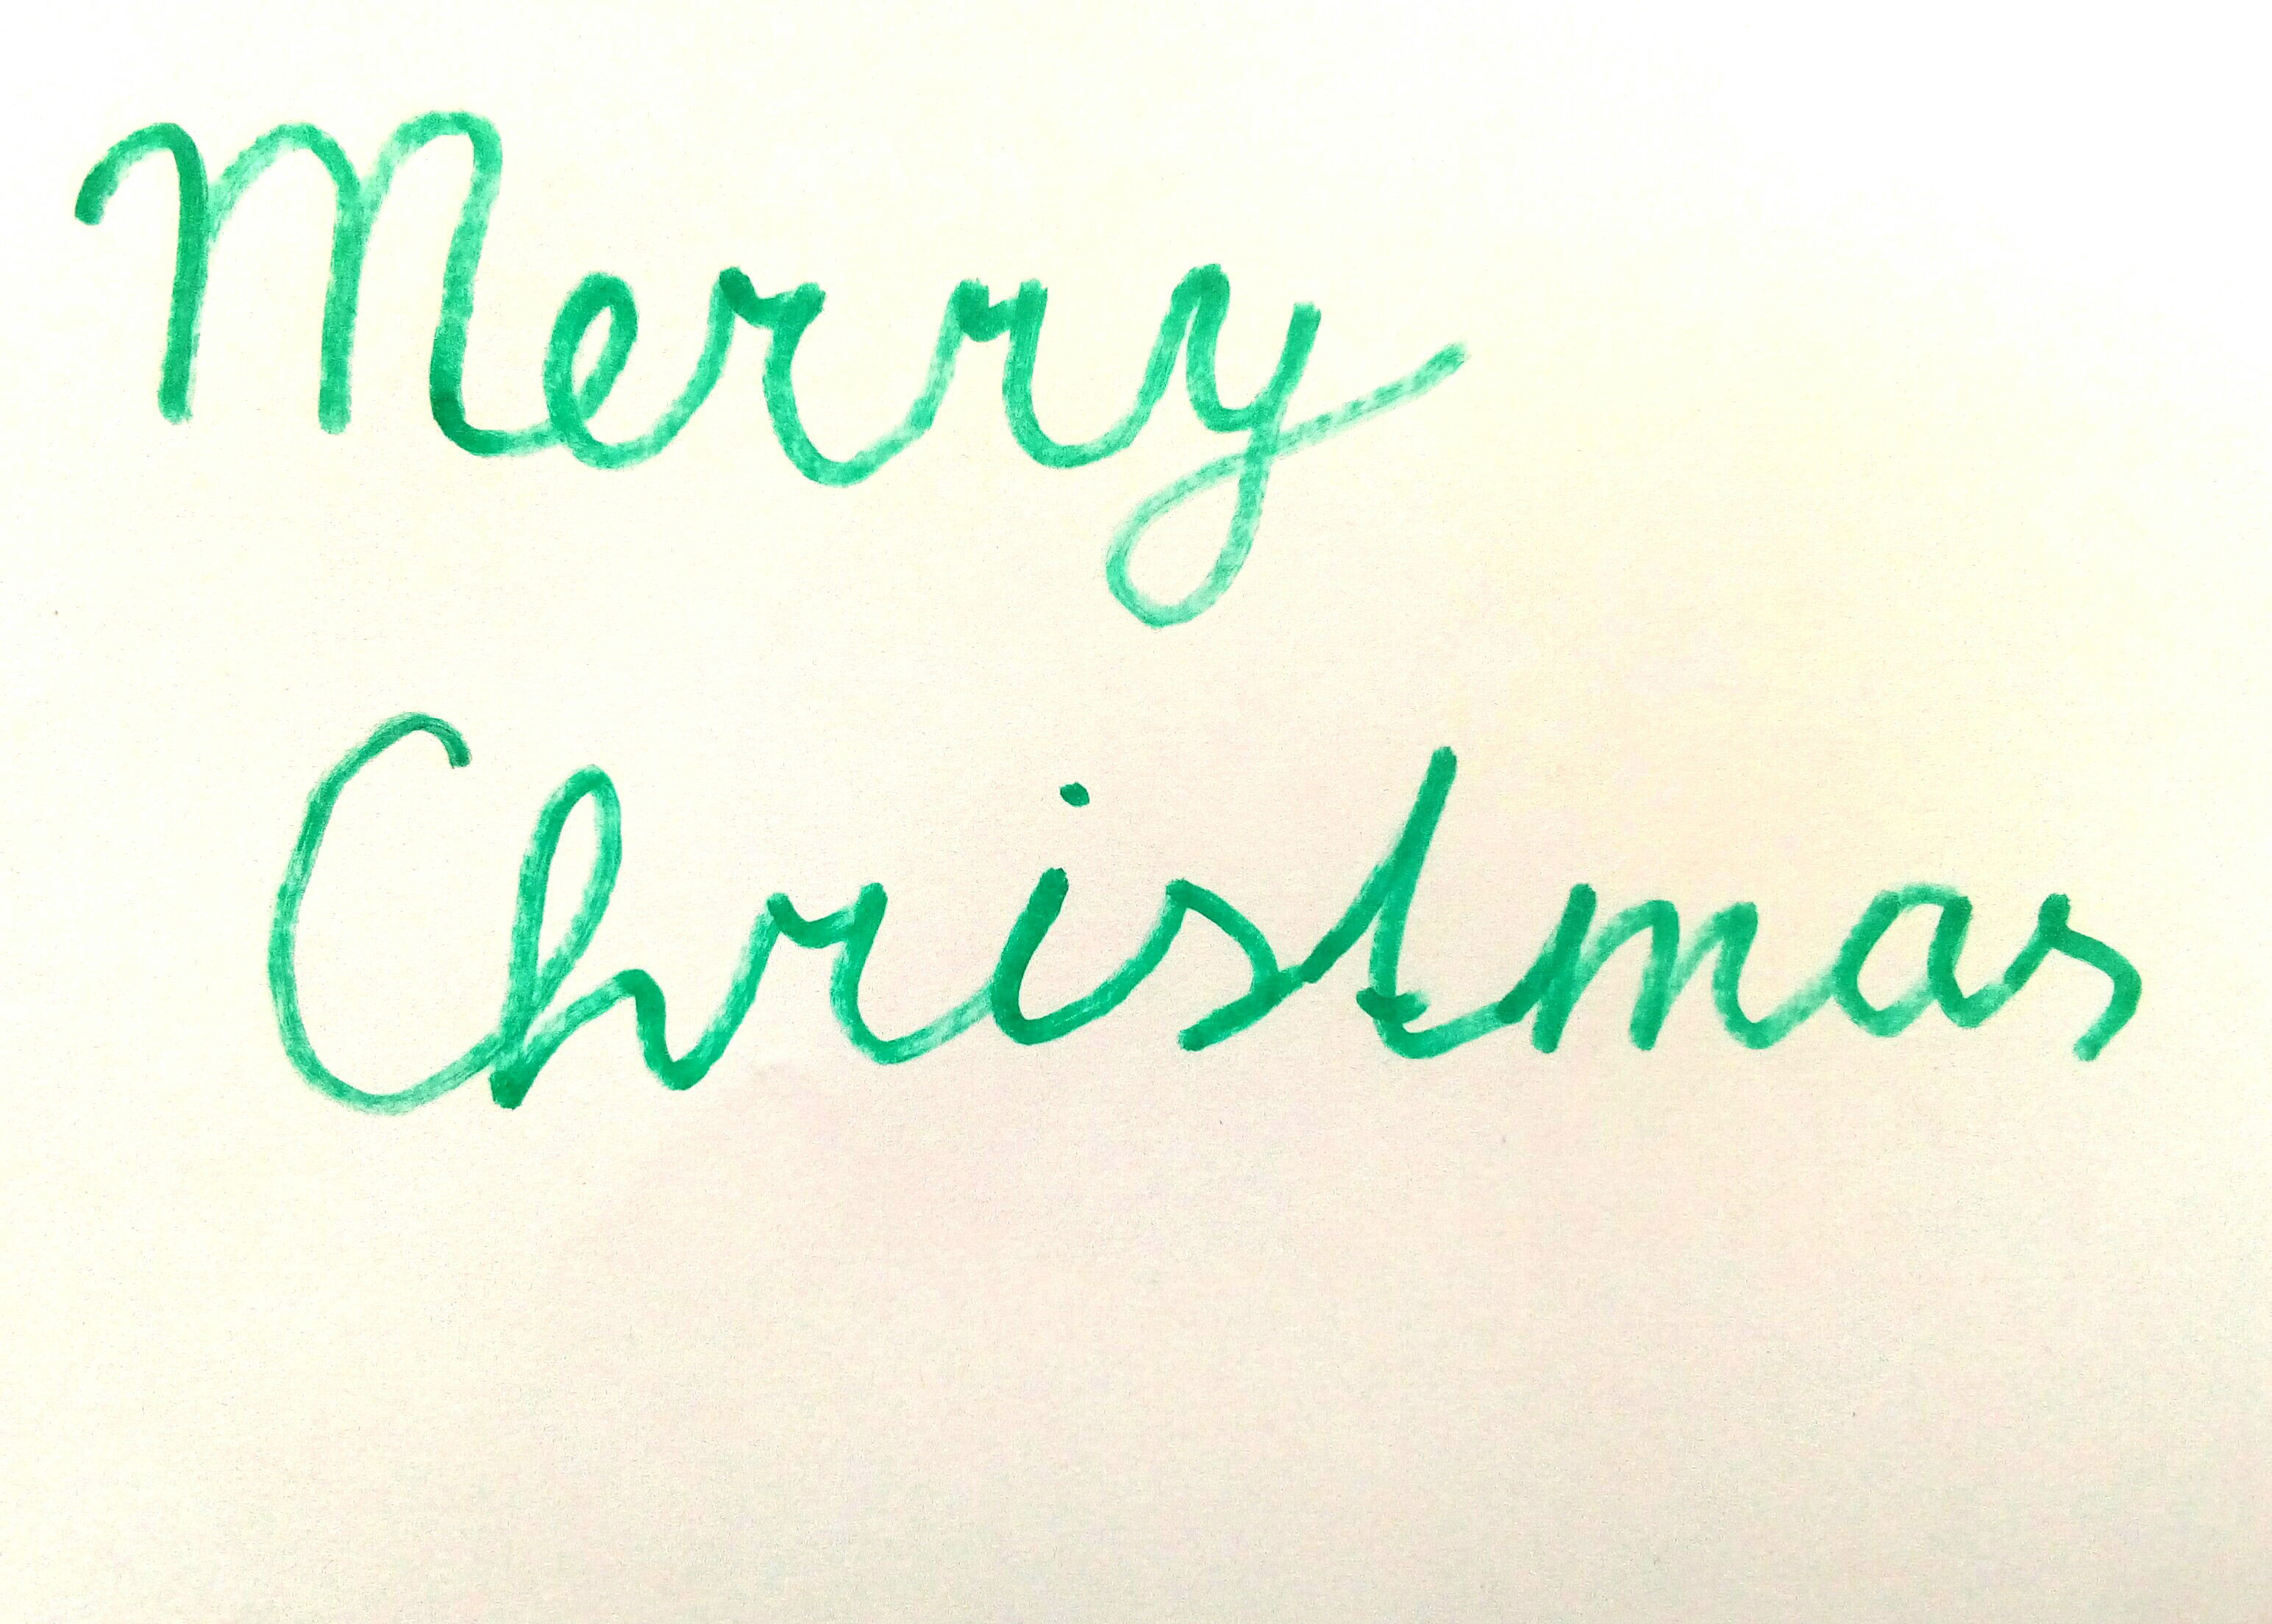
- Christmas: Create cursive Christmas cards, write letters to Santa, or design a mini sign that says “Merry Christmas” in script.
- Valentine’s Day: Reading old love letters in cursive make kids really interested in writing letters as well.


These themes aren’t just cute—they reinforce handwriting practice while making it feel fun and purposeful.
8. Troubleshooting Common Challenges
Let’s face it — learning cursive has its bumps. Here’s how to smooth them out:
| Challenge | Solution |
|---|---|
| Letter reversals | Use visual cues and go slow. Try air writing and tracing or task cards. |
| Slant inconsistency | Slightly slanted paper or desk tilt helps until muscle memory develops. |
| Hand fatigue | Keep sessions short, add movement breaks or hand stretches. |
| Misshapen joins | Slow down; model connections repeatedly; practice joining drills. |
Patience is everything. Practice doesn’t make perfect—it makes progress.
9. Let’s Keep Growing: Encouraging Daily Cursive Use
Here are simple ways to keep cursive alive in the classroom (or at home):
- ✏️ Daily Journal Time: 3–5 sentence prompts in cursive.
- 🖼️ Cursive Art Wall: Decorate words, names, or phrases and hang them as art.
- 🔄 Peer Reading: Have students read cursive notes or work to each other.
- 📖 Whole Group Read & Write: Display a sentence on your board, copy it in cursive.
Consistency is what builds fluency.
🔗 Helpful Tools for Your Journey
You don’t need any fancy technology to teach cursive — just well-designed worksheets, structure, and imagination. Consider combining:
- Alphabet-focused tracing pages for letters
- Step-by-step progression worksheets or Letter, Words and Paragraph Cursive Writing for building fluency
- Seasonal cursive writing packs to mix skill practice with fun
Christmas Cursive Handwriting Practice
Fall Cursive Handwriting Practice
Halloween Cursive Handwriting Practice
Spring Cursive Handwriting Practice
Summer Cursive Handwriting Practice
Valentine’s Day Cursive Handwriting Practice
These tools provide structure while letting you teach in a way that fits your class’s energy and needs.
Final Thoughts: Cursive Is an Investment Worth Making ✨
Cursive is so much more than pretty handwriting — it’s a skill that ties together language, creativity, confidence, and even mindfulness. When you start with the basics, build in layers (letters ➜ words ➜ sentences ➜ paragraphs ➜ letter writing), and add in a little fun (hello holiday cursive), you’re setting your students up for handwriting success that feels natural, engaging, and meaningful. Let’s help a new generation fall in love with the art of writing. One loop at a time ❤️
Follow Me for More Teaching Tips with Joy For more tips, resources, and a daily dose of teaching joy, follow me on:
Got questions or want to share your success stories? Drop me an email at thejoyinteaching@gmail.com. I love hearing from fellow educators and parents! Happy Teaching!
Joy Medalla
The Joy in Teaching 💛