How to Make a CVC Word Builder (Effective Word Reading Strategy You Should Try) something like that
If you've ever watched a kindergartener struggle to put three letters together to make a word, you already know how helpful a hands-on activity can be. That's where a CVC Word Builder comes in. Instead of simply asking students to write or read words, a CVC Word Builder lets them physically move letters around, match sounds, and build words one letter at a time. And yes, you can make one yourself. It takes a little prep, a laminator, and probably more Velcro than you initially expect—but once it's assembled, you'll have a reusable phonics activity that can be used again and again. Let's walk through how to make one, how to organize it, and how to use it with beginning readers.
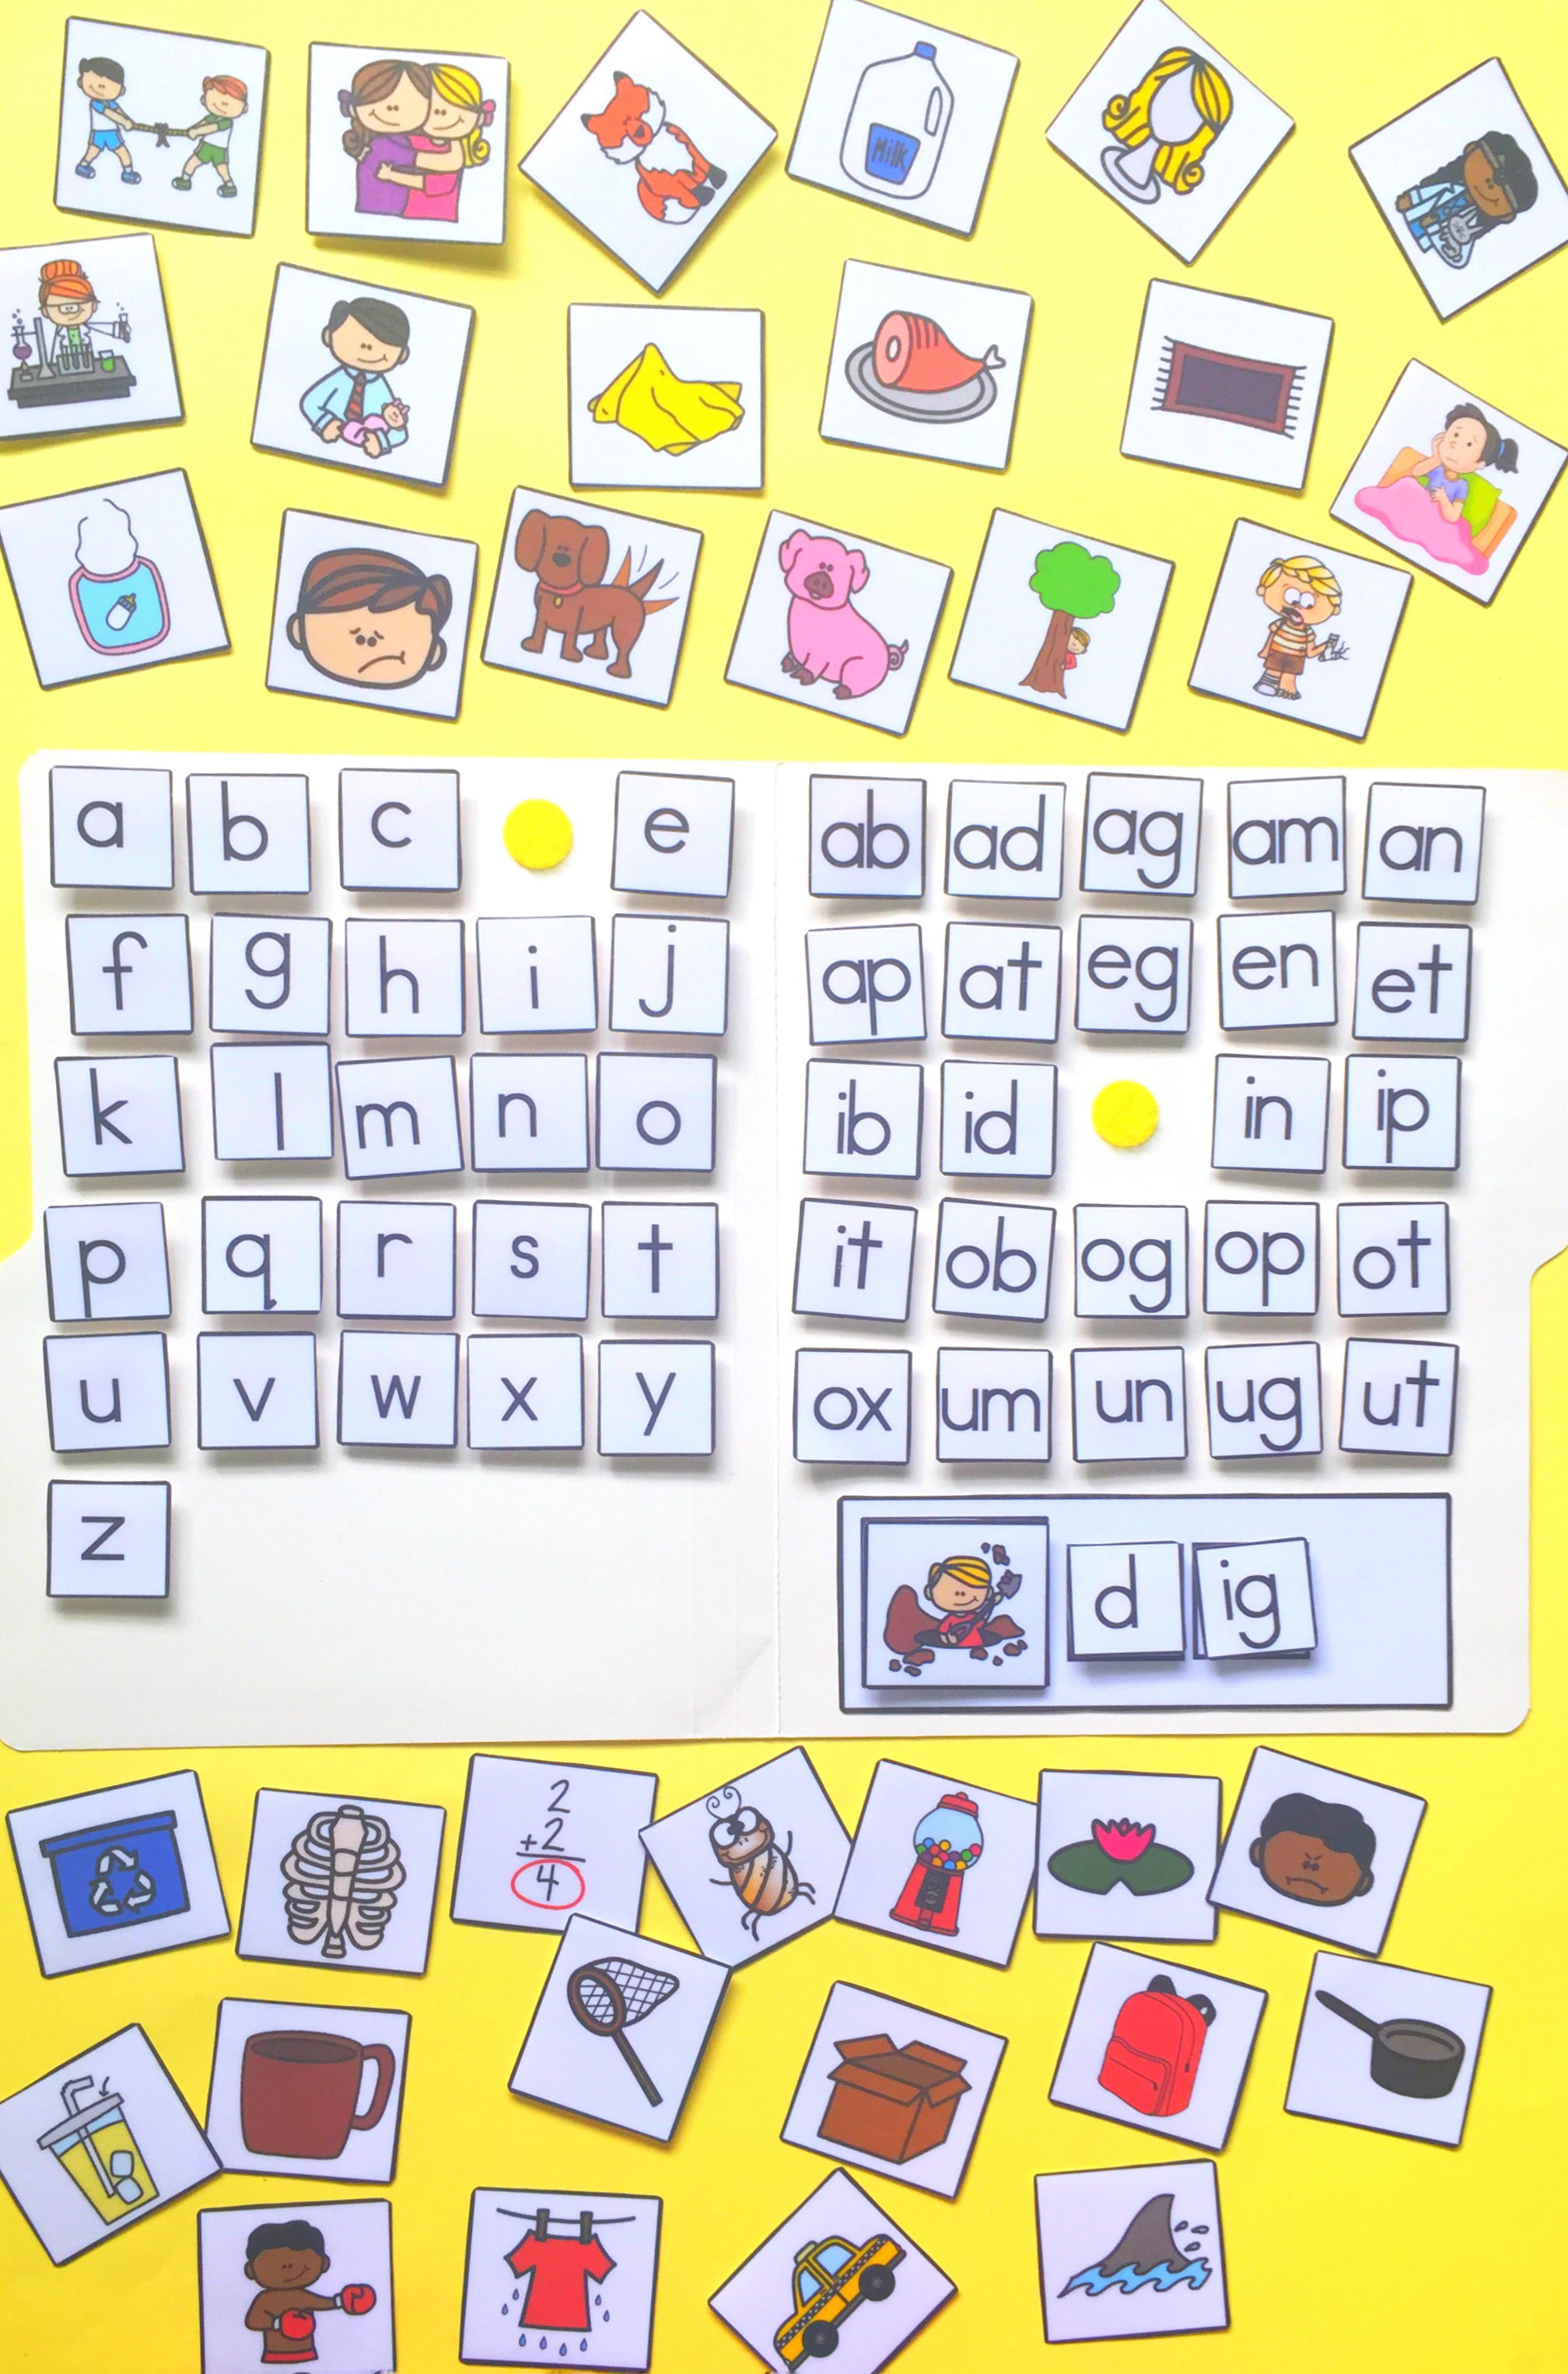
What Is a CVC Word Builder?
CVC stands for Consonant-Vowel-Consonant.These are simple three-letter words such as:
- cat
- dog
- sun
- bed
- pig
- mop
- cup
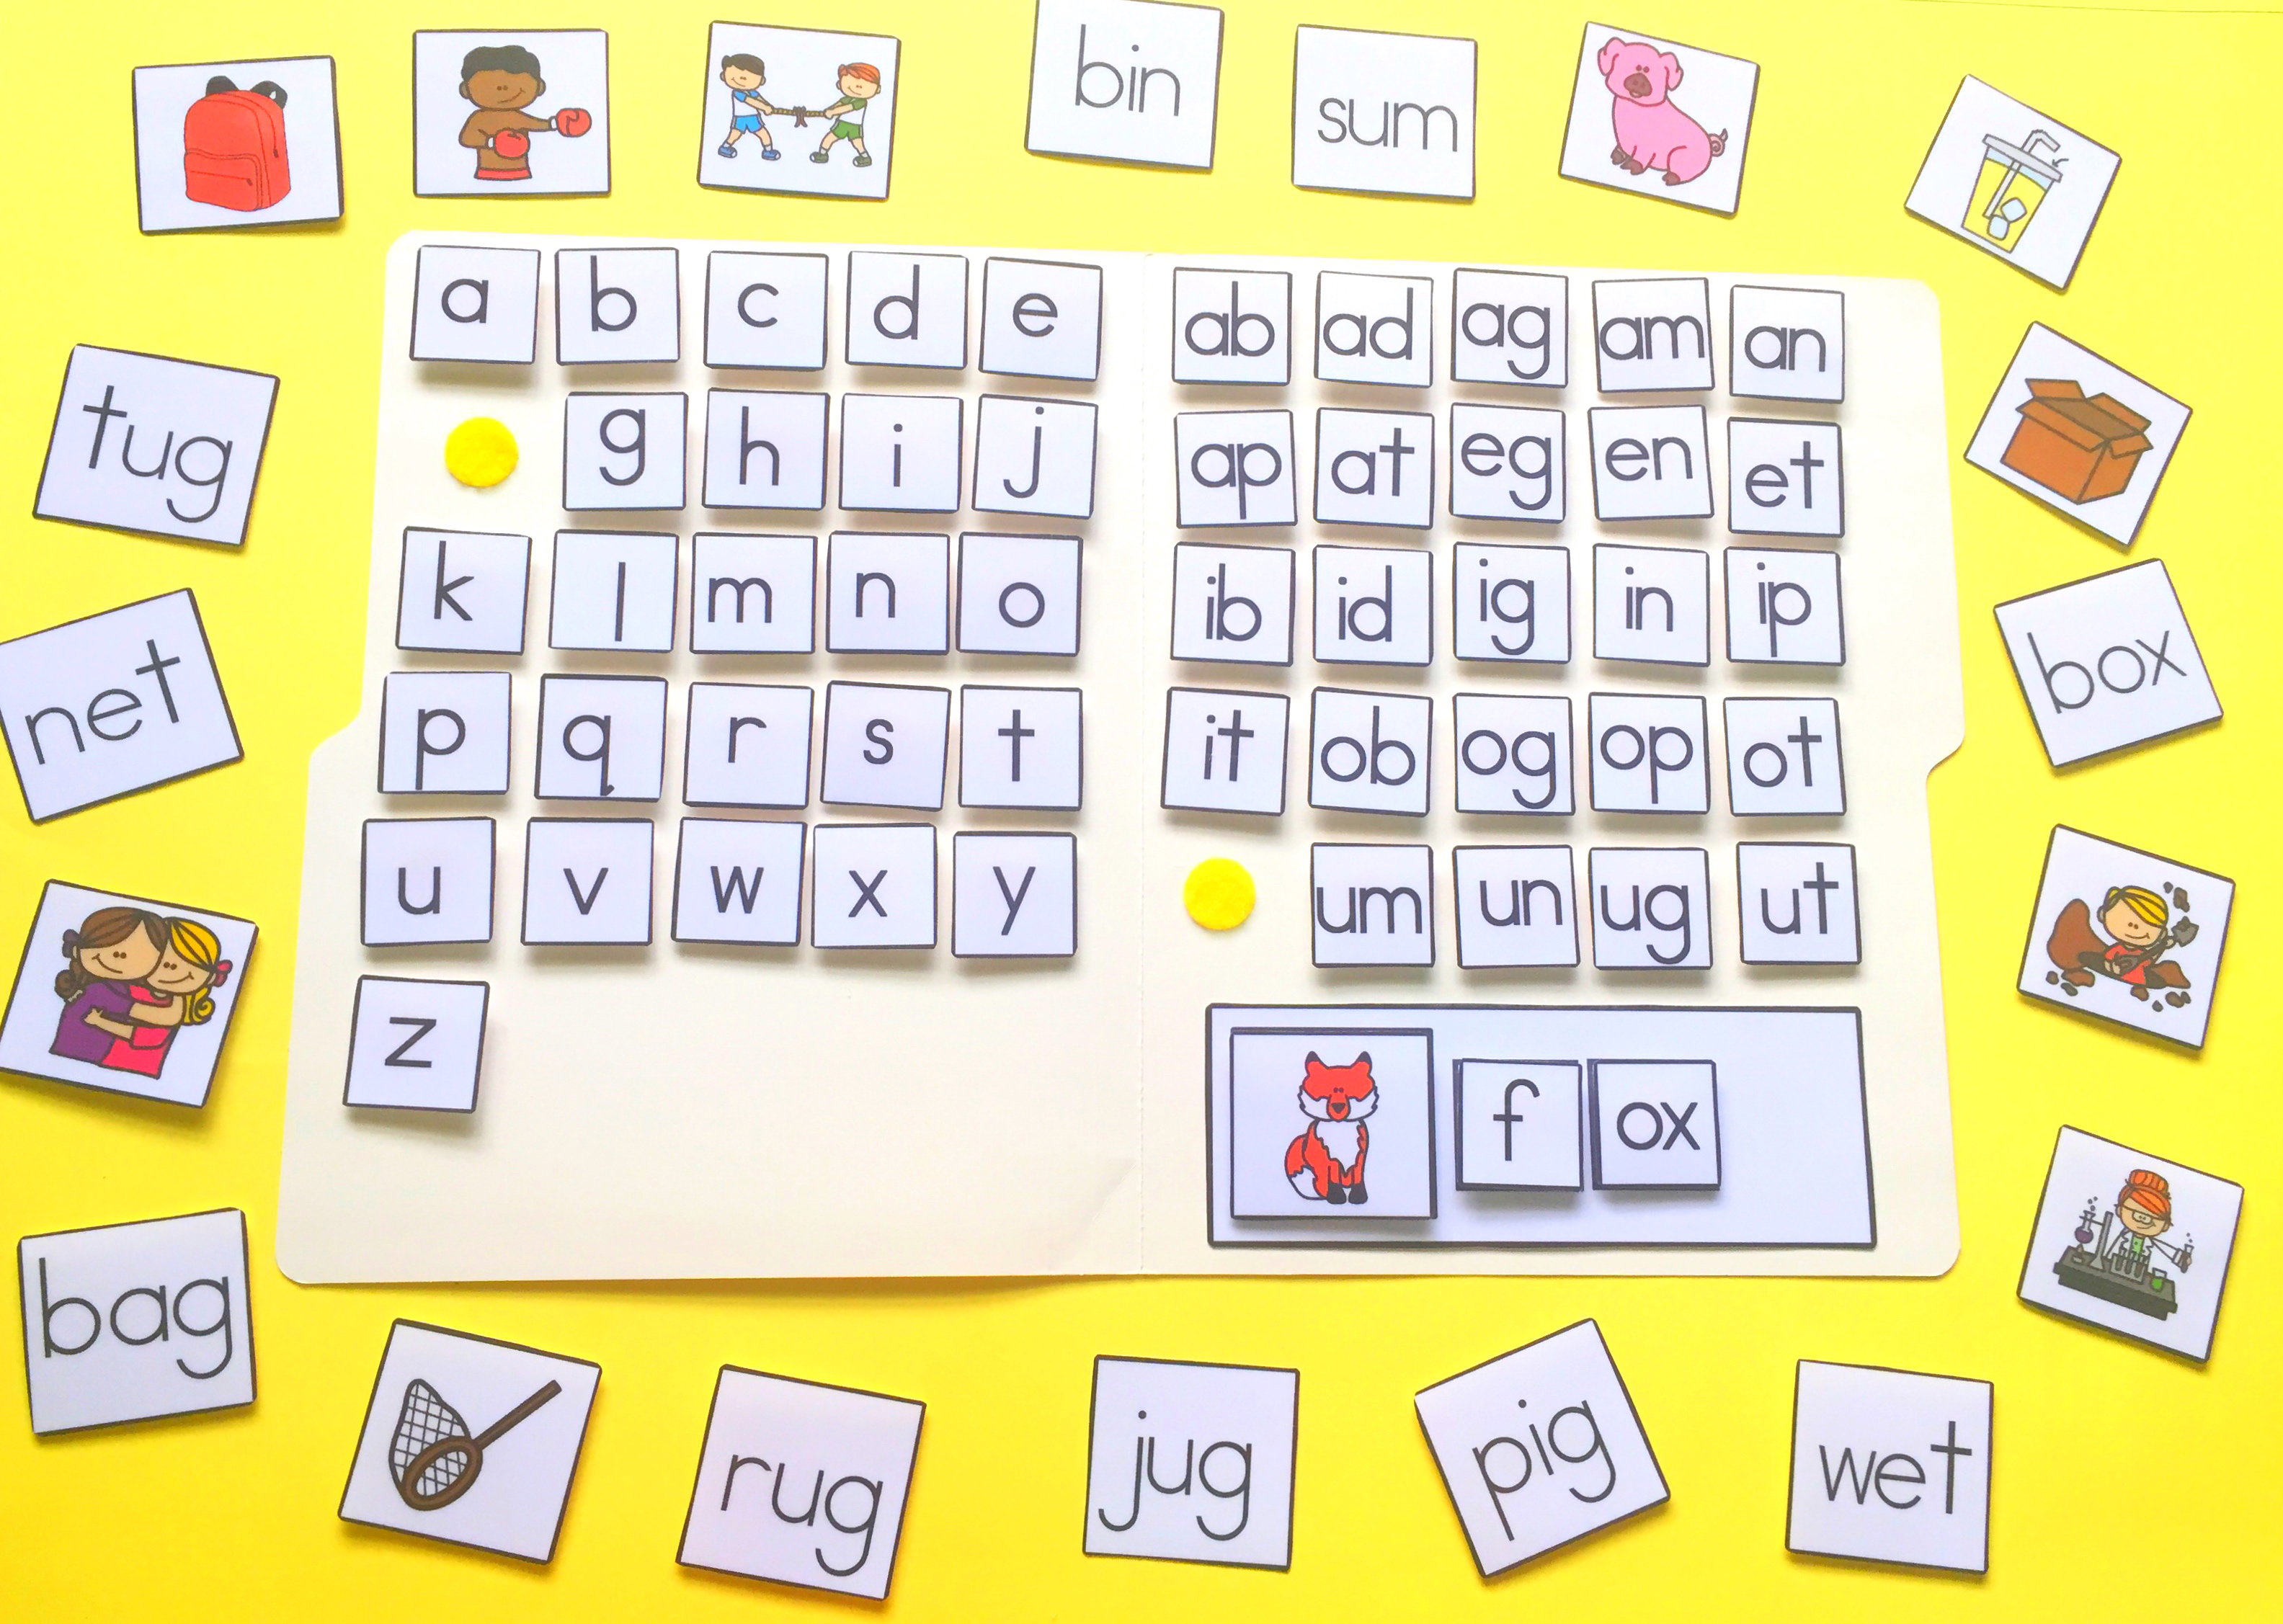
A CVC Word Builder gives children the pieces they need to physically construct these words. Instead of seeing the word cat and simply copying it, a student can: see the picture → identify the word → find the letters → build the word → read the word. That extra hands-on step can make the connection between sounds and letters much more concrete for beginning readers. A basic CVC Word Builder can include:
- Letter pieces
- Picture cards
- Word cards
- Three-letter boxes
- Short-vowel word families
- A designated area for building words
You can make your builder as simple or elaborate as you want.
Why Make a CVC Word Builder?
One of the best things about a reusable word builder is that you aren't creating a completely new activity every time you want students to practice phonics.Once it's assembled, you can use it for:
- Literacy centers
- Small-group instruction
- Morning work
- Independent practice
- Phonics review
- Early-finisher activities
- Intervention practice
Students can also use the same materials in different ways depending on their skill level. A beginner might simply match letters to a word. Another student might look at a picture and build the word independently. A more advanced student could build a word, change one letter, and create a new word.
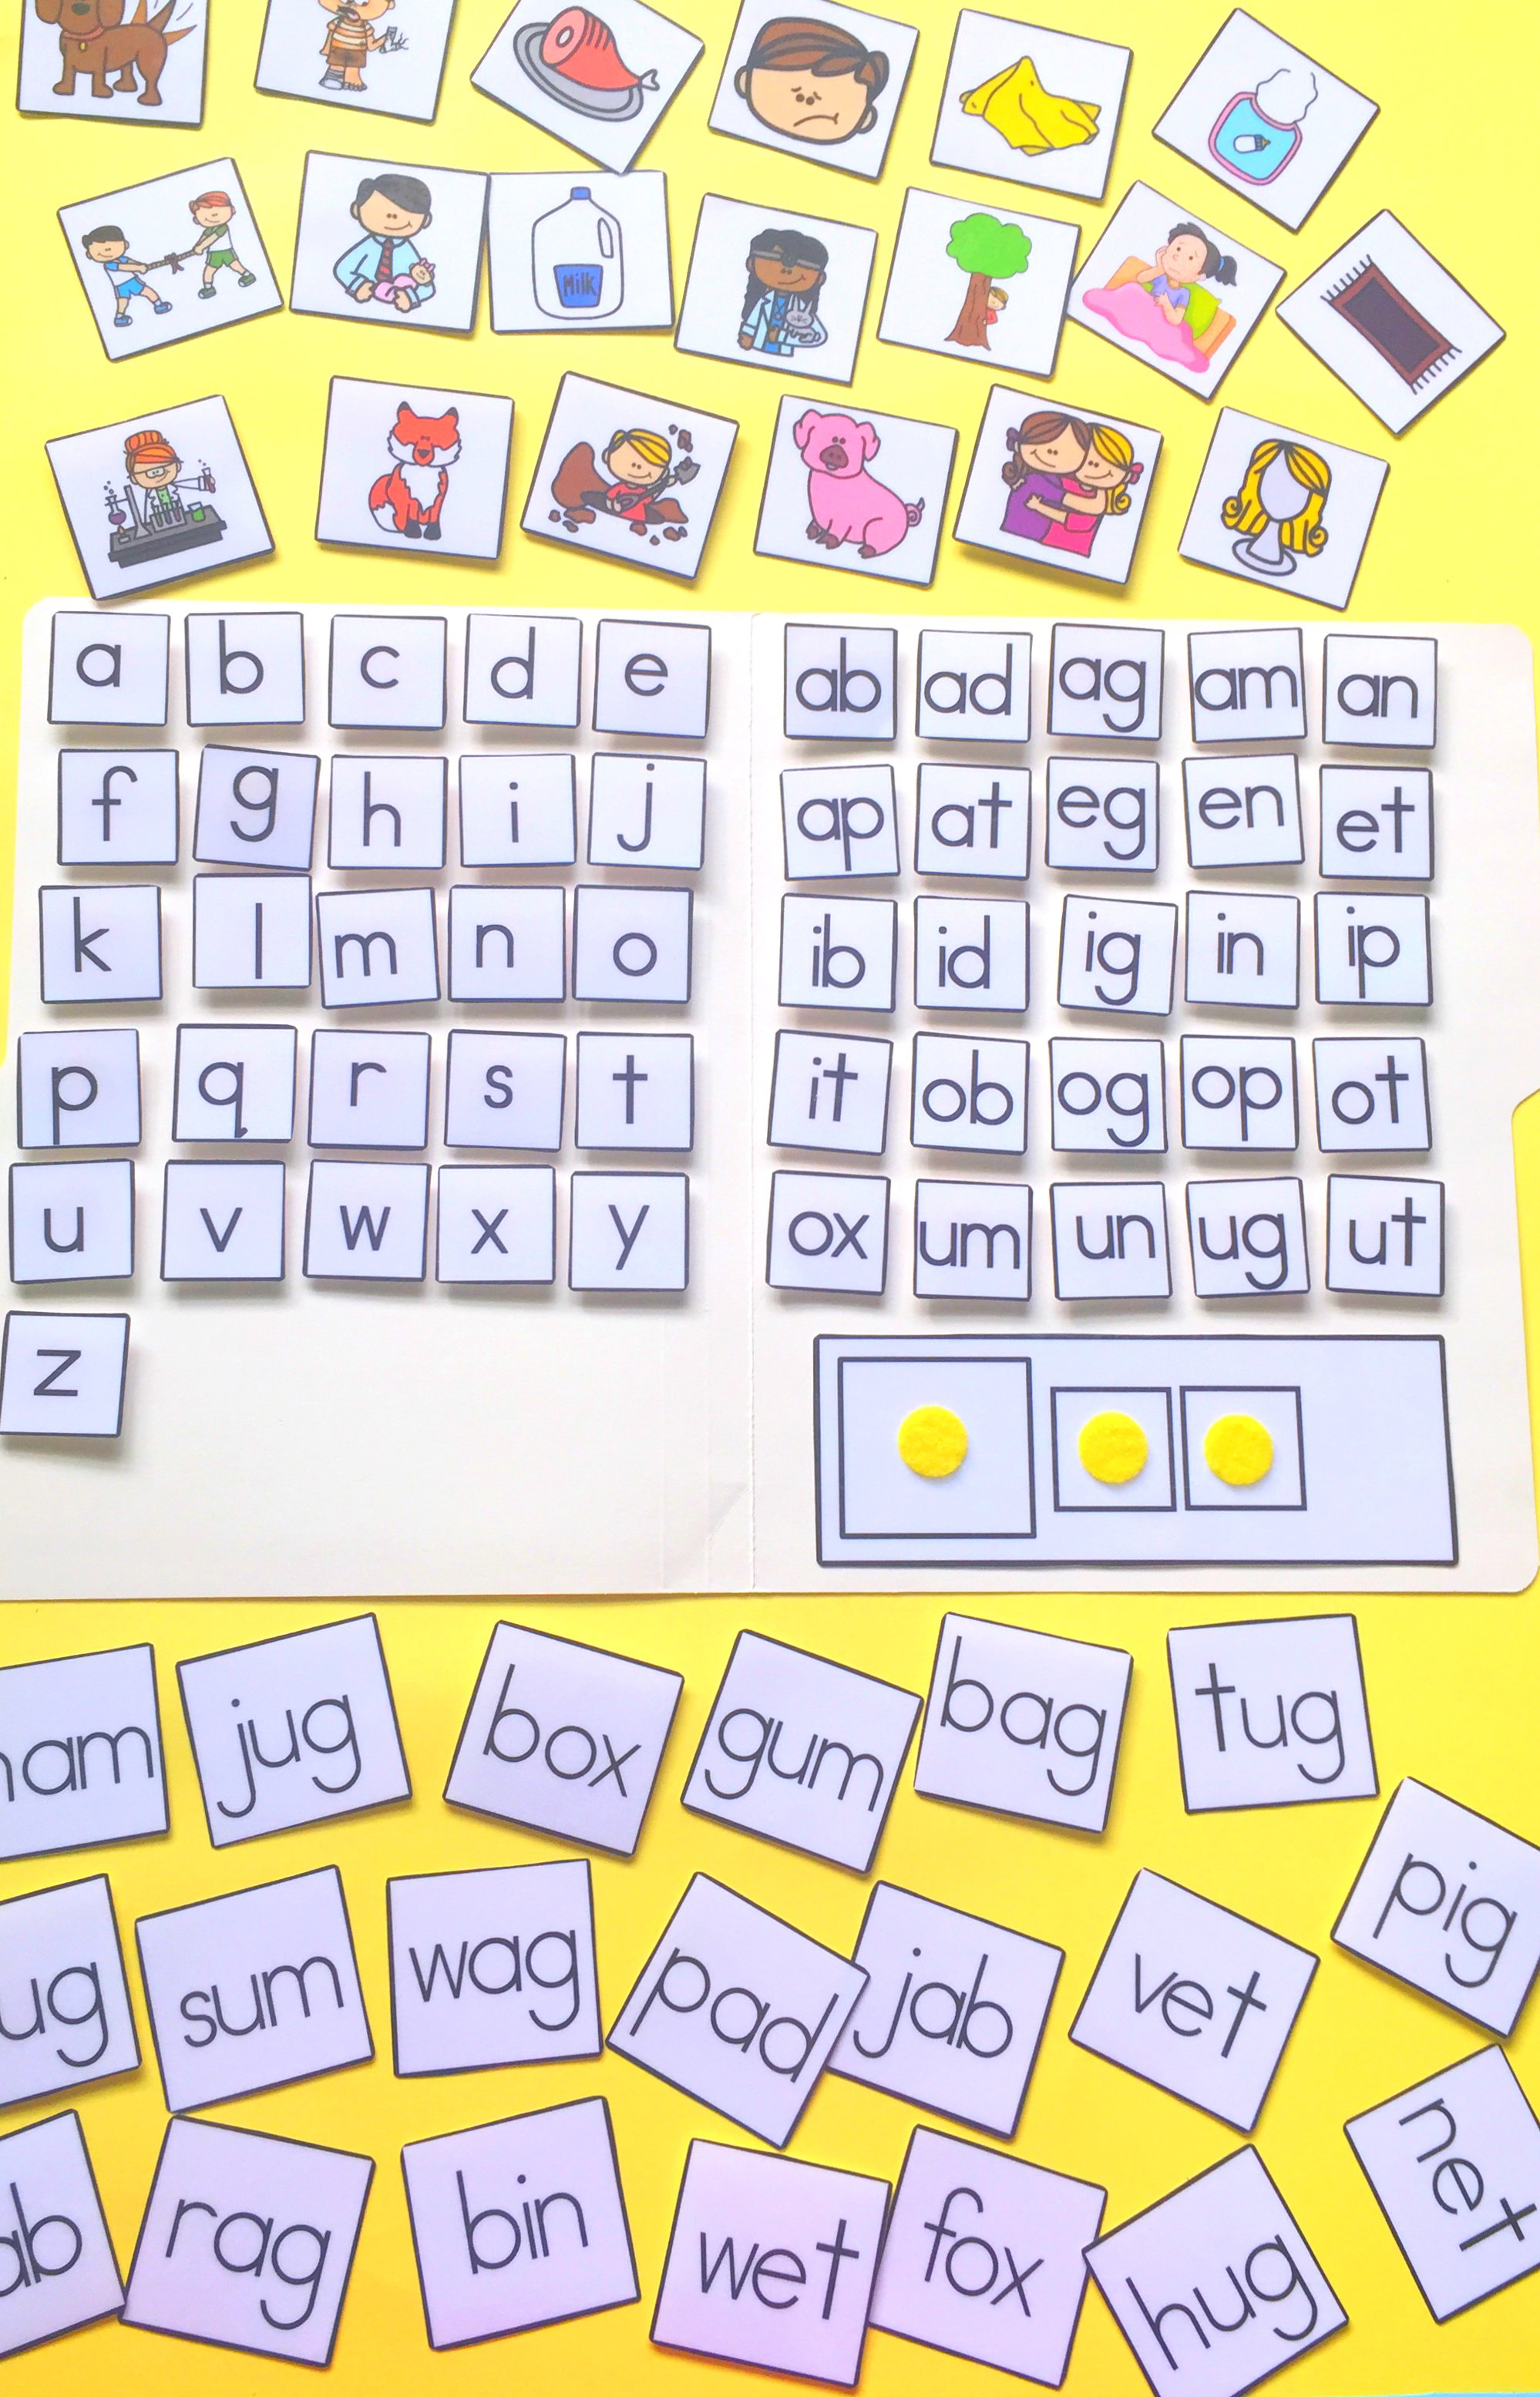
Materials You'll Need
Before you start printing and cutting, gather everything you'll need.
Must-Have Materials
- Printer
- Paper or cardstock
- Scissors
- Laminator
- Laminating sheets
- Velcro dots or strips
- Clear tape
- Folder, binder, or storage container
If you're making a larger builder with multiple word sets, having a paper trimmer can also make the cutting process a little faster. And don't forget something to watch while you're cutting. A good show can make a mountain of tiny paper pieces feel considerably less painful.
How Many Letters Do You Need?
This depends on how many words you want your builder to include. Before printing anything, make a list of your target CVC words. For example: cat, bat, hat, map, cap, jam. You'll quickly notice that some letters appear again and again. Instead of preparing only one copy of every letter, make sure you have enough repeated letters to build the words you want students to practice. This is especially important with vowels. If students are going to build several short-vowel words, you'll want plenty of: a, e, i, o, u. You can also organize your letters by color, vowel sound, or letter type if you want to make the pieces easier for young learners to identify.
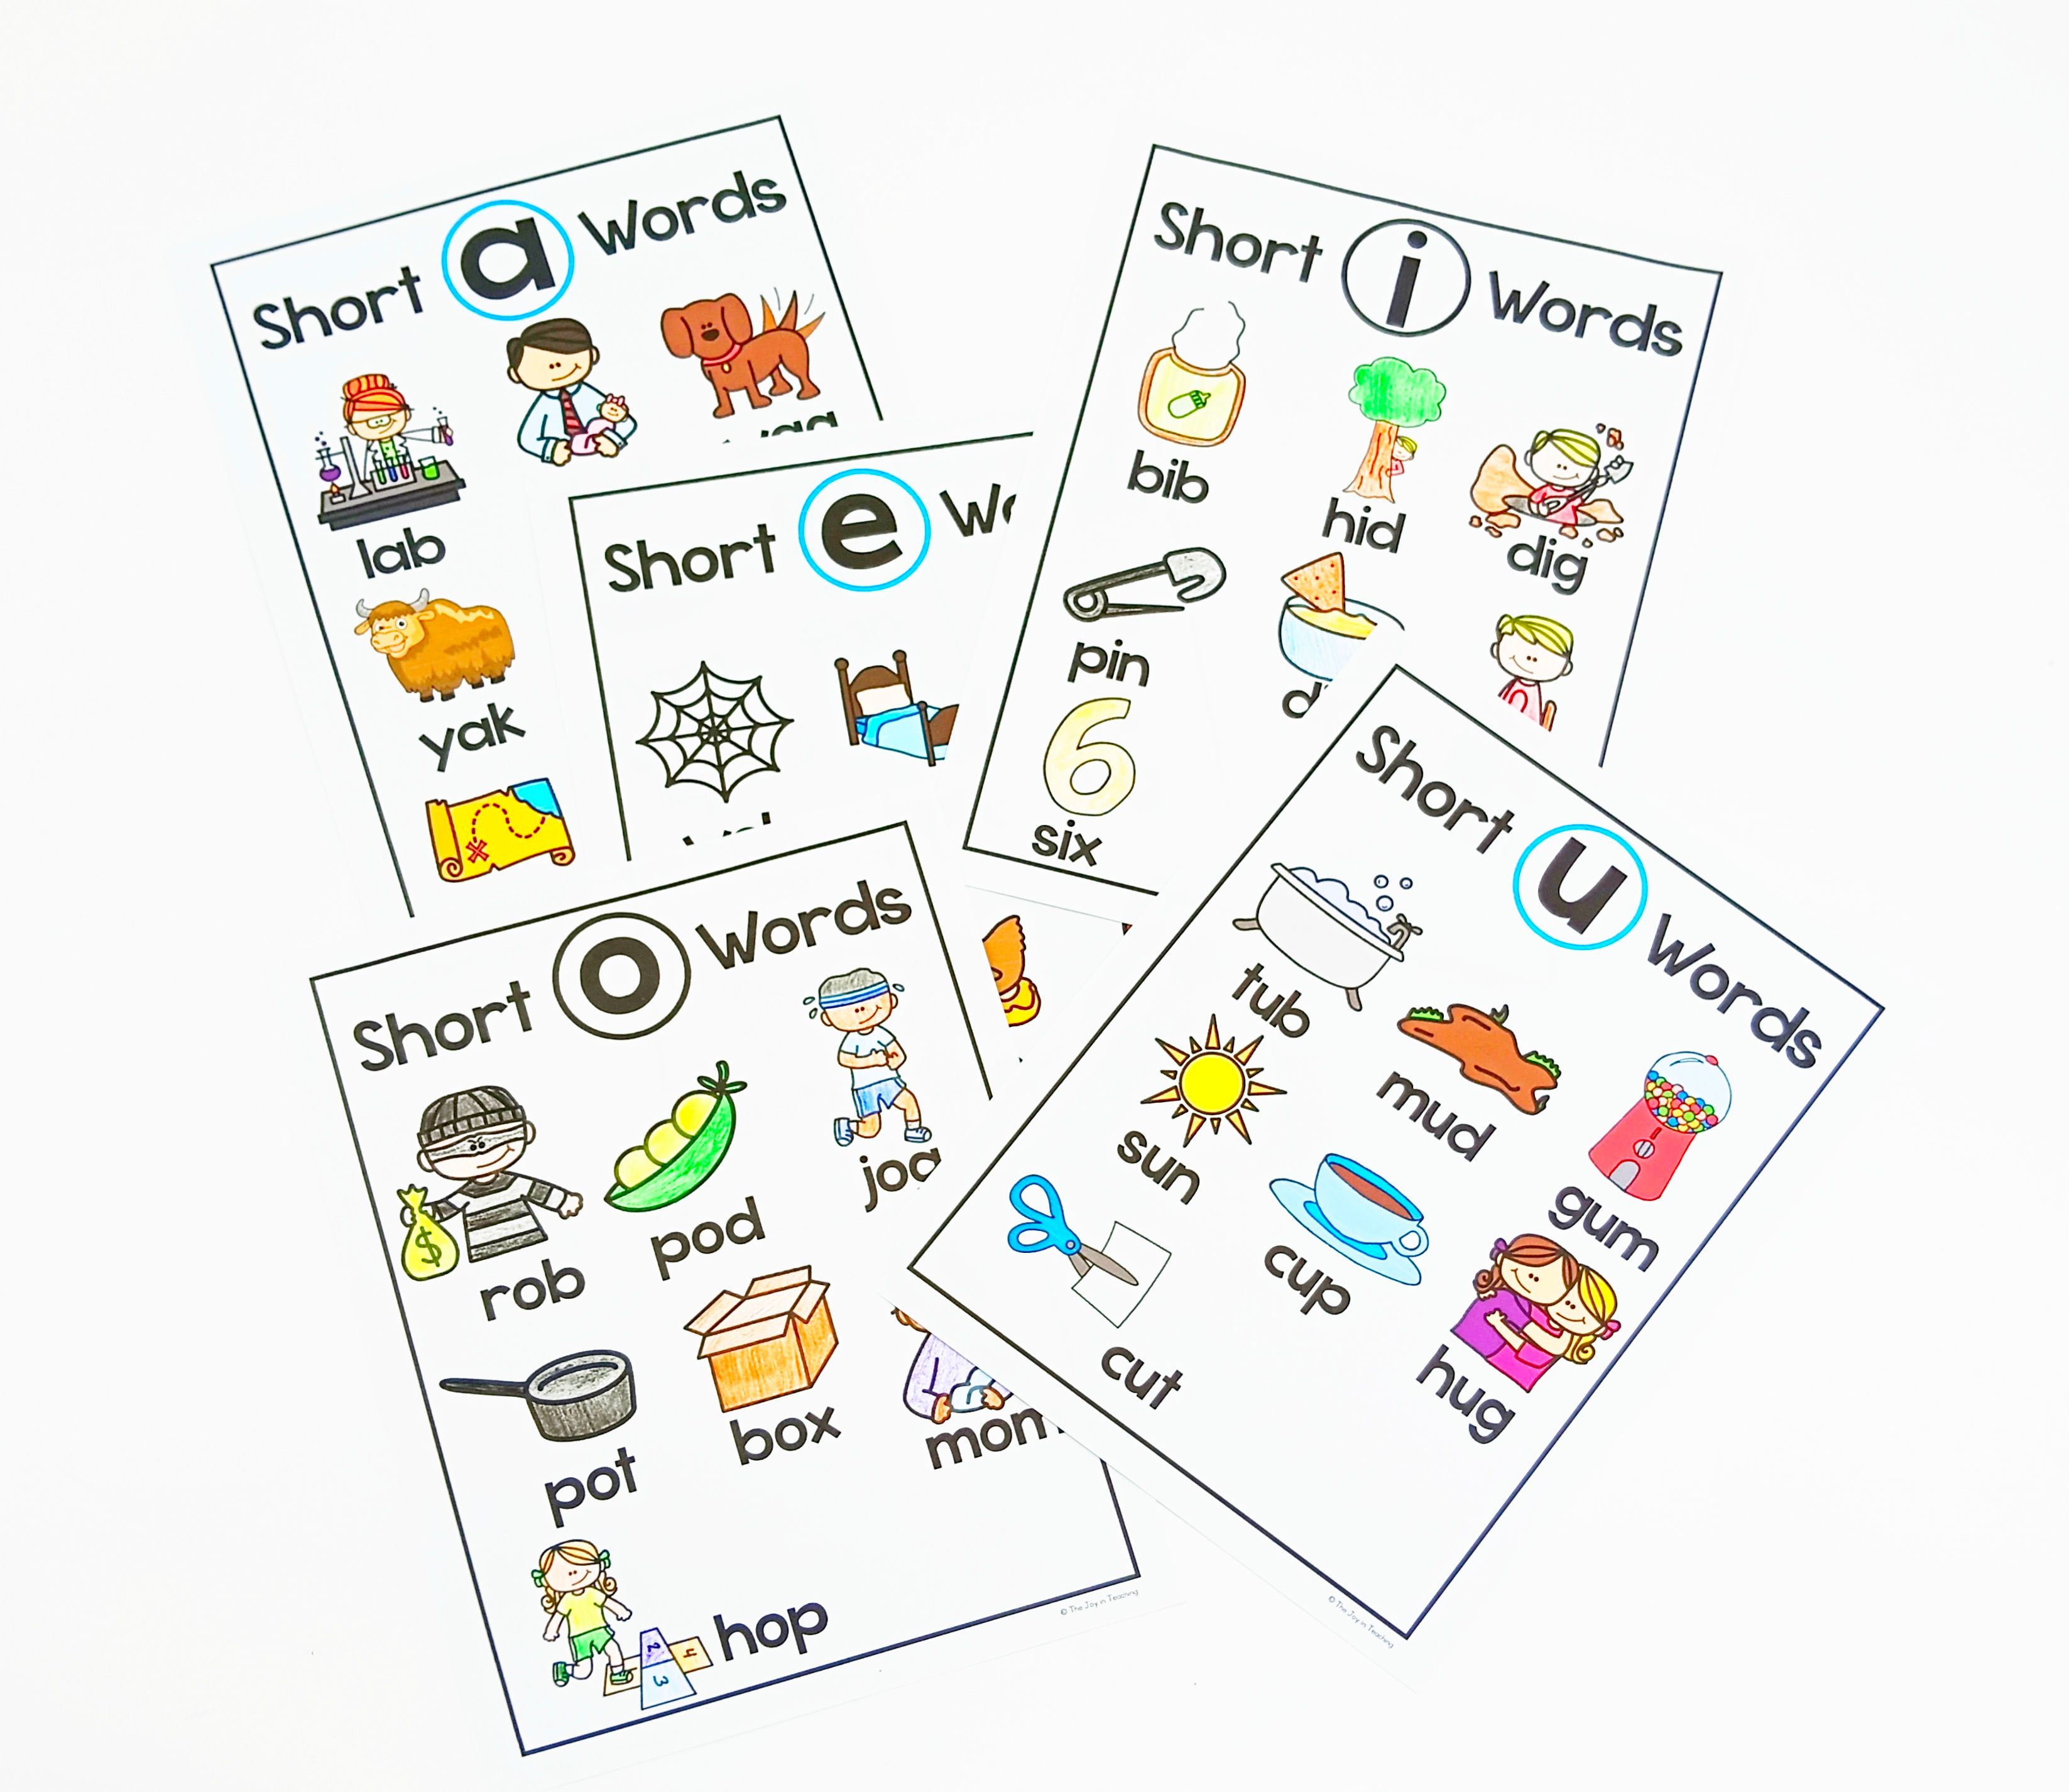
Step 1: Choose Your CVC Words
Start by deciding which words you want your builder to include. You could choose words based on:
- Short vowel sounds
- Word families
- Your current phonics unit
- High-frequency CVC words
- Student ability level
You don't have to include every CVC word at once. Starting with a manageable collection can make the activity easier for students to navigate.
Step 2: Create the Word-Building Pieces
You'll need three basic components:
1. Letters & Syllables
These are the pieces students will manipulate to build their words. You can make individual letter cards or smaller letter tiles.
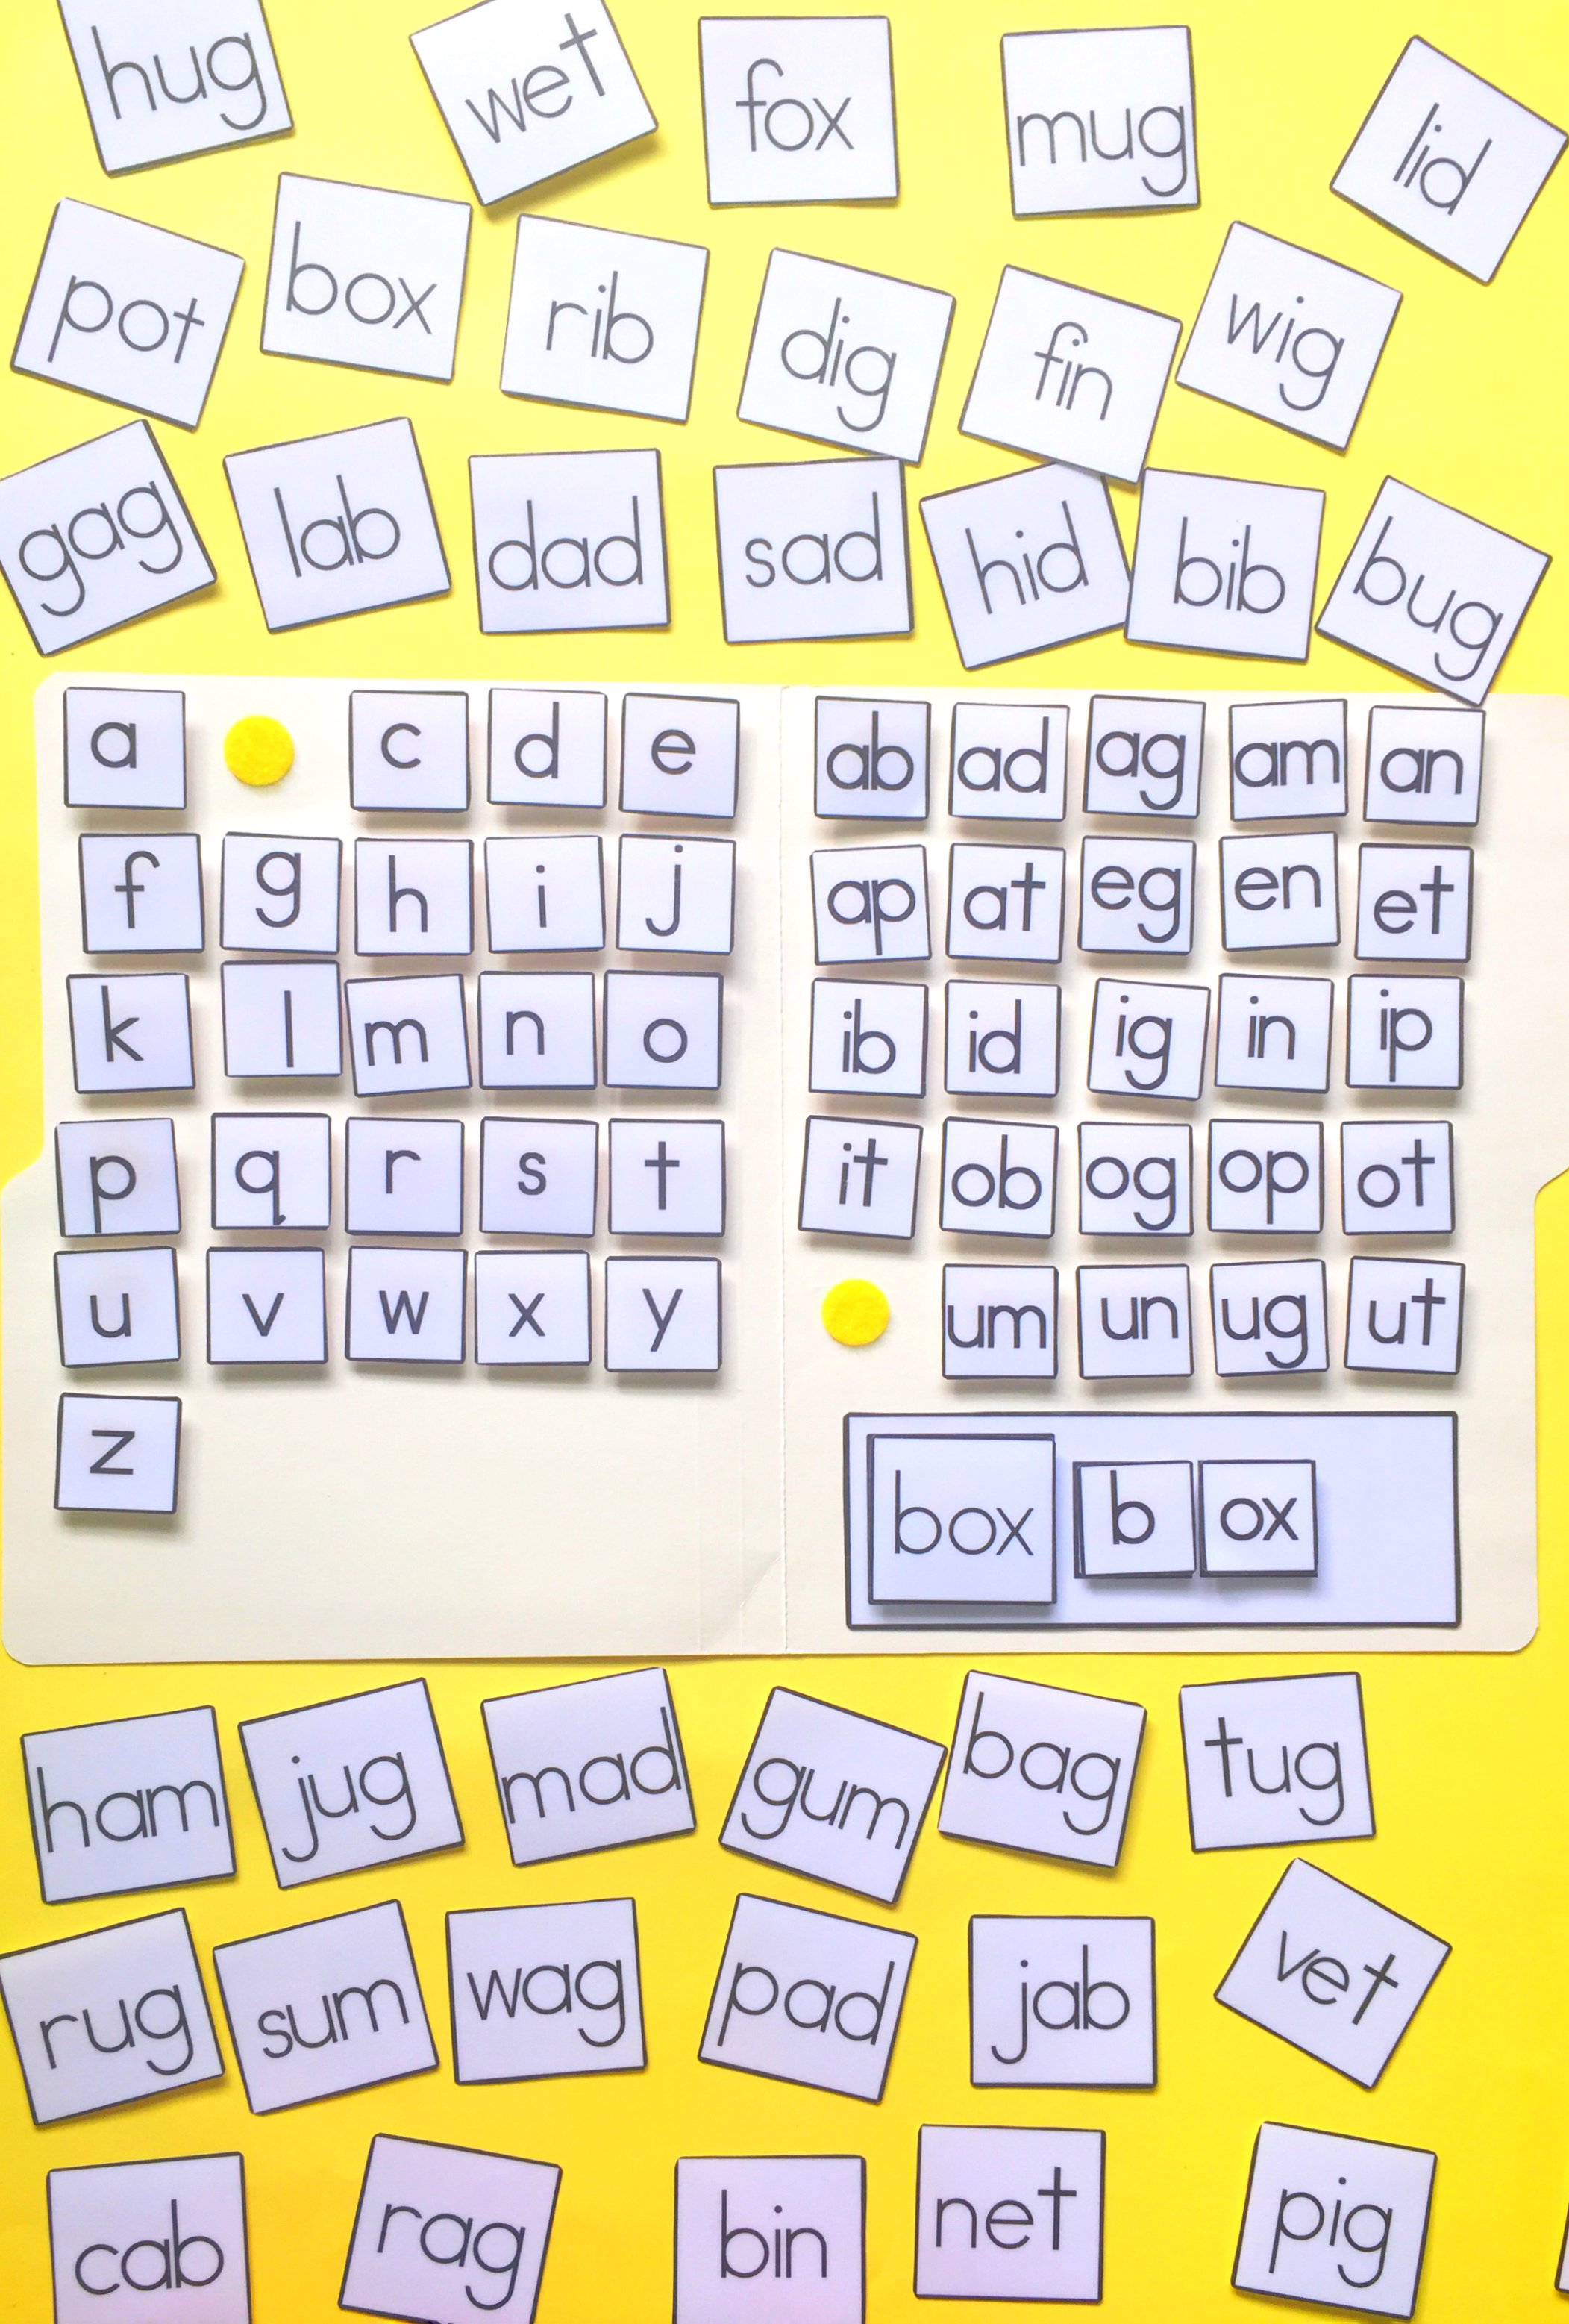
2. Pictures
Pictures give students a visual clue and make the activity more accessible for beginning readers. For example, a picture of a dog tells students which word they need to build.
3. Word or Letter Boxes
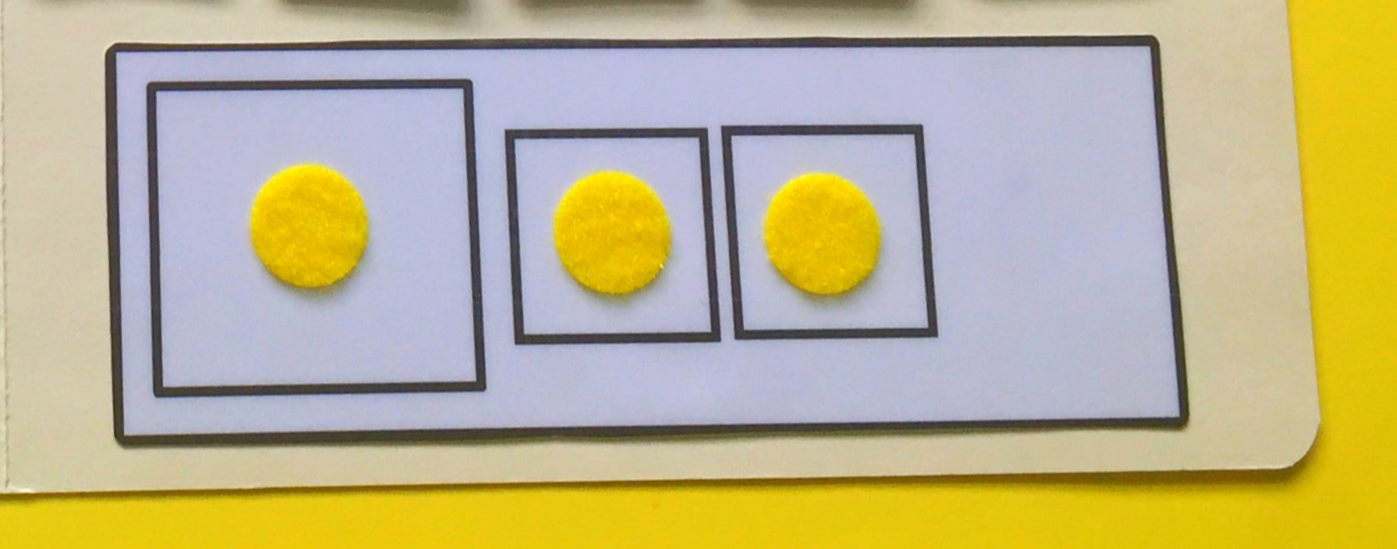
Create three spaces where students can place the letters. For example:[ C ] [ A ] [ T ]This helps students understand that each sound has its own place in the word.
Step 3: Print Everything
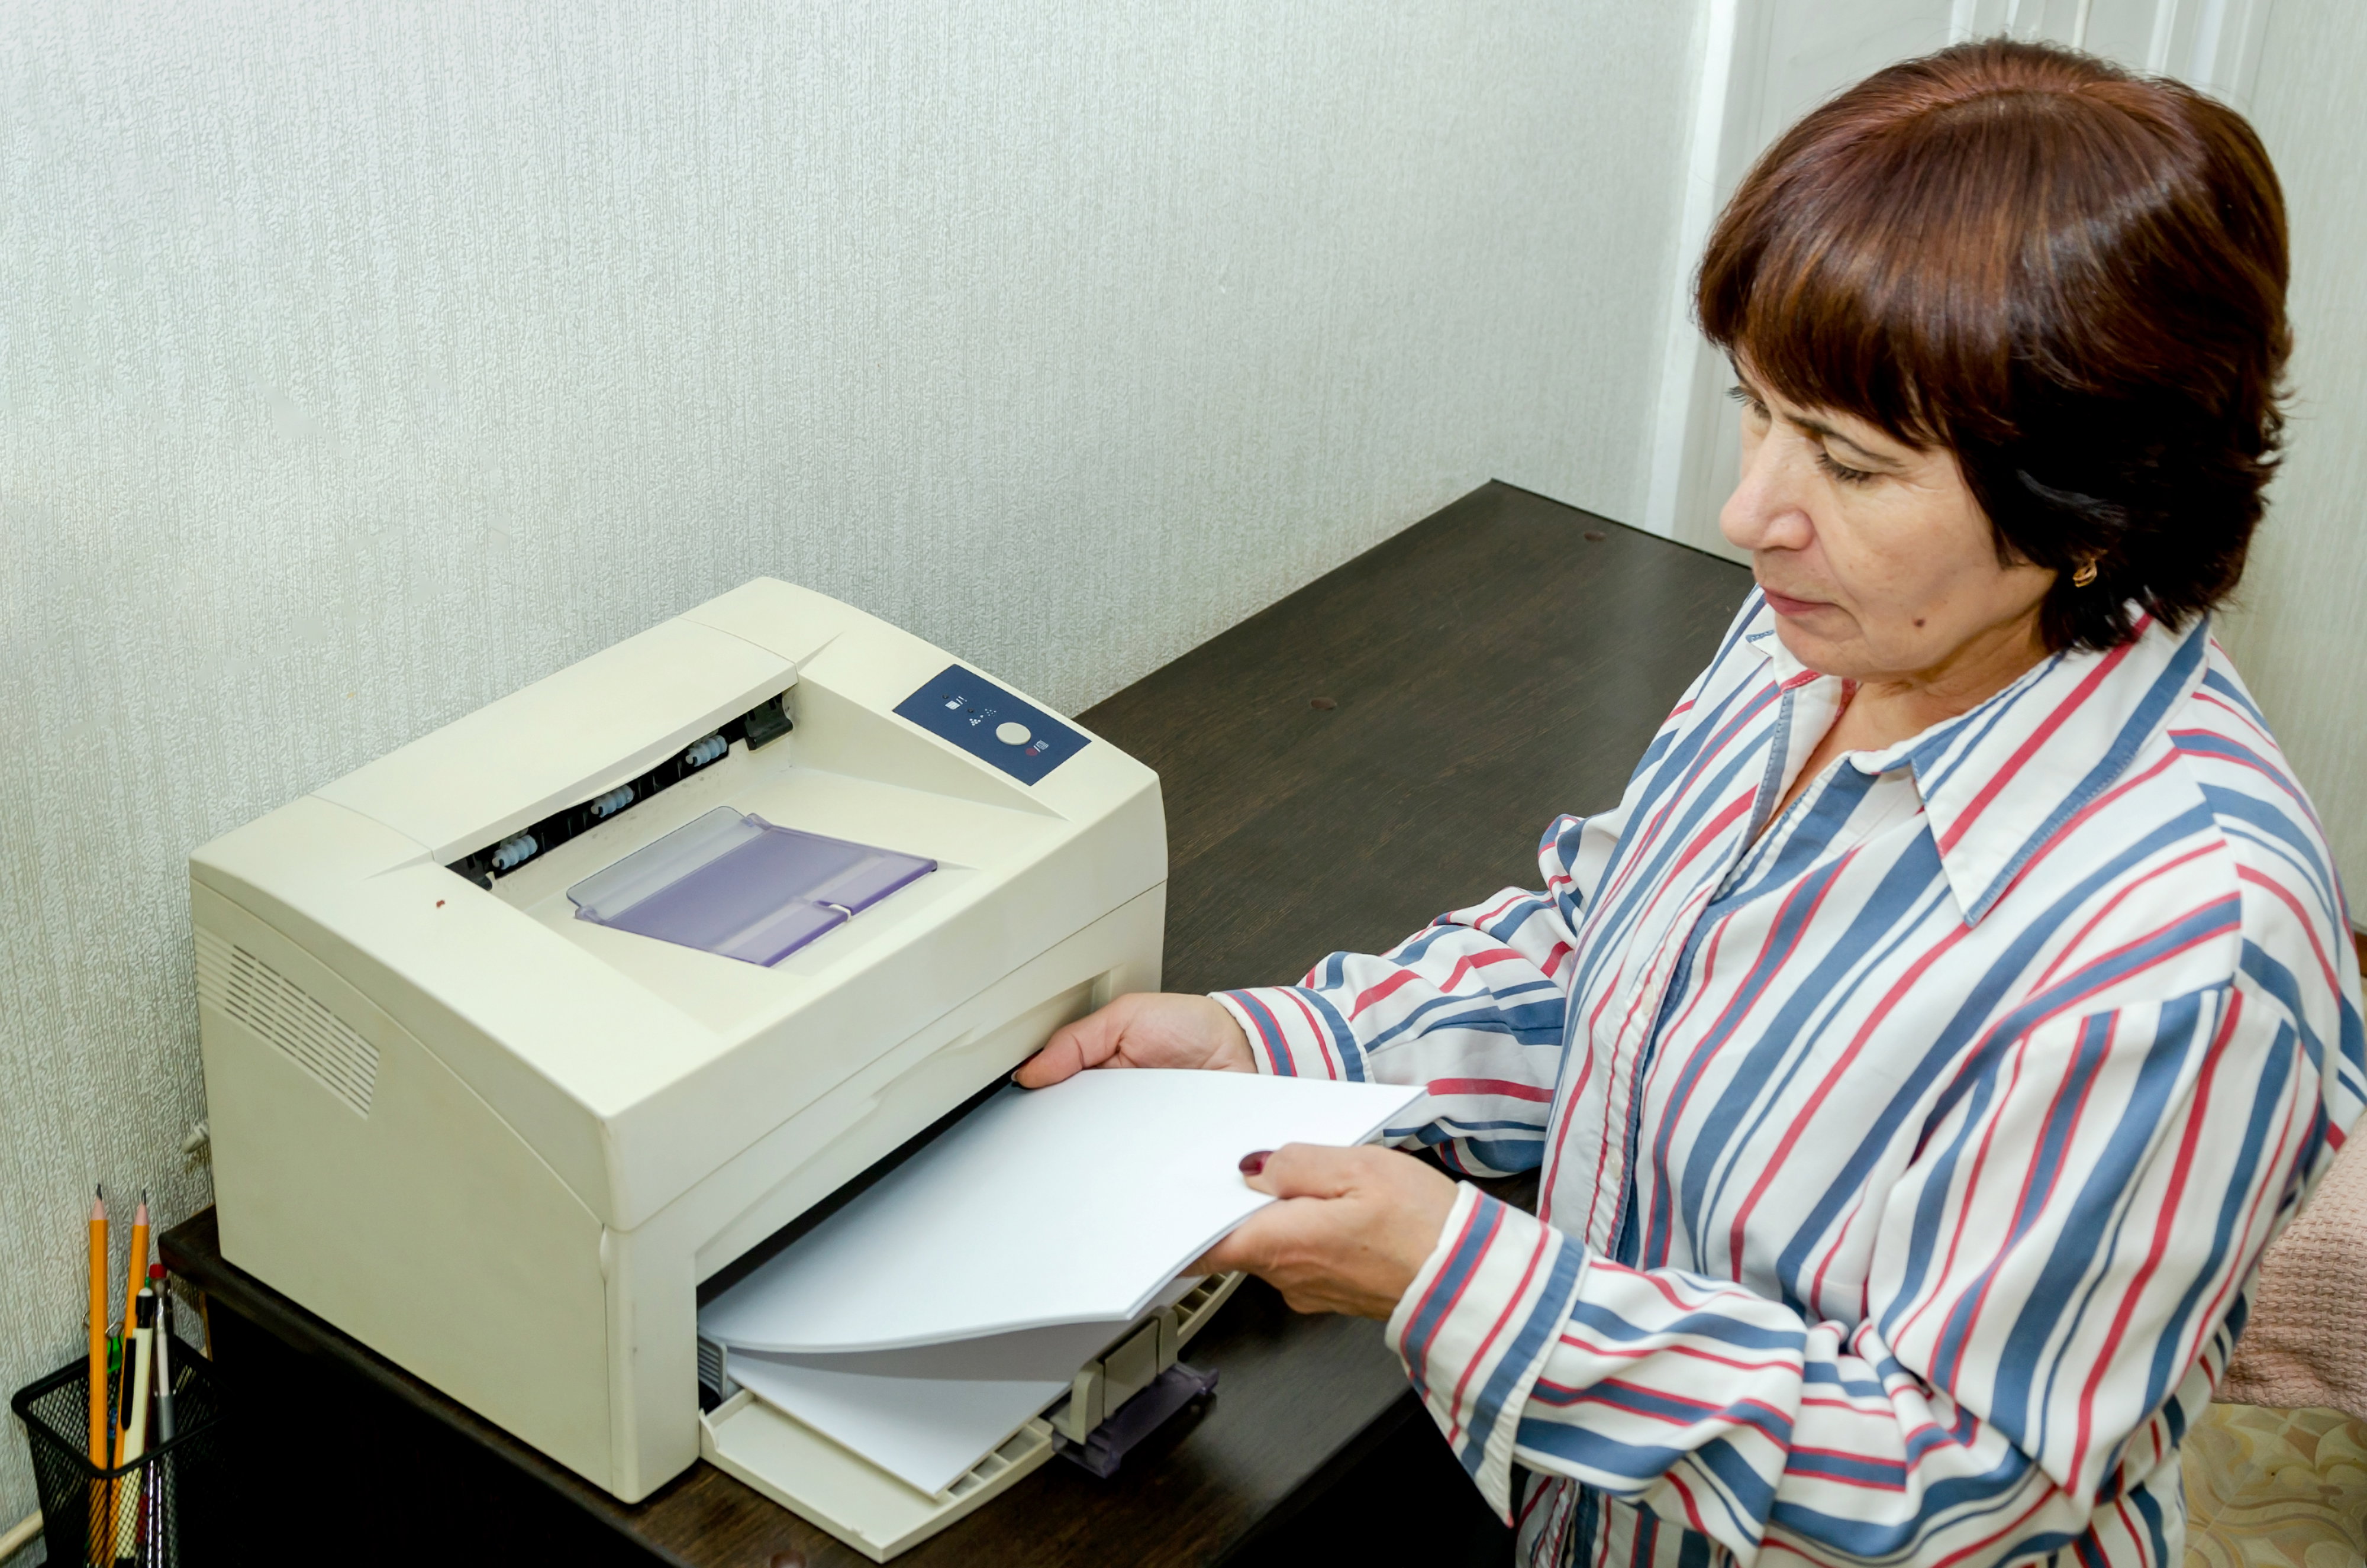
Print your pieces on regular paper or cardstock. Cardstock is a great choice if you want a little more durability before laminating. If you're using a printable resource, check the file size before printing.US Letter is especially convenient for many classroom printers. Before printing the entire set, print one test page first. This gives you a chance to check:
- Size
- Margins
- Image quality
- Letter readability
- Printer alignment
It is much better to discover a printing problem on page one than after you've printed 18 pages.
Step 4: Cut Everything Out
Now comes the part nobody puts in the product description: Cutting. So. Much. Cutting. Cut out your:
- Letter pieces
- Pictures
- Word cards
- Word-building boxes
- Labels

If you're making a large set, don't feel like you need to cut everything in one sitting. You can divide the work into batches. For example:
Day 1: Print
Day 2: Cut
Day 3: Laminate
Day 4: Assemble or put on your favorite show and make it a cutting marathon. Either way, future-you will appreciate having everything prepared.
Step 5: Laminate the Pieces
Once everything is cut, laminate the pieces you want to reuse. Laminating is especially helpful for letter pieces because young learners will be moving them around frequently. It also makes the pieces easier to wipe clean and reuse. For a classroom resource, durability matters. A few extra minutes of preparation now can help your activity last much longer.

Step 6: Cut the Laminated Pieces
Yes, you have to cut again but at least this time you're cutting sturdy, laminated pieces that are ready to use. Leave a small amount of laminated border around the pieces when possible. This can help prevent the laminate from separating over time.
Step 7: Add Velcro
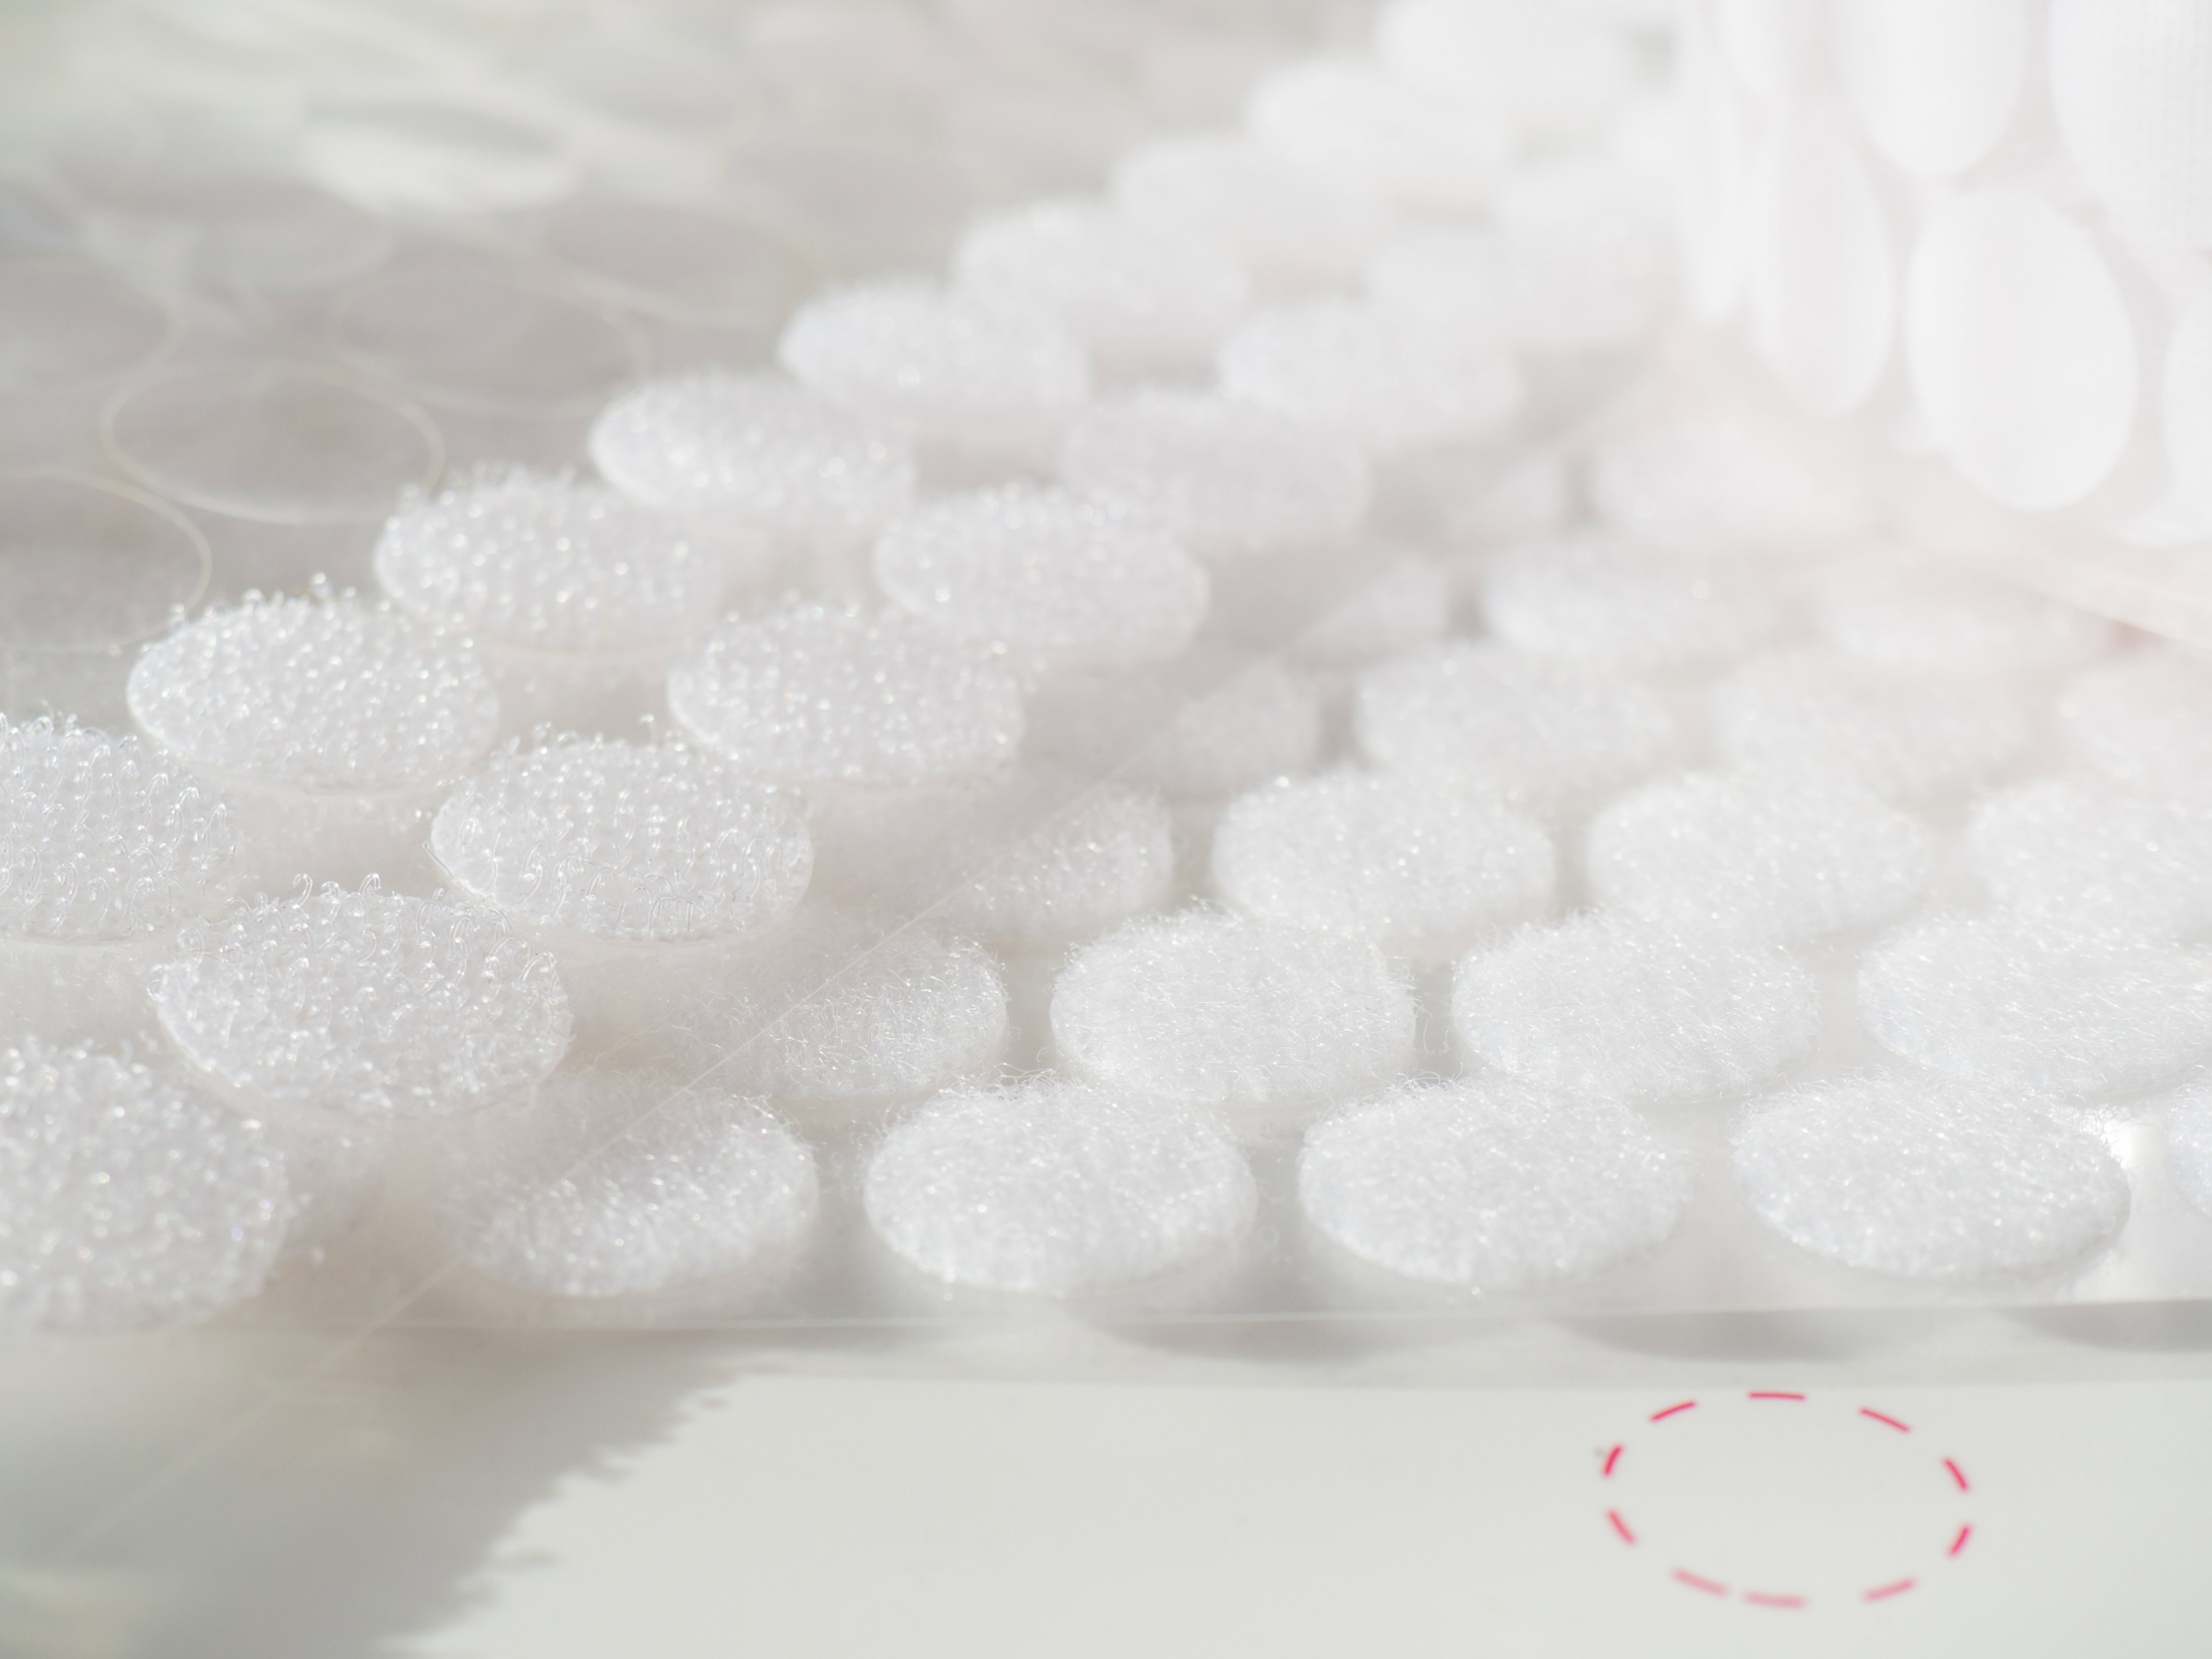
Here's where your CVC Word Builder starts to feel like an actual interactive activity. Attach Velcro to the areas where pieces need to stay in place. You might use Velcro for:
- Letter pieces
- Picture cards
- Word cards
- Storage sections
- Building spaces
Step 8: Assemble Your Folder
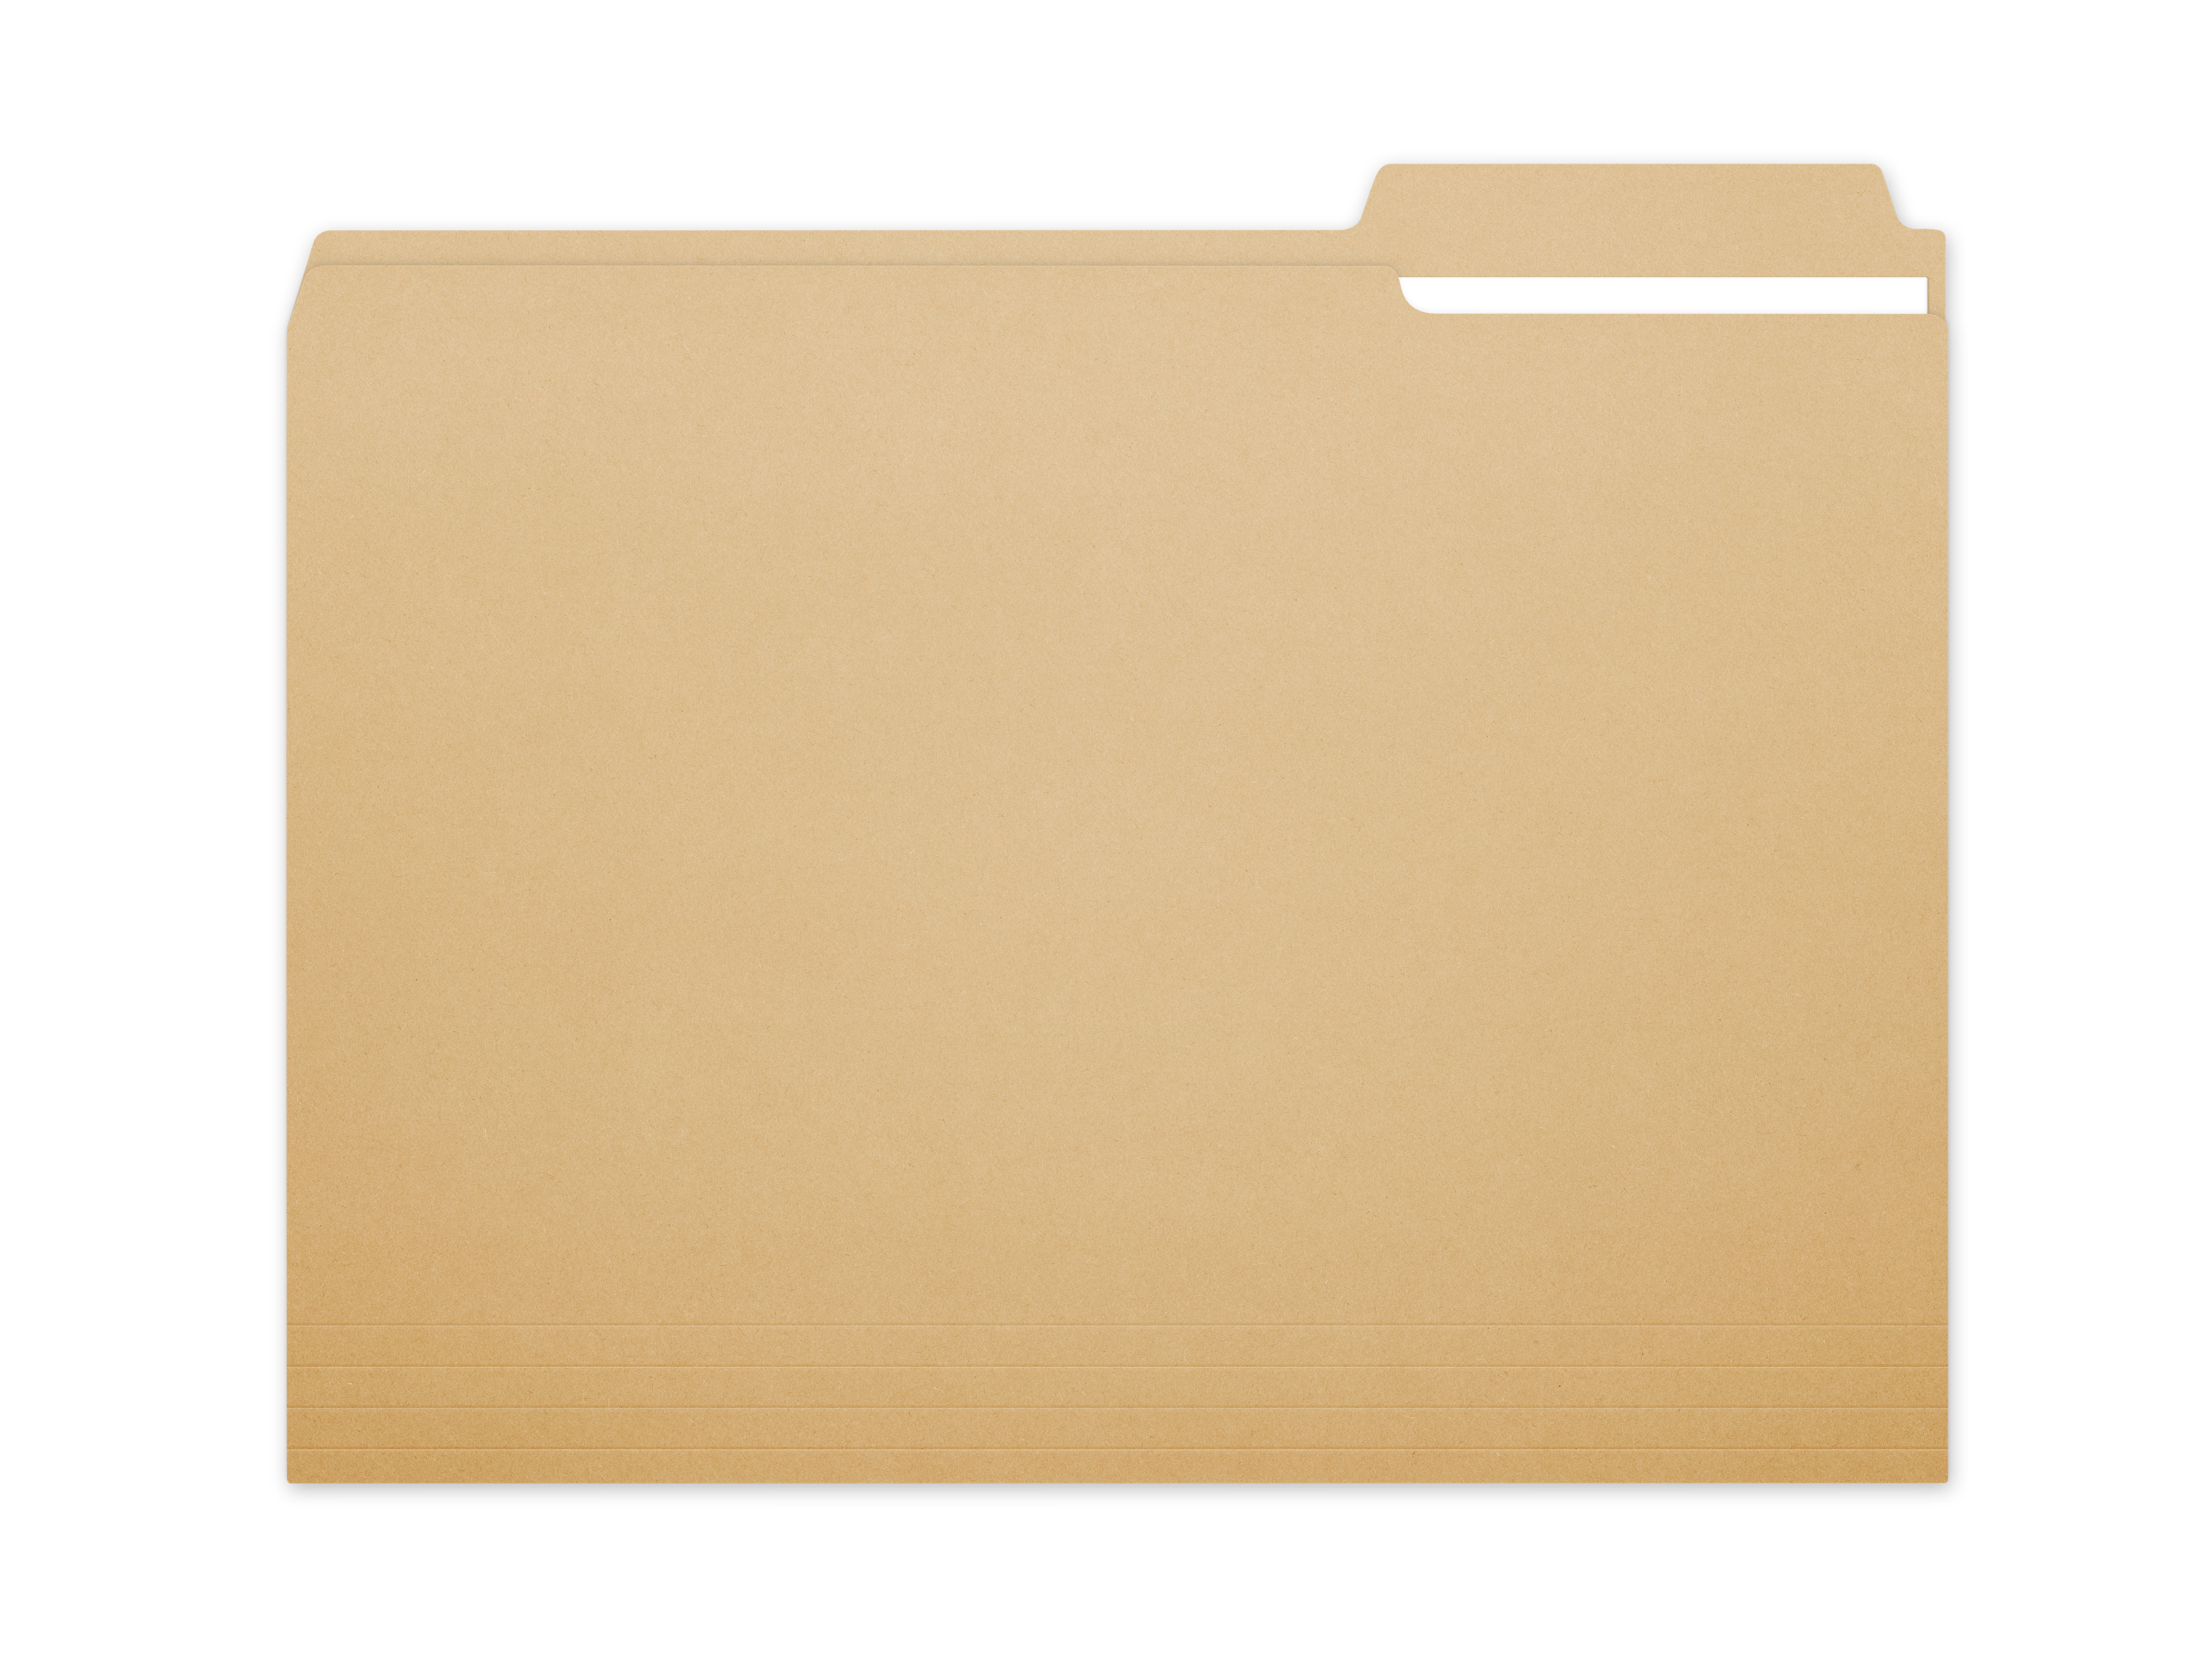
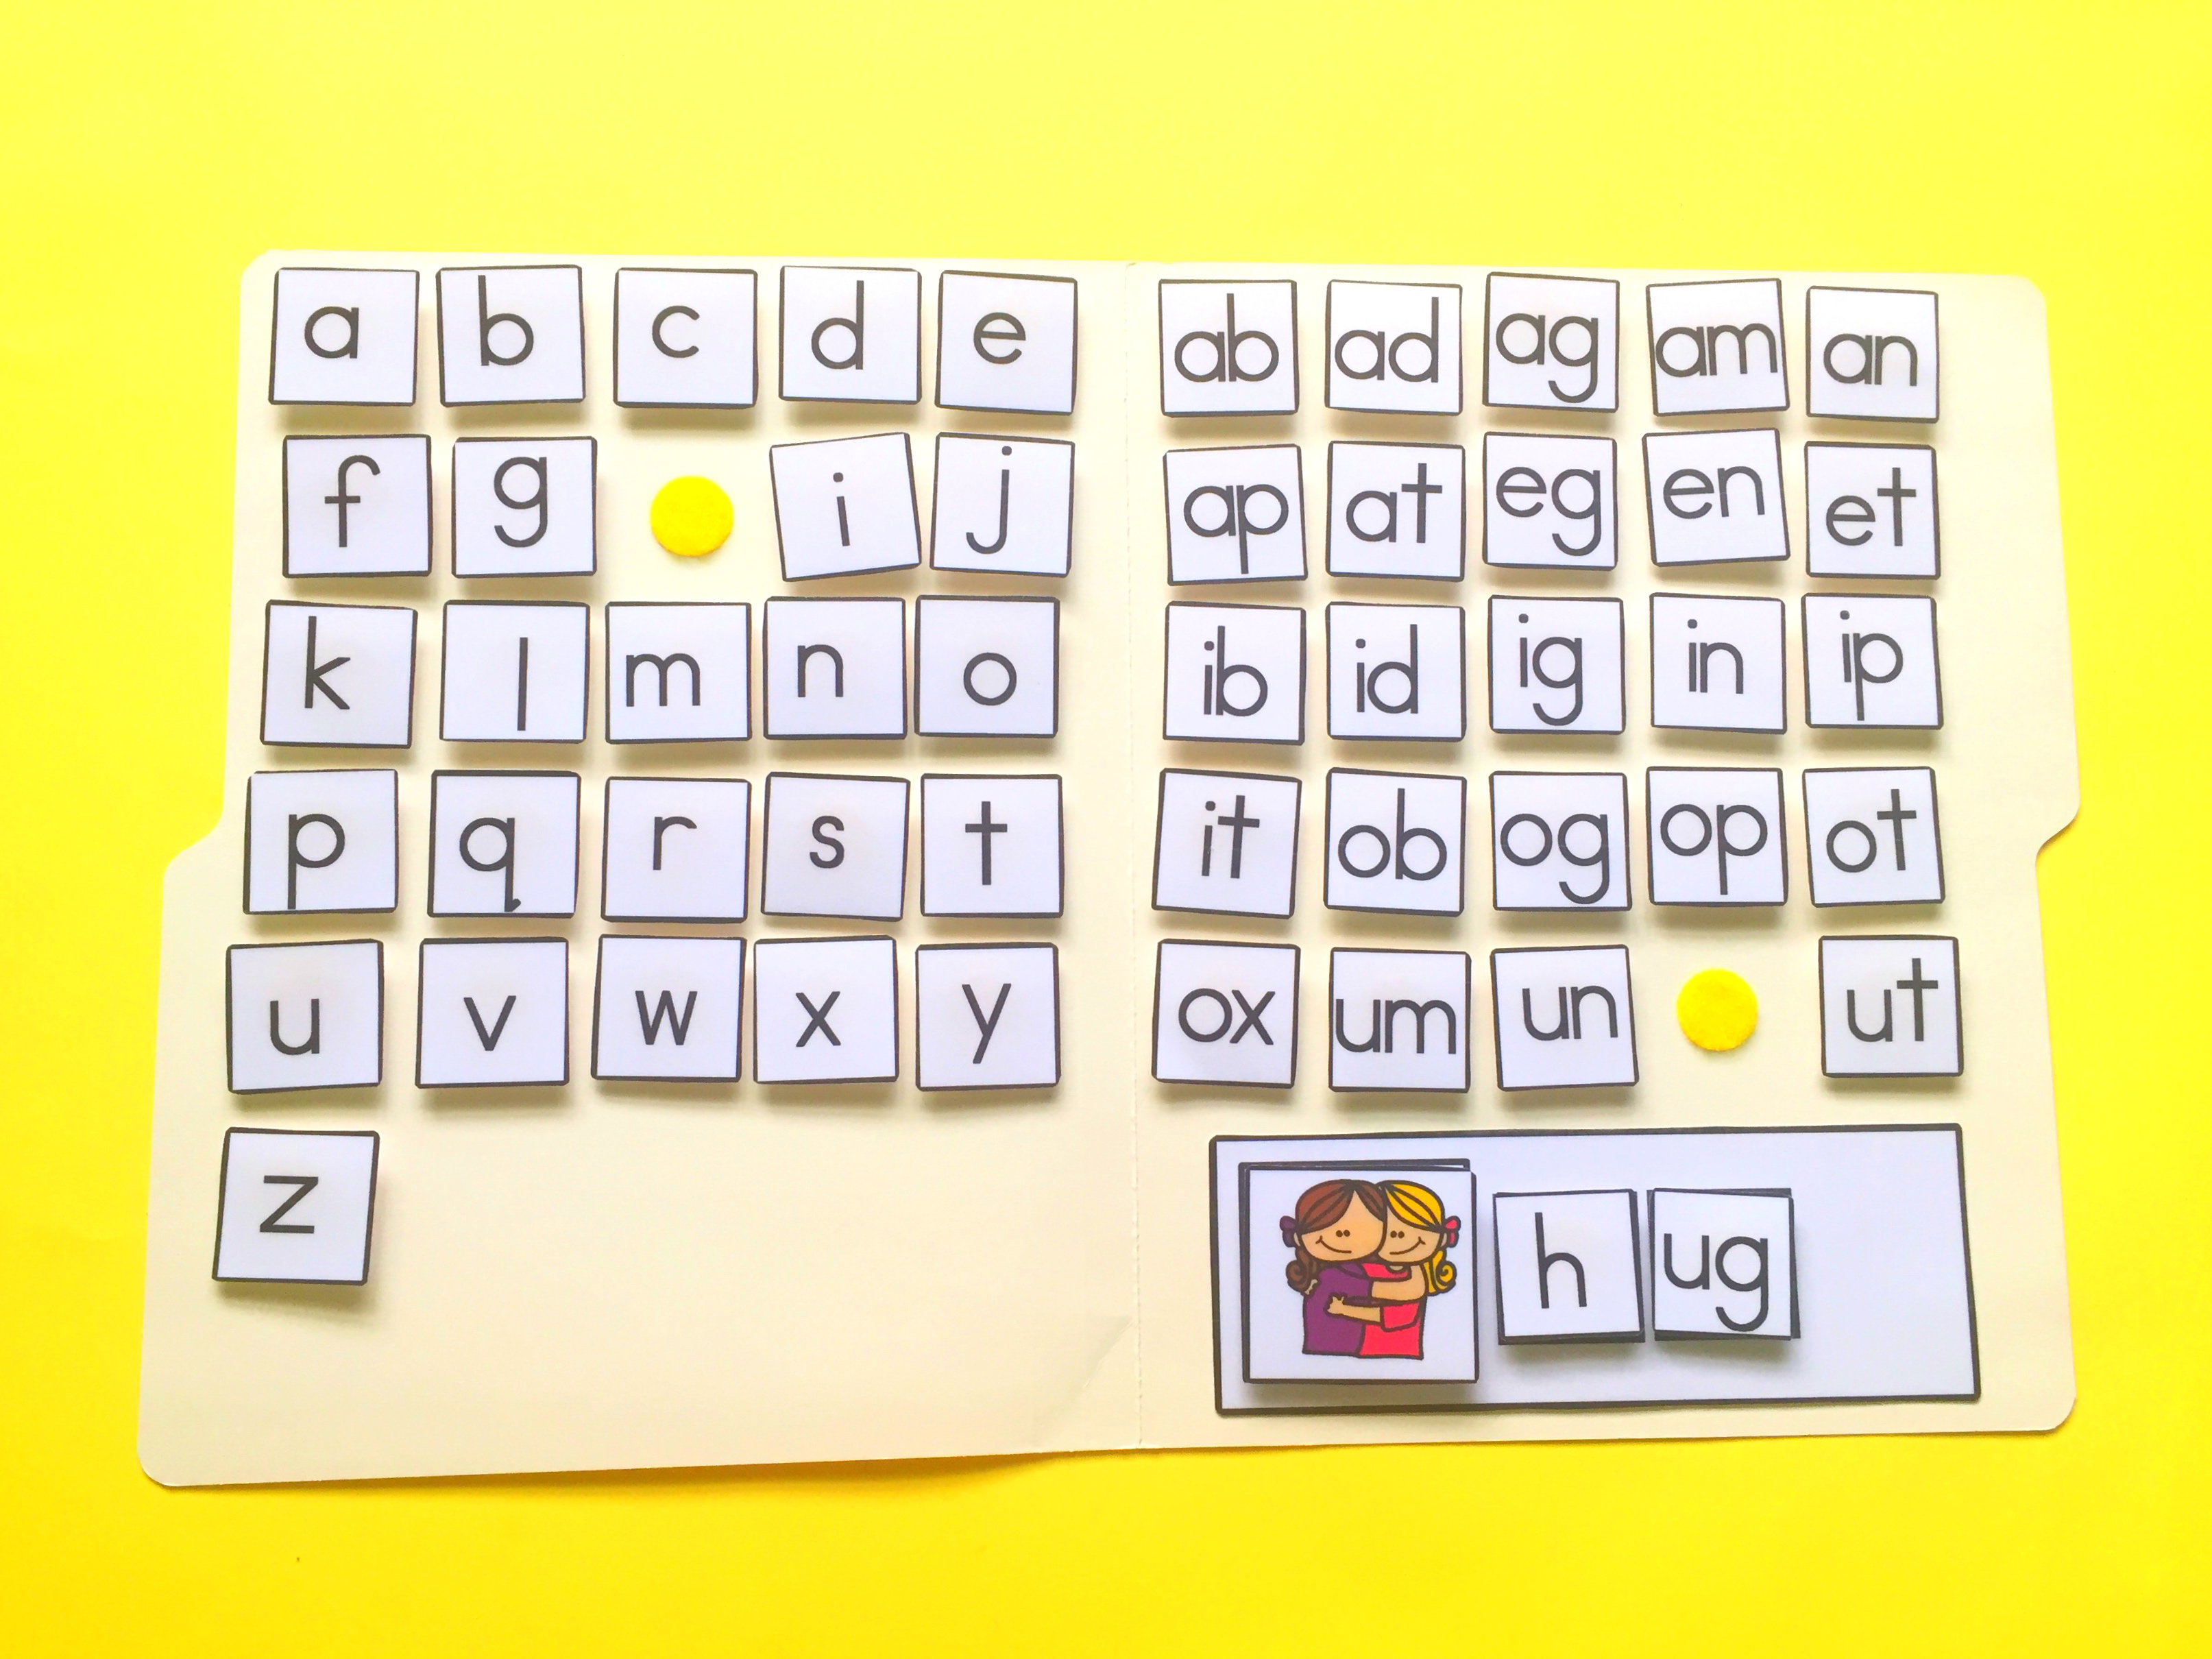
Now it's time to turn all those individual pieces into an organized activity. A folder works especially well because it gives you designated spaces for everything. You could organize it like this:
Left side: Picture cards
Middle: Word-building area
Right side: Letter pieces
You can also add labeled pockets for:
- Short A
- Short E
- Short I
- Short O
- Short U
This makes it much easier to pull out the exact pieces you need during a lesson.
Step 9: Make It Easy for Students to Use
Remember that the goal isn't just to create something cute. It needs to be easy for a young learner to understand. Try to keep the directions simple:
1. Look at the picture.
2. Say the word.
3. Stretch the sounds.
4. Find the letters.
5. Build the word.
6. Read the word.
You can even put these steps directly on the folder as a visual reminder.
Ways to Use Your CVC Word Builder
Once your builder is ready, you can use it in several different ways.
1. Build the Word
Show students a picture and have them build the corresponding CVC word. For example:🐱 → C A T
Have them say each sound as they place each letter.
2. Match the Word
Give students a picture and a completed word. Students find the correct letters and recreate the word underneath. This is a great starting point for students who aren't ready to build words completely independently.
3. Build Without the Word Card
For students who are ready for a challenge, provide only the picture. Students have to identify the word, segment the sounds, and build it independently.
4. Find the Missing Letter
Build a word but remove one letter. For example: C _ T
Ask students: “What's missing?”
They can identify the missing sound and select the correct letter.
5. Change One Letter
Once students are comfortable building CVC words, challenge them to change one letter.
For example: cat → cap
Then: cap → map
Then: map → mop
This turns your word builder into a simple word-family and word-manipulation activity.
Organize Your Builder by Short Vowels
One of the easiest ways to make your CVC Word Builder more useful is to organize the words by vowel sound.
Short A
cat, map, bag, cap, jam
Short E
bed, hen, pet, red, leg
Short I
pig, sit, fin, lip, pin
Short O
dog, mop, hot, log, pot
Short U
sun, cup, bug, hut, rug
This makes it easy to pull out a specific vowel set when you're working on one sound with your students.
How to Store the Pieces
A good storage system can make the difference between a resource you use all year and one that disappears into a closet.
Try:
- Zip-top bags
- Small plastic containers
- Pencil pouches
- Binder pockets
- File folders
- Labeled envelopes
Whatever you choose, label it clearly.
For example:
CVC Builder – Short A CVC Builder – Short E CVC Builder and so on that way, you won't have to dump tiny words or pictures into your table every time you need one word.
How to Make Prep Easier
Let's be honest: creating a hands-on literacy activity can involve a LOT of prep. Here are a few ways to make it easier.
1. Don't Cut Everything at Once
Prepare one vowel set at a time.
2. Laminate Before the Final Cut
If possible, arrange multiple pieces on a sheet before laminating so you're not running tiny individual pieces through the laminator.
3. Keep Extra Velcro Nearby
You will almost certainly need more than you originally planned.
4. Let Students Help
If you have students who enjoy classroom jobs, let them help sort and organize pieces.
5. Keep a Master Copy
Save one uncut copy of your materials. If something gets lost or damaged, you'll know exactly what it looked like and can replace it.
Is a CVC Word Builder Worth Making?
If your students enjoy hands-on activities, absolutely. The biggest advantage is reusability. Instead of writing a new set of words on the board every day, students can use the same materials to practice different skills. You can also make the activity progressively more challenging.
Start with: Picture → Build the Word
Then move to: Picture → Segment → Build → Read
Eventually: Build → Read → Change One Letter → Read the New Word
One simple activity can therefore grow with your students.
Want to Skip Some of the Prep?
Of course, making your own CVC Word Builder can be rewarding—but here is a resource that will make it easier for you: CVC Word Builder Activity. It includes 89 CVC words, 89 matching pictures, alphabet pieces, and syllable/letter boxes so students can practice building and reading words in a hands-on way. It's designed to work well for literacy centers, morning work, small groups, independent practice, and phonics review.
👉 Check out the CVC Word Builder here. Whether you make your own or use a ready-made version, the goal is the same: give beginning readers plenty of opportunities to build it, sound it out, and read it.
Final Thoughts
A CVC Word Builder doesn't have to be complicated. With some basic materials, a little organization, and a healthy supply of Velcro, you can create a reusable phonics activity that gives young readers meaningful hands-on practice. The beauty of a word builder is that students aren't just looking at words. They're constructing them. They're thinking about each sound, choosing the letters that represent those sounds, putting the letters in order, and then reading the word they've created. And honestly? That's a lot of literacy learning packed into a few little pieces of paper and some Velcro. So grab your scissors, fire up that laminator, and get ready to build some words!
Follow Me for More Teaching Tips with Joy For more tips, resources, and a daily dose of teaching joy, follow me on:
Got questions or want to share your success stories? Drop me an email at thejoyinteaching@gmail.com. I love hearing from fellow educators and parents! Happy Teaching!
Joy Medalla
The Joy in Teaching 💛